A rich, creamy and decadent classic new york Style cheesecake with a buttery GRAHAM cracker crust
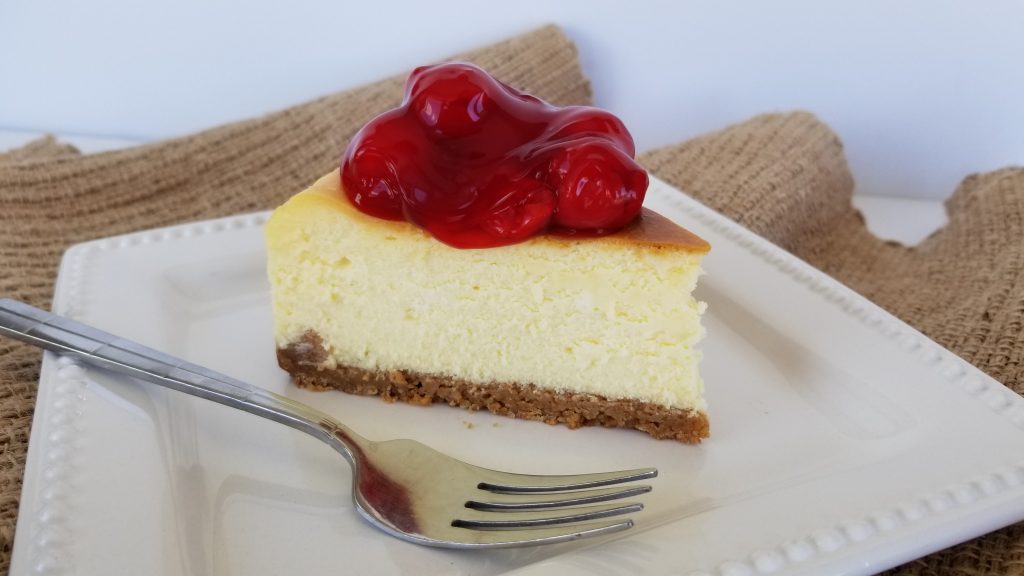
A firm, dense and super creamy filling on top of a delightful, buttery, slightly sweetened graham cracker crust makes this Classic New York Style Cheesecake the perfect dessert for any special occasion. Top it with cherry pie filling (our favorite), lemon curd, fresh strawberries, blueberries… or simply eat it by the slice- it’s that good!
I don’t claim to be a cheesecake expert, but if you’ve never had homemade cheesecake you have no idea what you’ve been missing. I used to love frequenting The Cheesecake Factory. But once I started making my own I never felt the desire to go back! It just isn’t a fair fight! Homemade: 1 – Cheesecake Factory: 0!!!
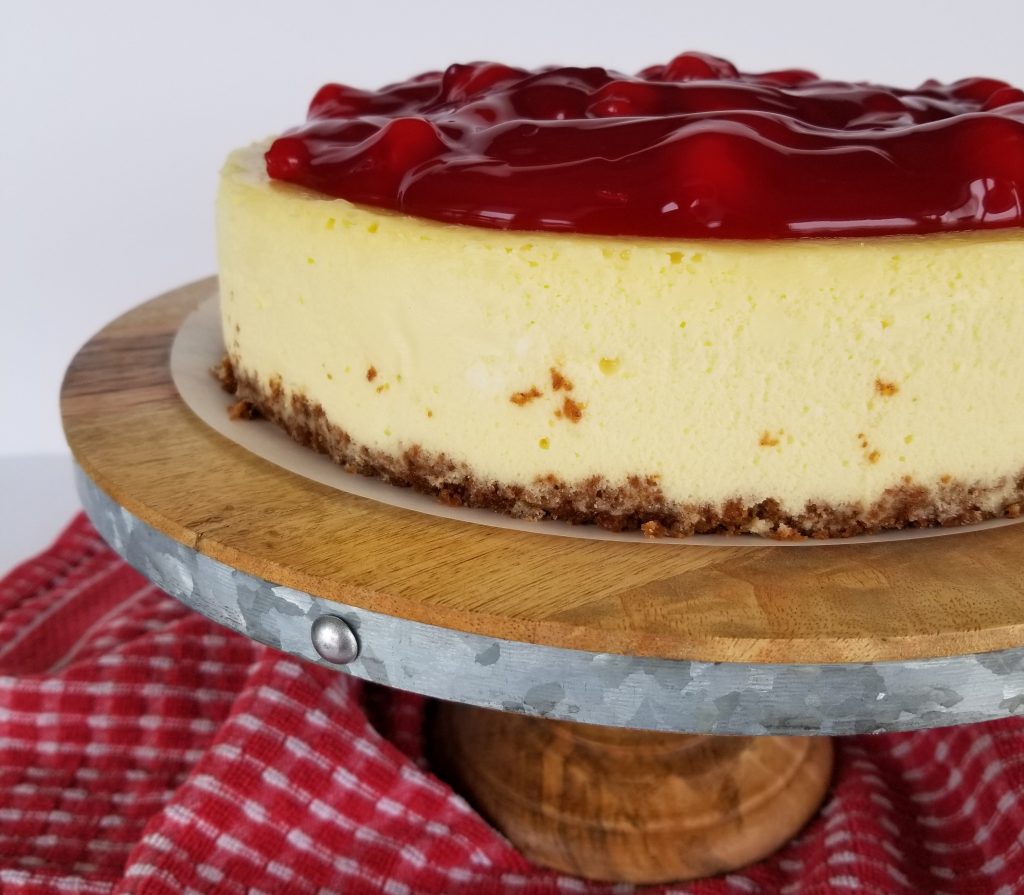
I’m sure you are wondering what the secret is to a good cheesecake, and I hate to disappoint, but I don’t have an all encompassing answer. Personally, at my house, we like our cheesecake to be firm. Which would make texture a very important aspect.
However, flavor is equally important. I always add just a touch of lemon juice to our traditional cheesecake and a high quality Vanilla Extract. Ideally Mexican Vanilla if you have it on hand. And ALWAYS ALWAYS ALWAYS use real butter in your crust!
If you’d like to read a little more about what makes a Cheesecake a GOOD Cheesecake, there’s a great comparison post on thekitchn.com where they compare 4 popular recipes and what makes each one unique!
Prepping your Classic New York Style cheesecake
- Bring all of your ingredients to room temperature (cream cheese, eggs, sour cream, whipping cream, butter)
- Wrap your Spring Form Pan in Aluminum and Plastic Wrap (step by step below)
- Grease your Spring Form Pan
- Preheat your oven to 375 Degrees Fahrenheit
- Place large baking sheet in oven with about a 1/2 inch of water.
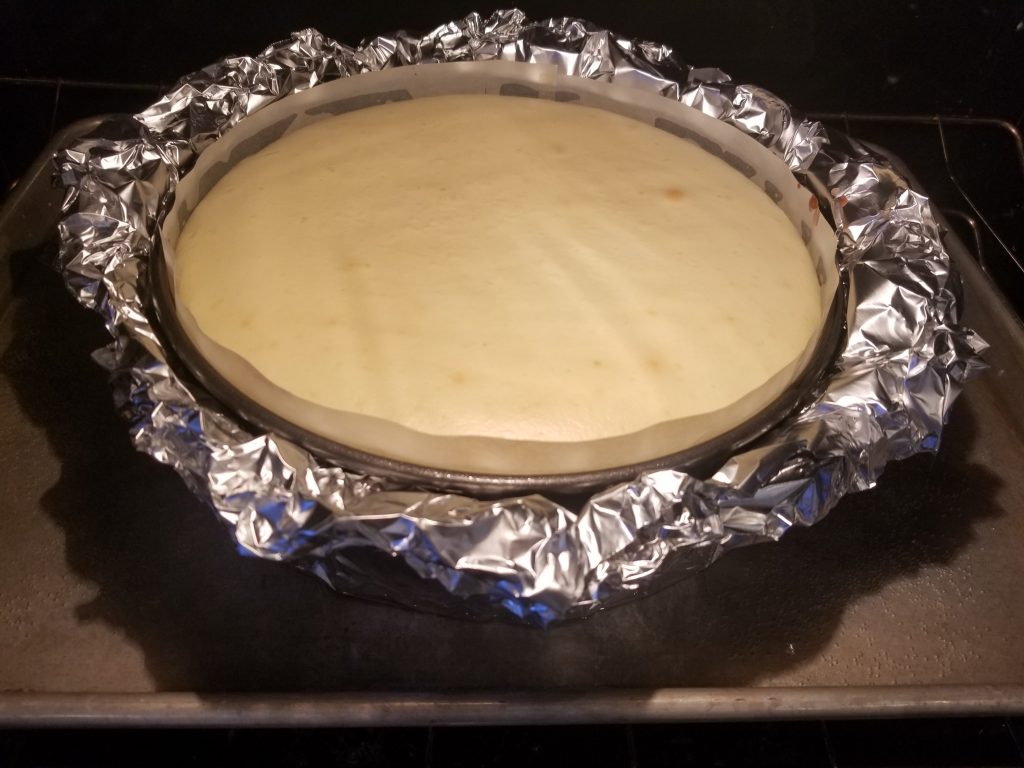
steps for using a water bath
If you’ve never made a Classic New York Style Cheesecake chances are you’ll need some tips for how to do a water bath. Don’t worry, I have made all of the errors for you so you don’t have to!! 😉
Tip 1: Buy the Heavy Duty Aluminum Foil. The cheap stuff will rip, and create lots of micro-tears allowing the water bath to soak into your pan leaving you with a soggy crust. Eww!! Been there.
Tip 2: Put a layer of Plastic Wrap in between the two layers of aluminum foil. This will create a barrier just in case your foil DOES tear.
Tip 3: Make sure your aluminum foil covering completely encompasses the base of the pan. It becomes pointless to prep your pan if the water is able to make its way up and over any section of the aluminum wrap.
how to avoid cheesecake cracks
- Don’t over-mix your cheesecake batter. This applies mostly to the last step when you incorporate your eggs
- Don’t skip the water bath
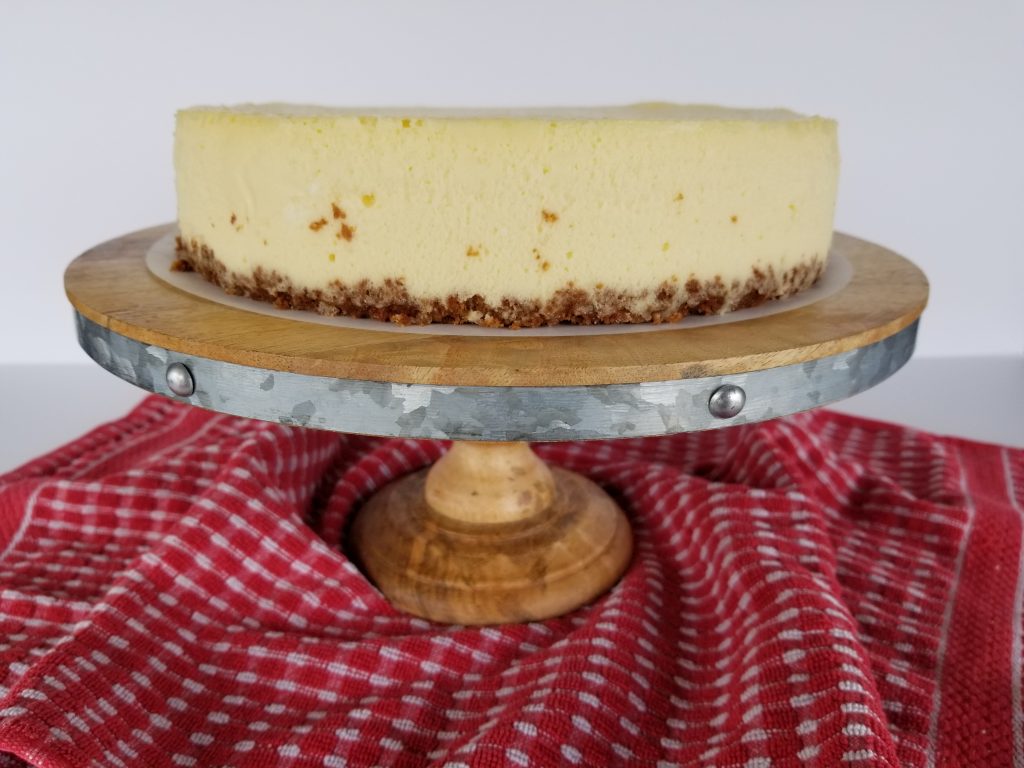
- Let your cheesecake cool in the oven with the oven door just slightly cracked open. I usually bake my cheesecake in the evening and leave it in the oven overnight (propping the oven door open just slightly with an oven mitt) ***Be advised, however, I have read that you should refrigerate fairly quickly because there is a large amount of cream cheese in the recipe. With that being said, this is how I make all of my cheesecakes and no one has ever gotten sick! So… your call!
Does it matter what brand of Cream cheese I use?
Personally, I don’t think this makes a big difference. Because this cheesecake is not just straight up cream cheese sugar and eggs, your flavor is coming from a few different directions. If you prefer Philadelphia, use it! I personally just use Kroger or Great Value most of the time because I always have it on hand to make my Fluffy Cream Cheese Frosting!
Mainly, it is important to use real butter, full fat cream cheese and fresh lemon juice if you can.
Exploring Baking times and temperatures
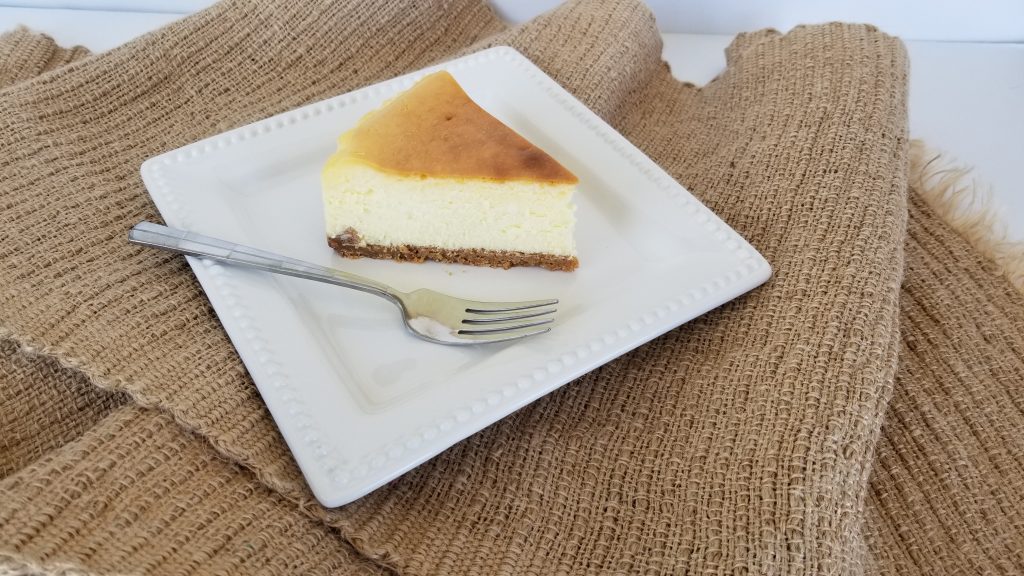
It is very easy to under-bake AND to over-bake your Classic New York Style Cheesecake. I find the most success baking mine in my Gas Oven at 375 for 50 minutes and then decreasing the temperature to 350 and baking for 45-55 minutes more.
Your cheesecake WILL brown on top. You don’t want it to burn, but it’s okay for it to brown. The middle will still wobble when touched, but the edges will be a little more set.
I baked the same recipe, and changed up baking times for these two cheesecakes below. The one on the left I baked for 40 minutes at 375 and then 35 at 350. In my opinion it was underdone. It was too soft, and when we cut into it, it didn’t hold its shape the same way as the slice on the right.
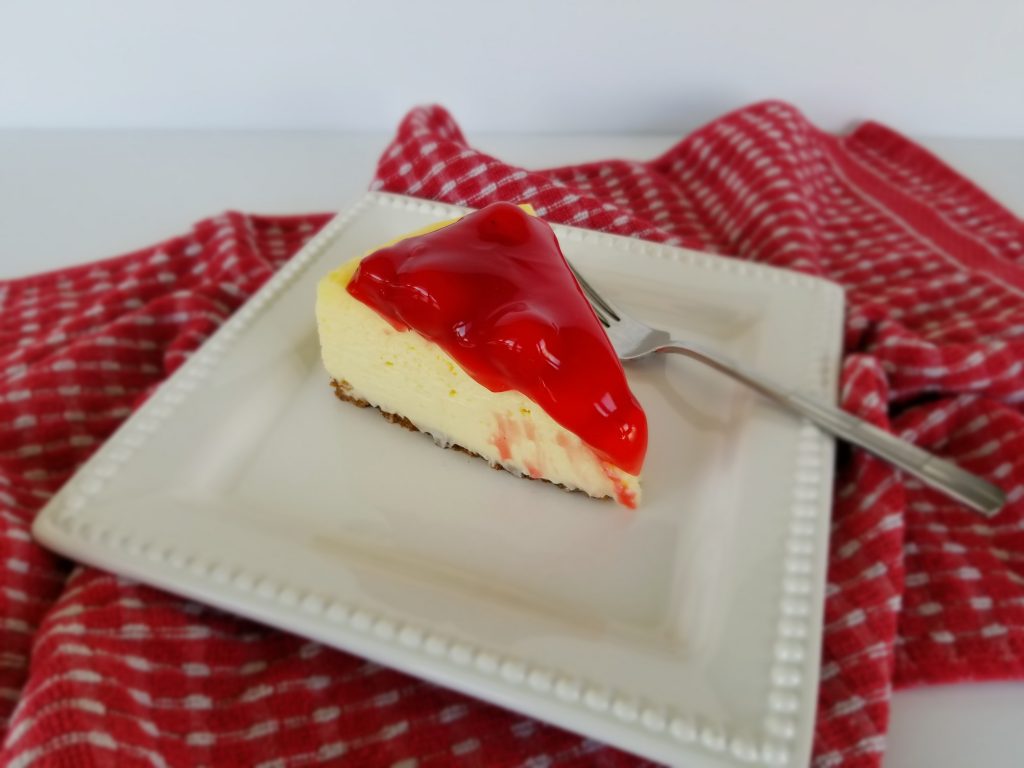
Baked for less time, too soft 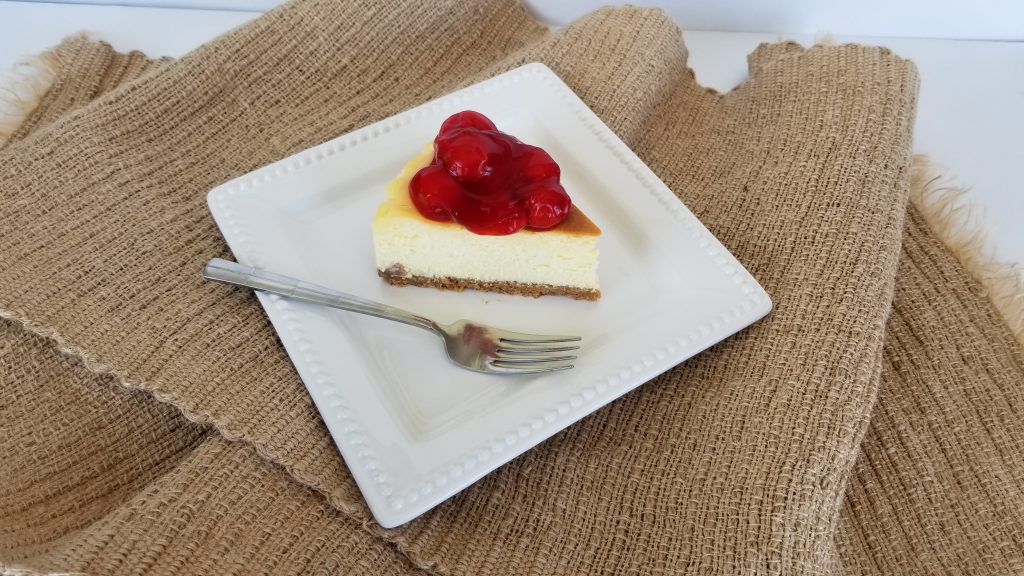
Baked for recommended time, brown on top
We like a FIRM slice. But maybe you don’t care if yours is a little extra creamy and soft. That’s okay too! Just decrease your bake time. Keep an eye on it.
How to store your cheesecake
Once your cheesecake is baked and cooled I recommend putting it into the freezer to chill overnight. Once it is frozen, I carefully remove it from the pan (sliding a knife around the edge of the cheesecake if necessary). Freezing is optional, but I find the texture benefits from a trip to the freezer, and I also find it easier to remove it from the pan without damaging the sides this way.
If you will be eating it that day, I would give it an hour or two on the counter to thaw.
The cheesecake will stay good in the fridge for about a week if stored in an airtight container.
If you would like to freeze it for future use, wrap the cheesecake tightly in plastic wrap and place into a freezer bag or Tupperware container and place it back into the freezer for up to three months.
Let’s Make Cheesecake!!!
Try it? I want to hear all about it!!!
Please comment below and let me know what you thought. Did you have any problems? Tell me, let’s fix it together. I just want YOU to love this Classic New York Style Cheesecake as much as I do, because once you’ve made it… you’ll never buy again!
Happy Baking! -Chels
Classic New York Style Cheesecake
Ingredients
- 1 1/4 Cup Crushed Graham Crackers (1 1/2 Packages)
- 1/4 Cup Sugar
- 1/2 Cup Salted Butter, melted
- 3 8 oz Packages Cream Cheese, softened
- 1/2 Cup Unsalted Butter, softened
- 1 1/2 Tbsp Cornstarch
- 1 1/3 Cup Sugar
- 1/4 Cup Heavy Whipping Cream, room temperature
- 1 1/4 Cup Sour Cream, room temperature
- 1/2 oz Lemon Juice
- 1/2 Tbsp Pure Vanilla Extract
- 3 Large Eggs
- 2 Large Egg Yolks
Instructions
- Bring all ingredients to room temperature and Preheat your oven to 375°.
- Prepare crust by combining Crushed Graham Crackers, 1/4 Sugar and 1/2 cup Melted Butter and pressing into your greased 9" Spring Form Pan. Bake in preheated oven for 10 minutes or until golden brown. Allow Crust to cool while making your filling.
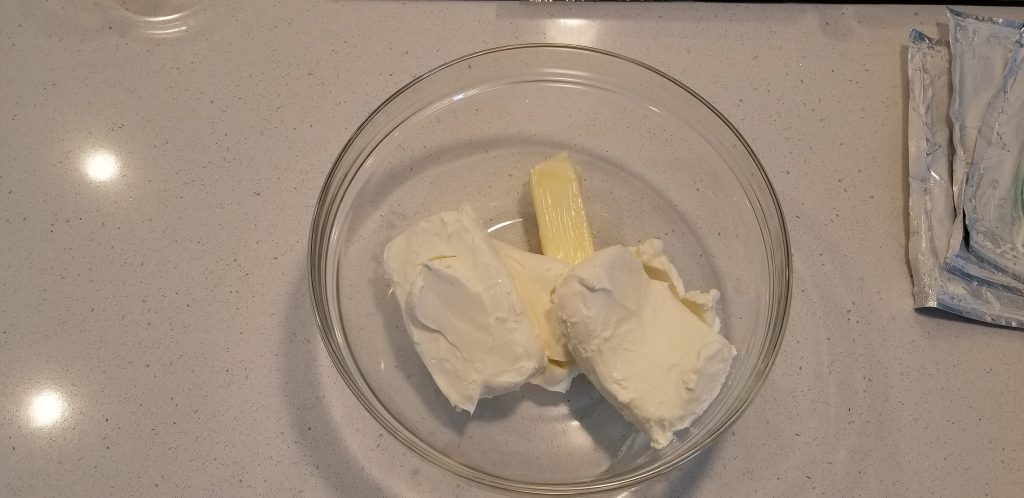
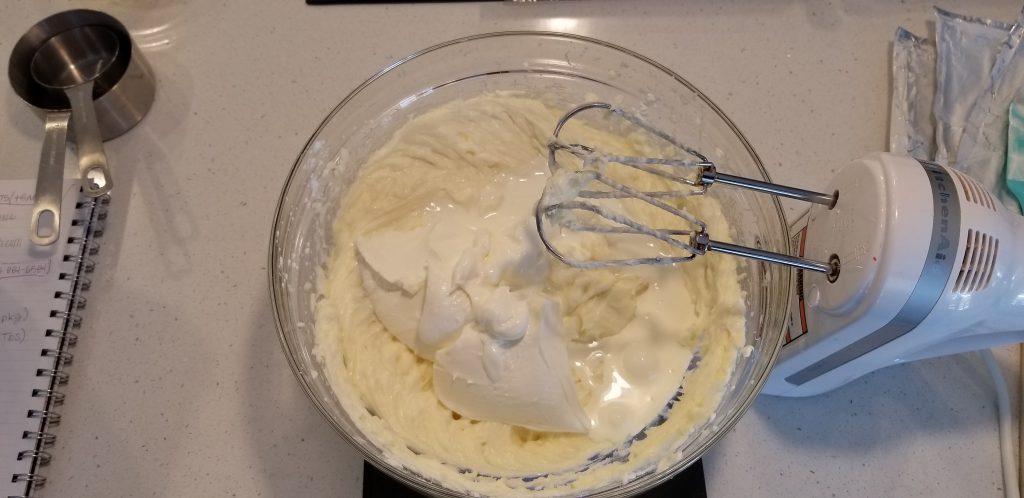
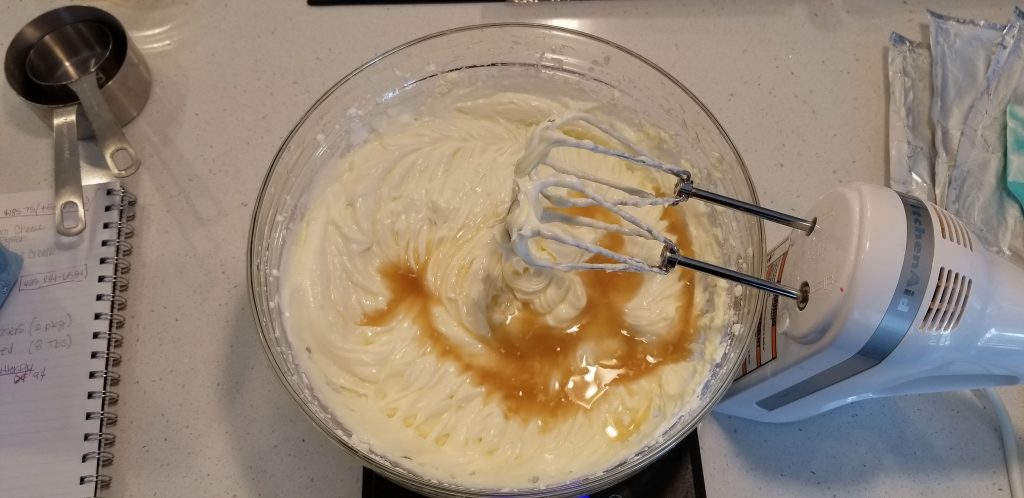
- Cream together Butter and Cream Cheese until combined and no lumps remain. Add Sugar and Cornstarch and mix until combined. Add Sour Cream and Whipping Cream and mix again until combined. Add Lemon Juice and Vanilla. Mix until combined. Add Eggs and Egg Yolks to mixture one at a time, mixing slowly until fully combined. But DO NOT over mix! Pour filling into cooled crust.
- Wrap your pan in a layer of Plastic Wrap sandwiched in between 2 layers of Heavy Duty Aluminum Foil. Make a water bath by placing a pan (big enough for your Spring Form Pan to fit easily within it) into your preheated oven and fill with about an inch of water. Place your wrapped Cheesecake into the water bath and bake for 50 minutes. After 50 minutes, decrease your temperature to 350° and bake for 45-55 minutes more or until the edges are set but center is still wobbly.
- When Cheesecake is baked, turn off your oven and prop the door open just slightly with a folded kitchen towel or oven mitt and allow your Cheesecake to cool in the oven for at least 2 hours. When it is cool, cover the pan in plastic wrap and place it into the freezer overnight. If you don't want to have to thaw your cheesecake you can place it directly into the fridge and chill at least 8 hours. Freezing it helps the texture develop, but it IS optional.
- When properly cooled or frozen, slide a knife around the edge of your Cheesecake and remove it from the pan. If your cheesecake was frozen, give it an hour or two outside of the fridge to soften. Serve cold with your favorite toppings.
- Cheesecake can be covered and stored in the refrigerator for up to a week. Or wrapped and frozen for up to 3 months.
Amazing! What helpful tips and details. I’m so impressed how you figured all of that out and appreciate you sharing step by step instructions!
About how much is a 1/2 oz of lemon juice/how do you measure that?
Thanks!
Hahaha… Whelp I actually love those little measuring cups for teaspoons and tablespoons and just a few ounces. But… they’re not all that common. It’s a tablespoon! I hope all of the tips help.
This recipe really sucks, burnt to a damn crisp
Oh no! I’m so sorry it didn’t work out for you! Every oven varies, but it should never have burnt to a crisp! Let me know if you’d like to troubleshoot 🙂
Just reading to learn. Have not tried one yet. Recently I bought a NY cheesecake from Kroger and one from another supermarket. They used to be somewhat edible, but I had to trash them both. Just terrible. But the wasted $38 for both cheesecakes inspired me to learn to make homemade cheesecake. Thanks for the excellent info!
You’re welcome!