Easy to roll out and super delicious with Cream Cheese frosting or Buttercream, these Soft Roll Out sugar Cookies will be your favorite too!
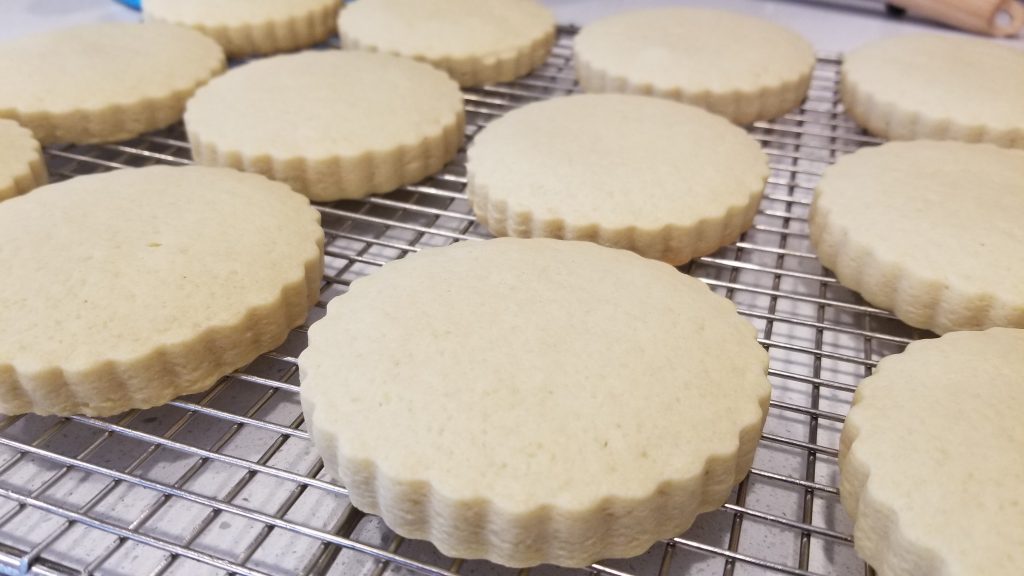
Decorating Sugar Cookies is one of my all time favorite activities! And it has been since I was young. My Aunt had the very best recipe. In all of my years making cookies I have yet to find a better Sugar Cookie Recipe than Aunt Kay’s. I have tweaked a few things here and there, and made rolling out a breeze, but overall the recipe remains the same. These Soft Roll Out Sugar Cookies are Mind Blowing with my Fluffy Cream Cheese Frosting!!!
***Let me preface by saying these are NOT recommended for Royal Icing. But I do have a similar Recipe for Soft No Spread Sugar Cookies that are perfectly paired with my Soft Royal Icing***
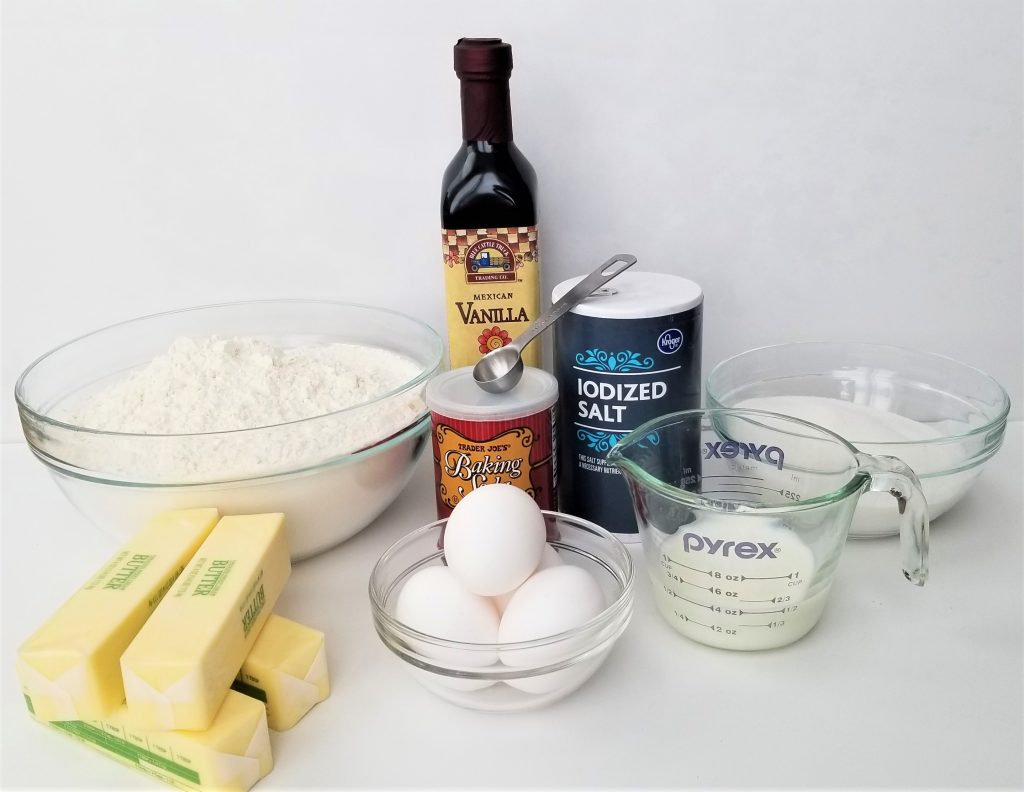
I make these cookies all year long, as a custom baker. But these Soft Roll Out Sugar Cookies I make multiple times a year with my kids. We make these every year for Valentines Day, Halloween and Christmas. When we’re feeling extra festive we make them on St. Patrick’s Day and the 4th of July as well!
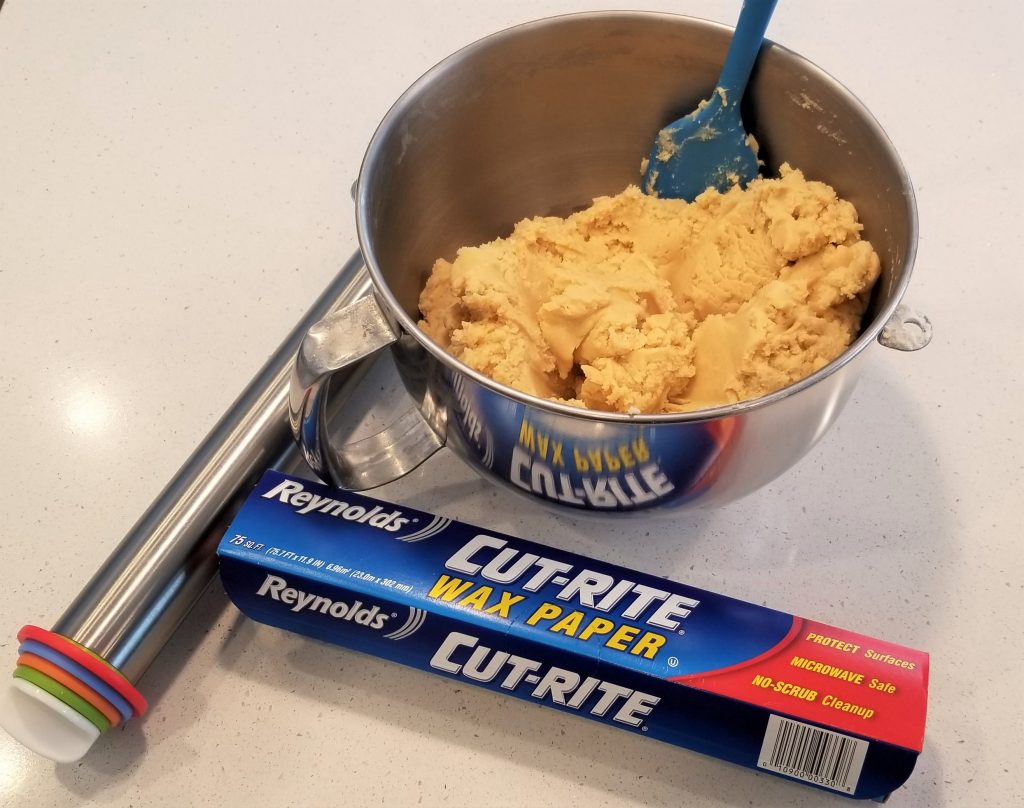
Like I said, the recipe remains mostly unchanged from the version my Aunt gave to us when I was young. But the way it comes together, the way it is flavored, and how I roll these beautiful cookies out are GAME CHANGERS!!! So here are a few must haves for this recipe:
What do You need?
- Stand Mixer. You will blow out a hand mixer with this dough! Please don’t do that!
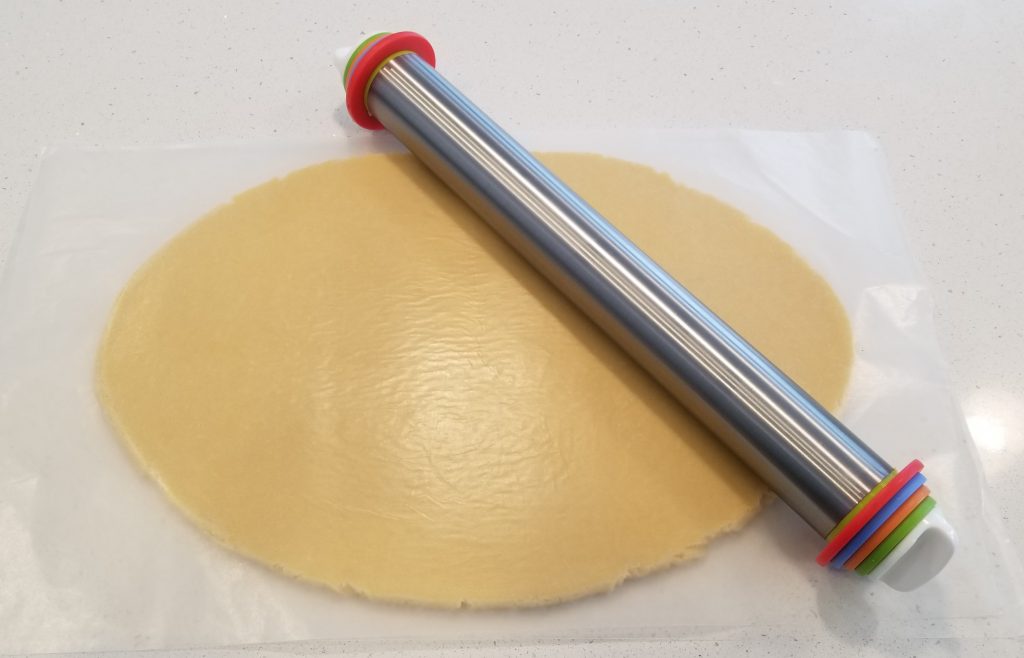
- Rolling Pin. The one pictured above has plastic Guide Rings. I LOVE this rolling pin! It makes getting even thickness a breeze! I have recently started rolling out my Soft Roll Out Sugar Cookies to 3/8″ and I love this thickness!
- Wax or Parchment Paper. This makes rolling out these cookies a BREEZE! I’ll be talking about this part below!
- Silicone Mats or Parchment Paper. *This one isn’t crucial, but recommended.
Step By Step
Lets get started Whipping up Soft Roll Out Sugar Cookies!
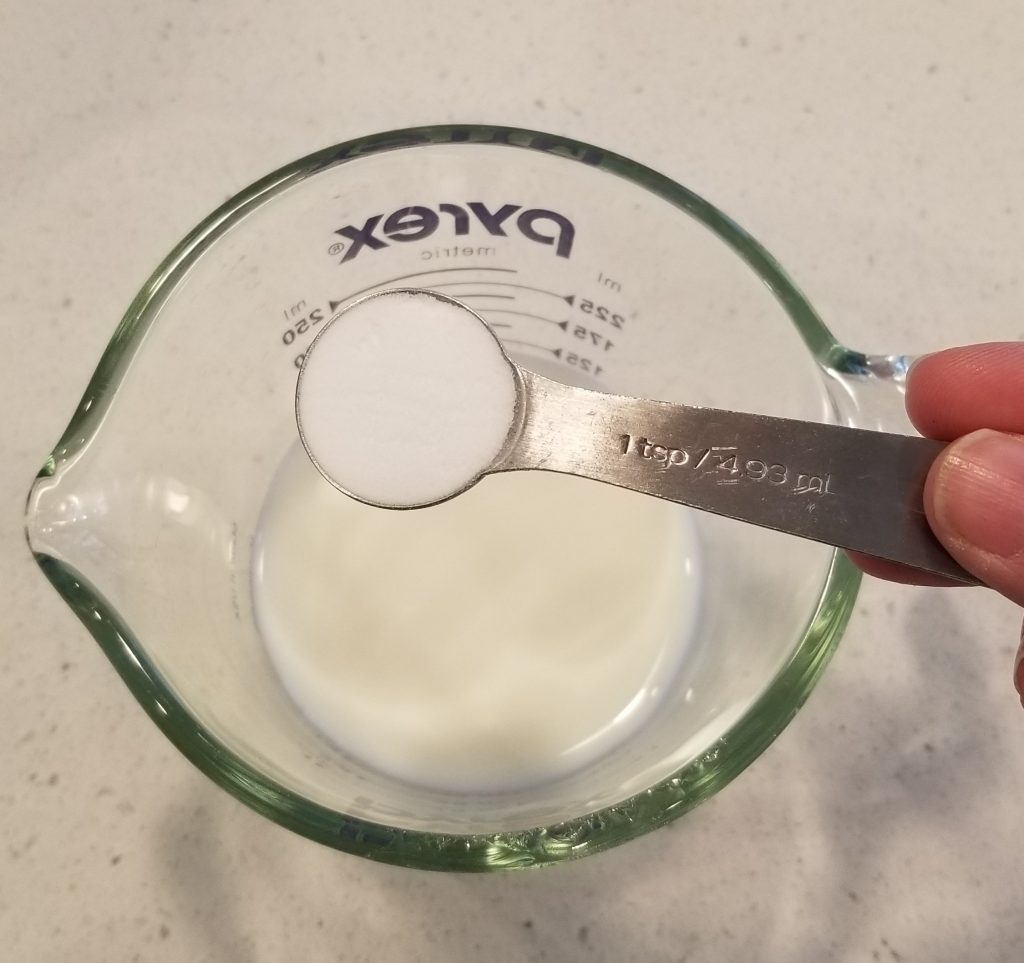
- Measure out 7 Cups of Flour and Dissolve your Baking Soda in 1/2 Cup Milk.
- Make sure to take your butter out of the fridge in time for it to come to room temperature. Add Butter, Sugar, and Salt to the bowl of your stand mixer and whip until fluffy and light in color.
- Scrape down the sides and bottom of the bowl and add your eggs and vanilla. Mix until the mixture comes together. It will still look slightly separated, but that’s okay.
- With mixer on low, add in half of the flour and mix until combined.
- Add the milk mixture.
- Add the rest of the flour and mix until the dough cleans the sides of the bowl. ***This is where you will decide if you need the full 8 cups of flour. I live at a high altitude, so I need all 8 cups of flour. You may not! So start with 7 and add the last cup a bit at a time until your dough is no longer sticky! ***You should be able to pinch the dough with your fingers and not have it stick to you. But the dough should NOT be crumbly either!***
Roll roll roll
Here comes the part you usually dread, but I’ve made this SO easy it’s crazy! Roll it out!
Using sheets of parchment or Wax paper allows you to roll this dough out BEFORE you chill it! Yep! And bonus, NO MESS!!!! Because you will be rolling the dough sandwiched in between 2 sheets of Wax paper, you don’t need flour, and your dough won’t stick to the rolling pin or counter!
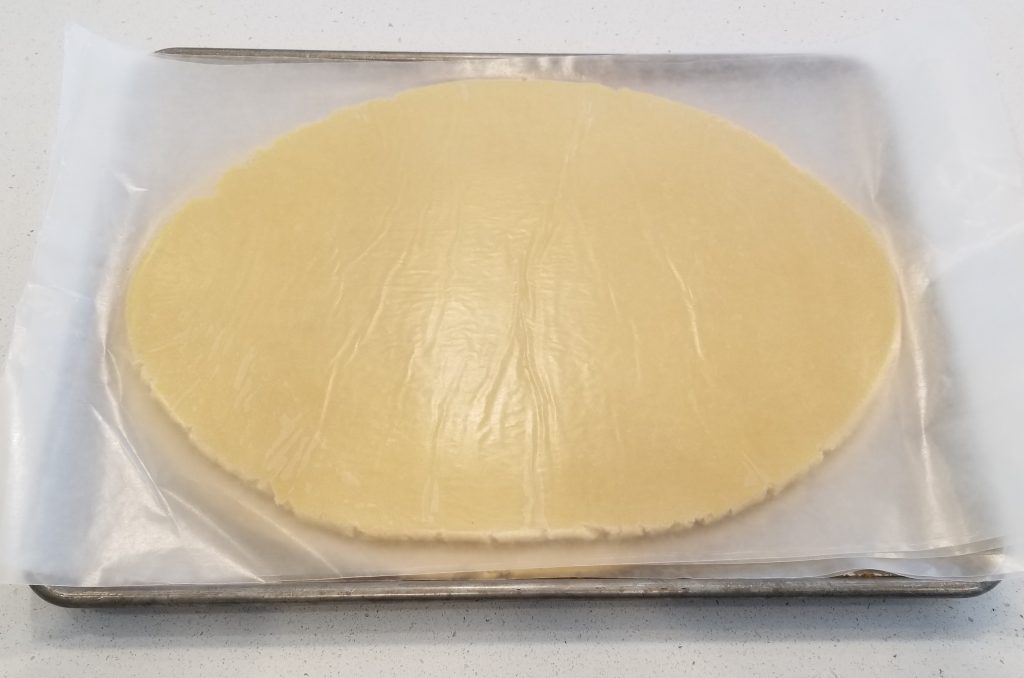
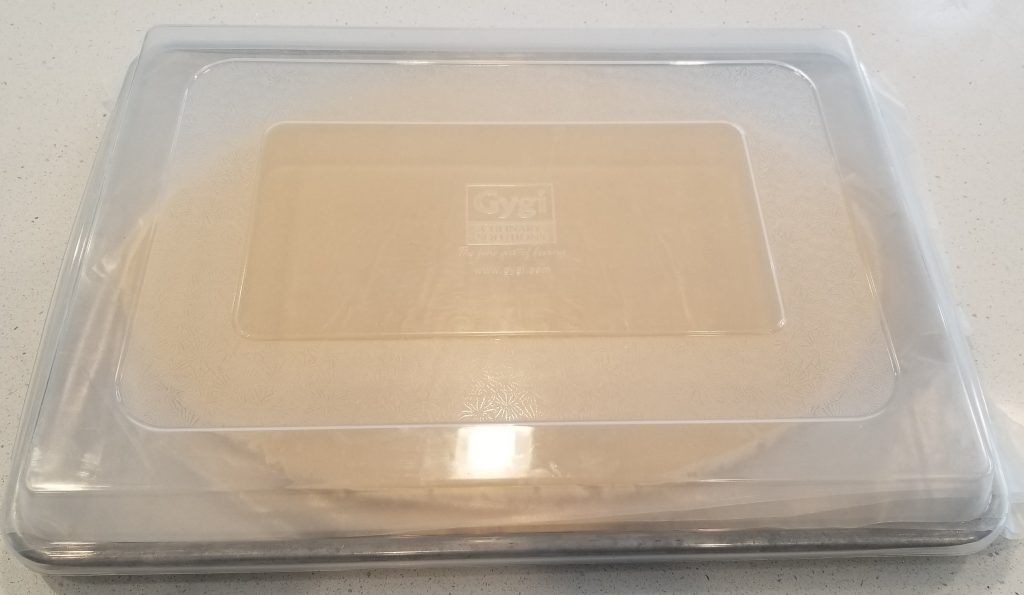
I separate my dough into 2-3 sections and roll each one out in between 2 sheets of wax paper. I then stack these rolled out sections on a cookie sheet and cover with a lid. If you don’t have a lid, just cover with some plastic or cling wrap. Then place the pan in the fridge for at least an hour or overnight.
If you are in a hurry, you can place the dough into the freezer for 20-30 minutes. On an opposite note, if you are making the dough in advance you can wrap these dough sheets tightly and store in a sealed container in the freezer for future use.
Cut and Bake
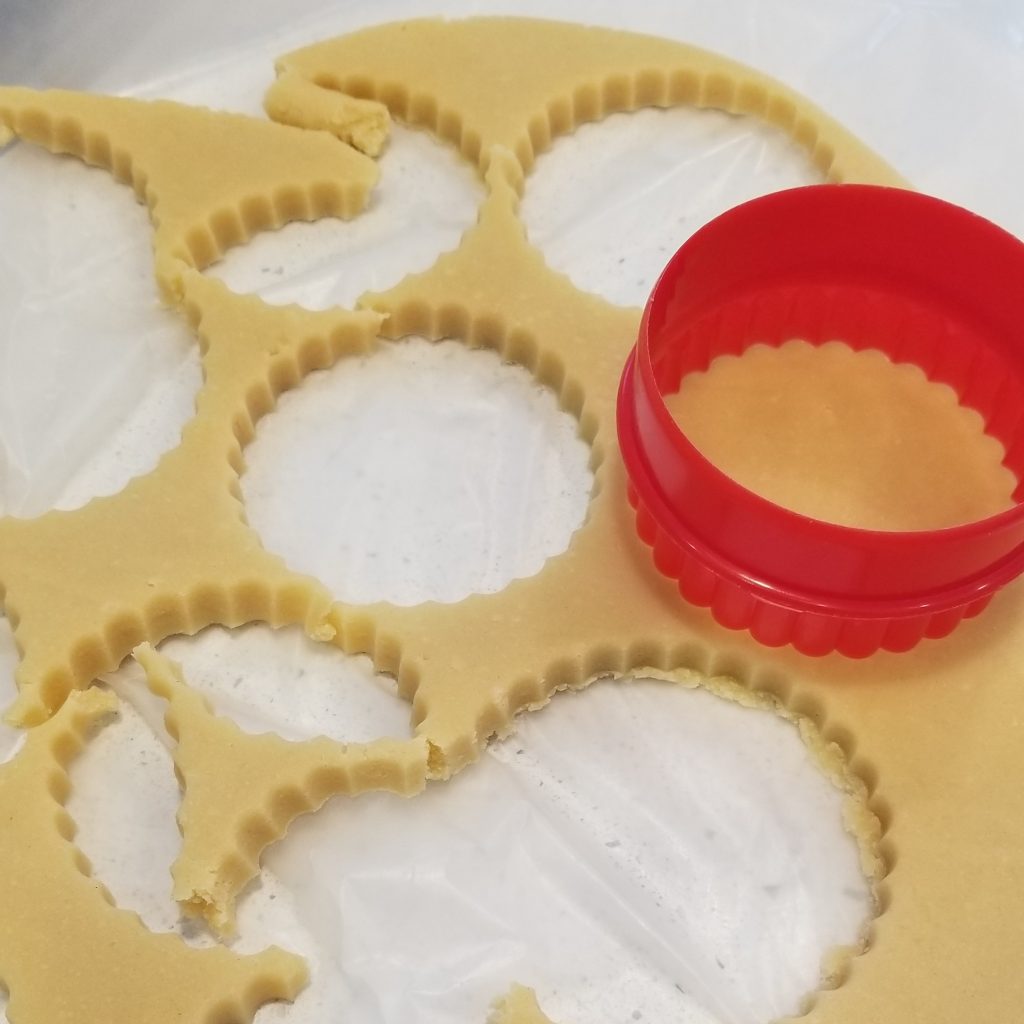
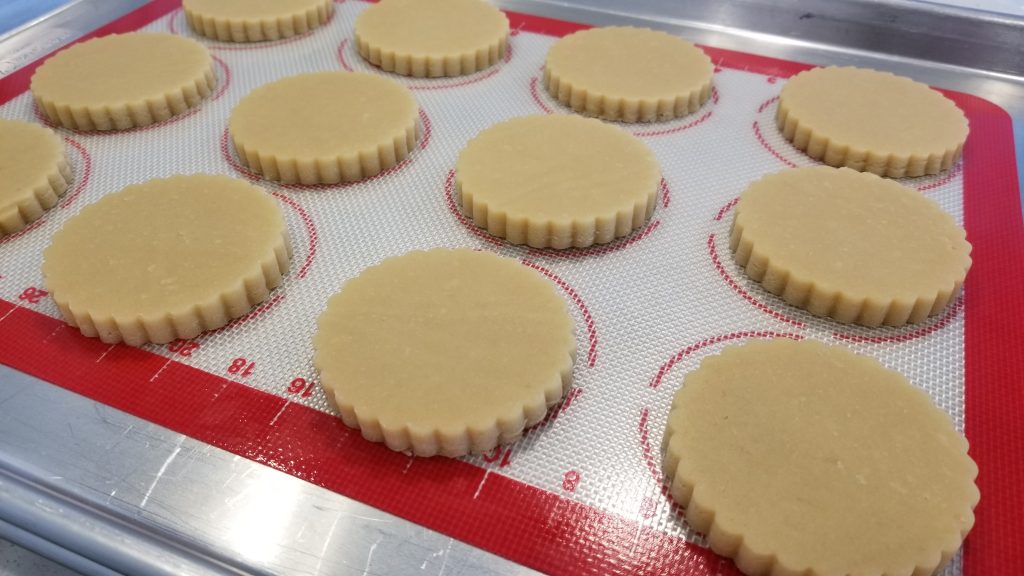
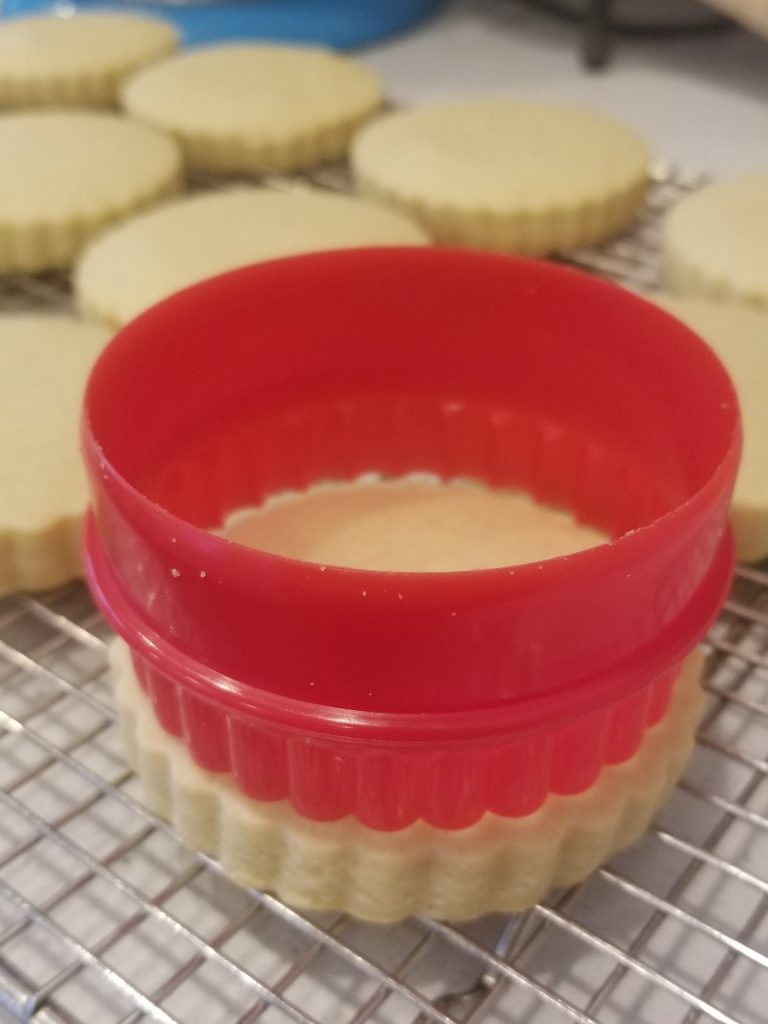
When dough is chilled cut your shapes and place onto your prepared cookie sheets. Give the cutouts enough space to expand a bit. Save all of your scraps from each sheet of dough and re-roll them together. This will decrease the amount of times you roll out your dough.
Each time you re-roll the dough your gluten develops and the cookies don’t hold their shape as well. They also take more time to bake. I don’t roll this dough out more than 3 times. But twice is ideal.
how to tell if they are baked through
Cookies bake from the outside in, once the shine has completely disappeared from the middle of the cookie they are baked through. I gently touch the top middle of a cookie on the sheet to see if it still feels doughy before I remove the sheet from the oven. If they are easily indented I give it another minute or two.
Cool & Transfer
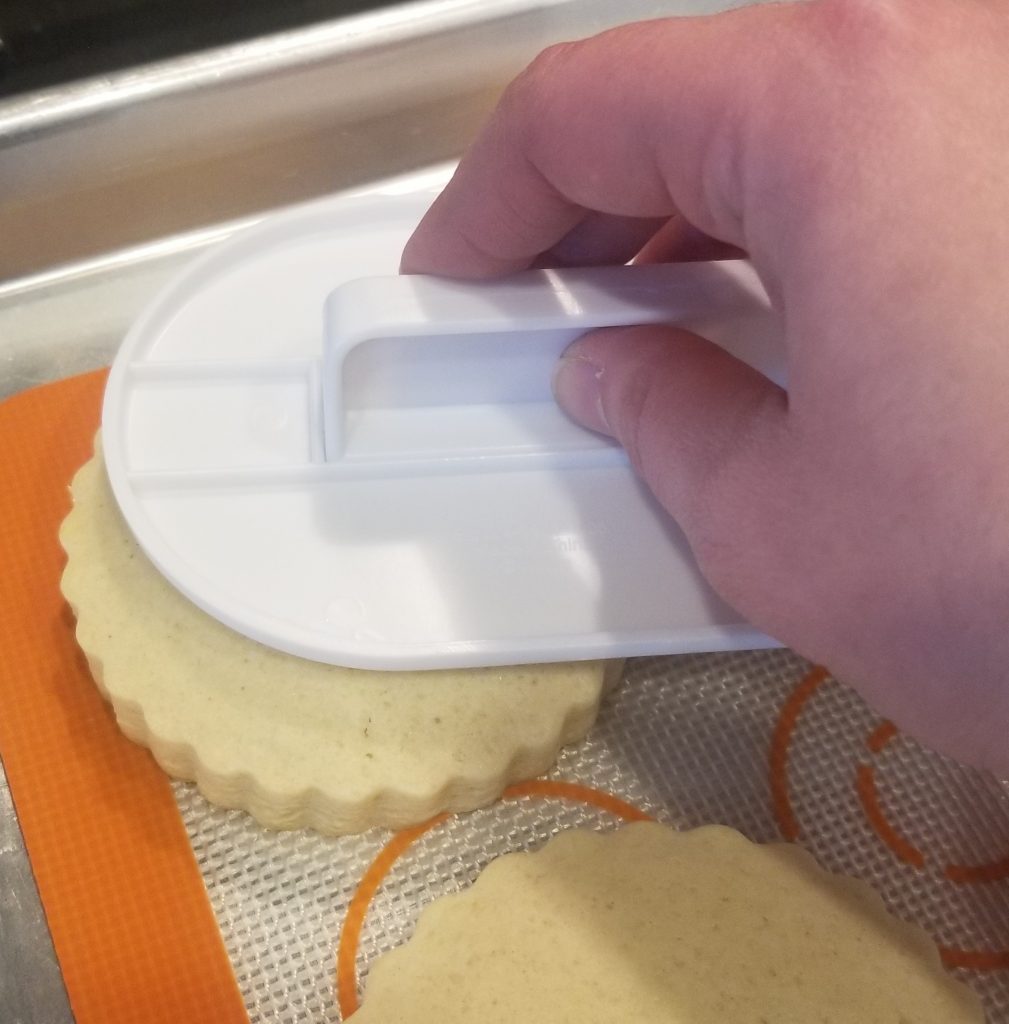
After removing the pan from the oven, allow the cookies to cool on the sheet for 5 minutes. While they are still hot use the back of a spatula or a fondant smother to gently press out any air bubbles. You can do this by adding slight pressure and moving the smother in a circular motion. Make sure not to press too hard or you may deform the cookie.
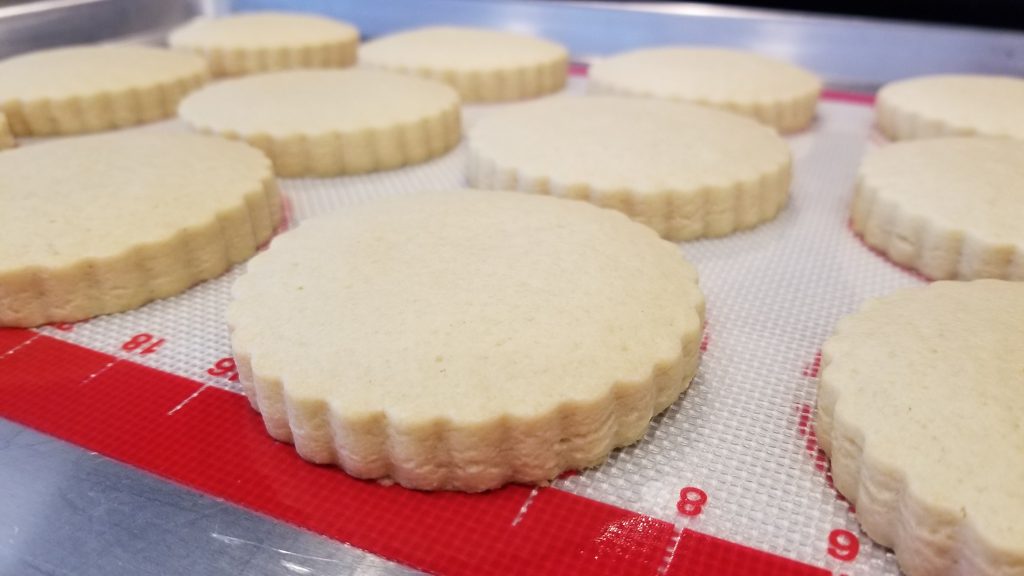
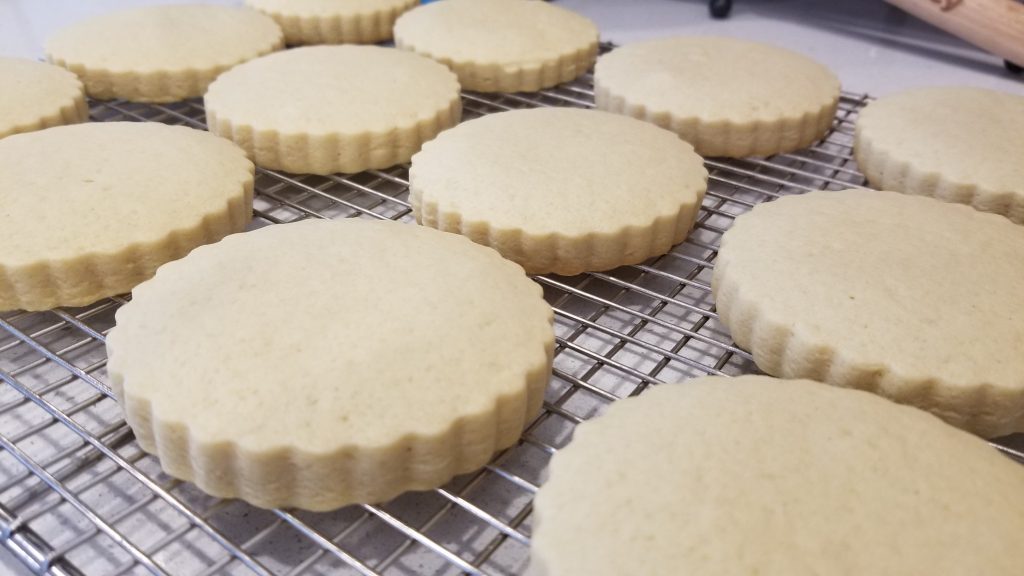
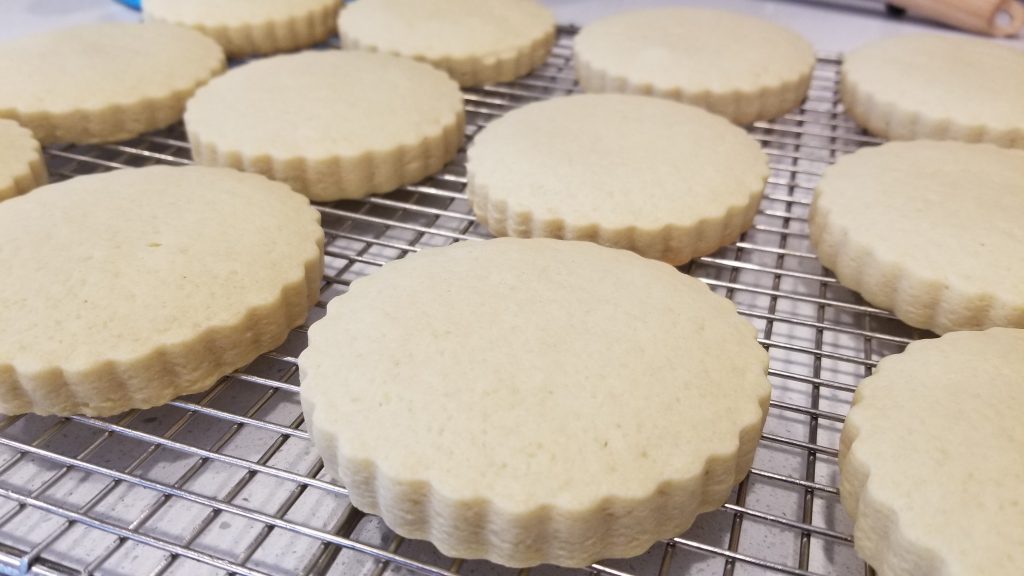
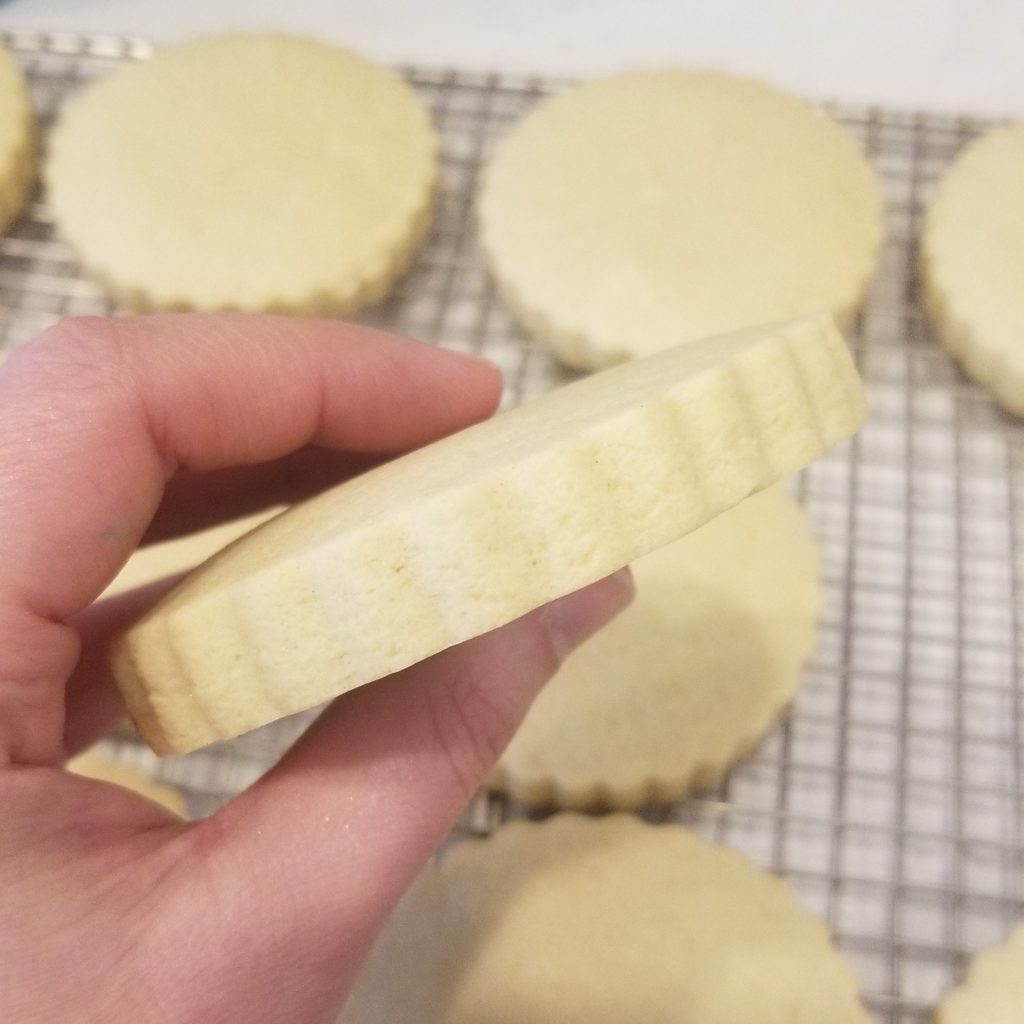
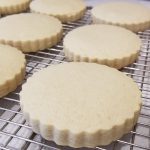
After 5 minutes transfer to a wire rack to cool completely. As you can see, this recipe does spread a bit, but holds true to the shape. It also domes a bit in the center, which is what makes them not an Ideal Cookie for flooding.
Top these delightful cookies with my Fluffy Cream Cheese Frosting, Perfectly Perfect Vanilla Buttercream, or even my Easy Nutella Frosting!
Now What are you WAiting for?! MAKE THEM!!!!
Soft Roll Out Sugar Cookies
Ingredients
- 2 Cups Unsalted Butter, softened
- 2 Tsp Vanilla
- 1 Tsp Salt
- 2 Cups Sugar
- 4 Large Eggs
- 8 Cups Flour
- 1/2 Cup Milk
- 2 Tsp Baking Soda
Instructions
- Cream Butter, Vanilla, Salt and Sugar together in the bowl of a stand mixer. Whip until light in color and fluffy. Scrape down the sides and bottom of the bowl and add the eggs. Whip again until fully incorporated. Dissolve the baking soda in the milk and set aside. Add four cups of flour and mix until incorporated. Add the milk mixture until incorporated. Add the rest of the flour (adding the last cup slowly, and as needed) until the dough starts to pull away from the sides of the bowl. It should essentially clean the sides of the bowl. Dough should be soft and not sticky.
- Divide dough into 3 separate sections. Roll each section out in between two pieces of waxed paper using guide rulers or an adjustable rolling pin. I usually roll my dough to 3/8” thickness. Place dough onto a baking sheet and cover. Place into the fridge for at least 1 hour to chill.
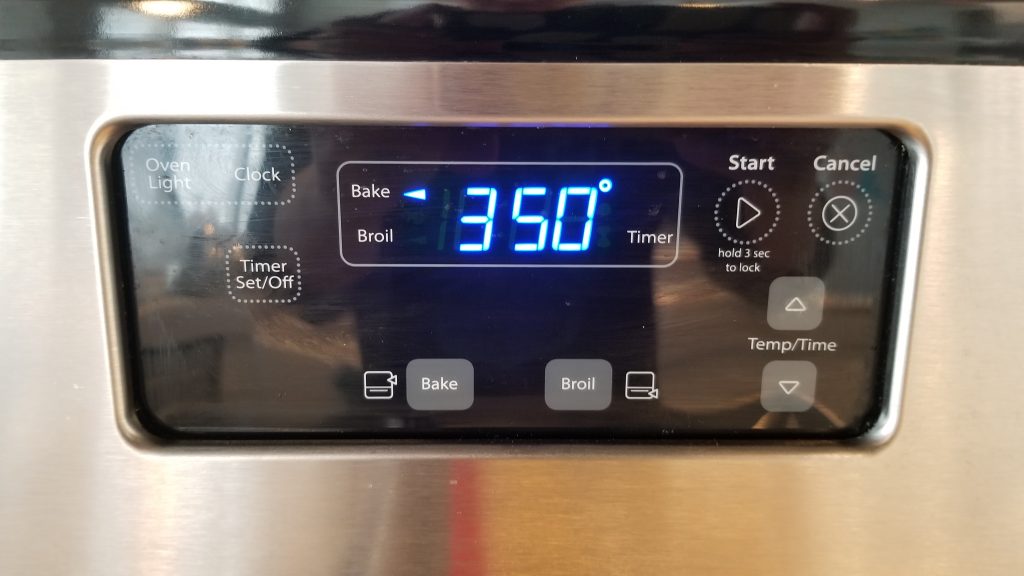
- Cut to desired shapes, place on baking sheet, and bake at 350°. Depending on the size and thickness of your shapes, dough might need to cook for 6-18 minutes. Cookie is thoroughly baked through when the surface is no longer shiny and the edges cannot be indented with your finger.
- When you remove the cookie sheet from the oven take a fondant smoother or use the bottom of a smooth spatula to gently flatten any air bubbles. Let cookies rest on pan for 5 minutes and then remove to a cooling rack to cool completely.
Notes

This recipe turned out so well! I used it to bake up a set of holiday cutouts for our stay-at-home Christmas and was very happy with it from start to finish! The dough was easy to work with, rolled out nicely, and held its shape, resulting in perfect little trees, wreaths, and houses. Will be saving for future bakes!
Thank you so much for sharing what you thought! I really appreciate you taking the time to let me and future readers know what you thought! -Chels
Wait…7-8 cups of flour, 4 eggs, and it still only makes 36 cookies? Is that individual, or sandwiches? Is this a misprint or are the cookies huge? inquiring minds would like to know.
Hi Harriet, this recipe is based off of rolling your cookie dough to 3/4″ thick and cutting about 3″ cookies. So it will make more or less cookies depending on thickness and size of cookies. Hope that helps!