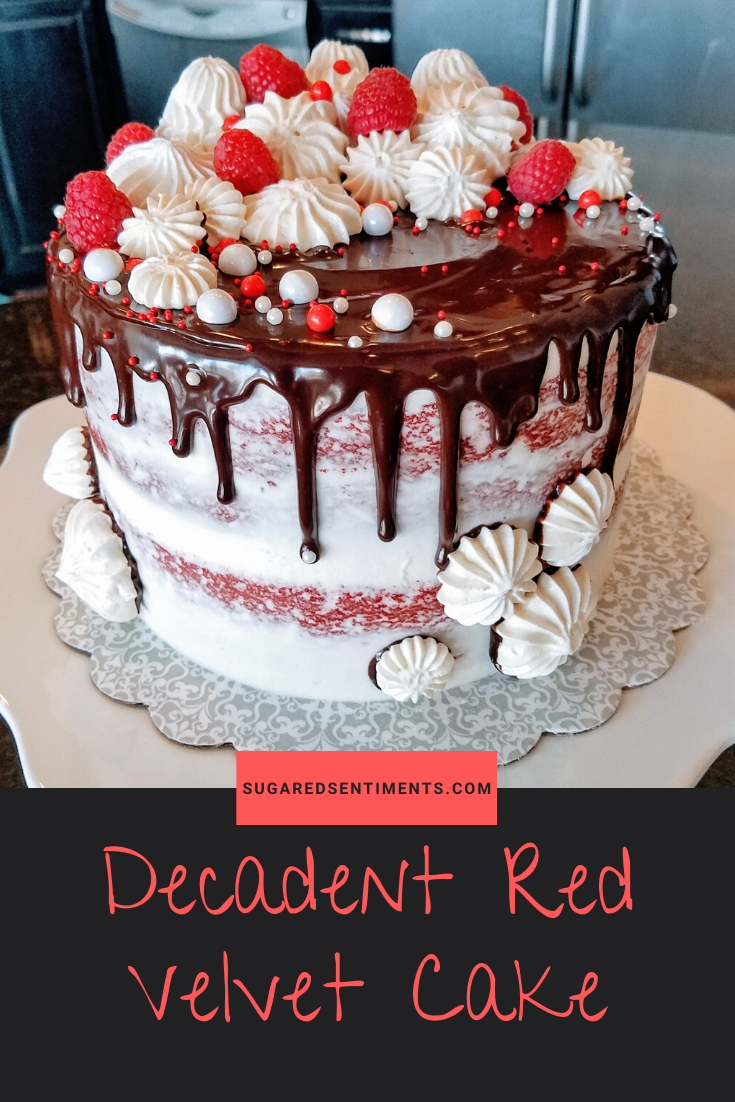
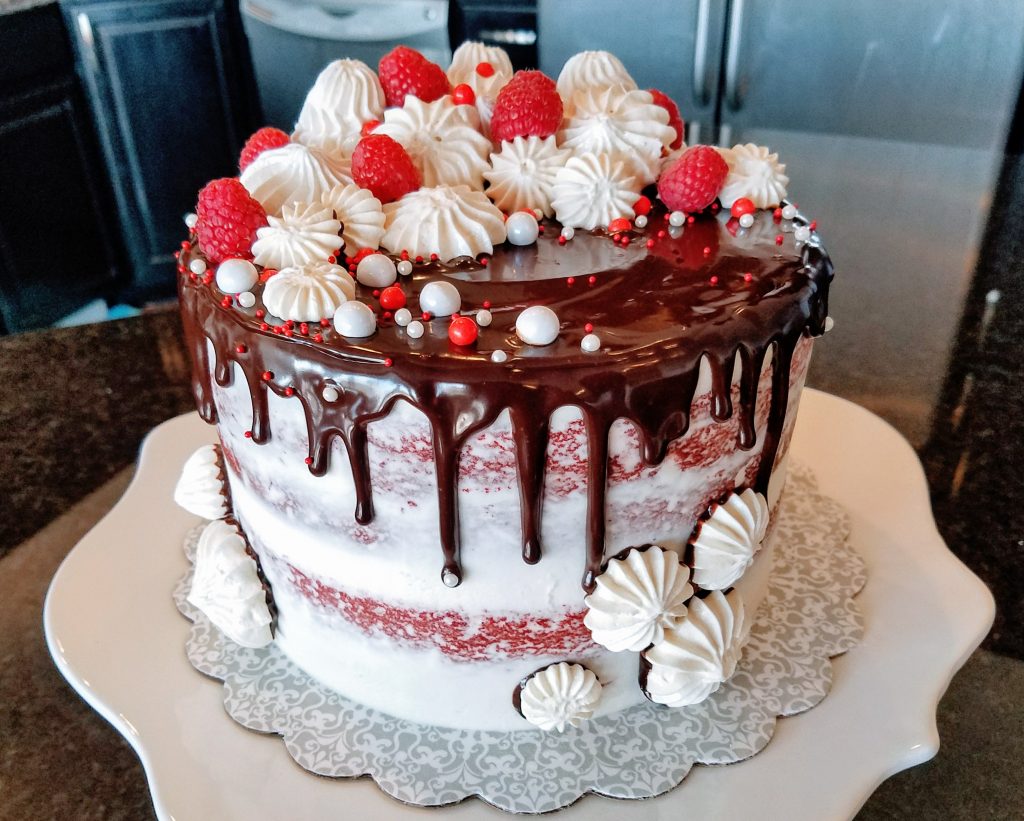
This Decadent Red Velvet Cake is the only Red Velvet Cake you’ll ever want to make. It is moist, packed full of flavor, and has an incredible texture.
What I love about this recipe is that it doesn’t just taste like Red Food Color! (Does anyone else think that’s what most Red Velvet Cakes tastes like?!) This Decadent Red Velvet Cake is rich, never lacking in flavor, and NEVER dry! There are a lot of Red Velvet Cake Recipes out there that I honestly think just taste… yuck! But mine has kind of a unique flavor. And the funny thing is that the flavor was a total accident!
Jump to Recipe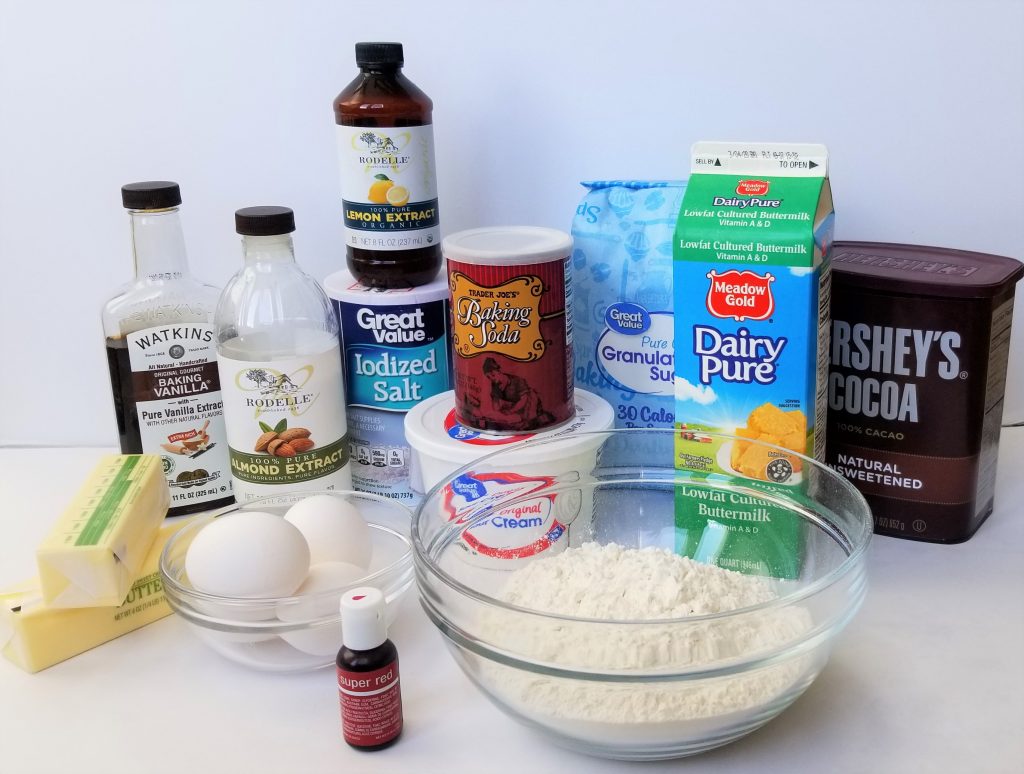
Red Velvet Cake was never my favorite cake. I never really understood the hype. So in over a year of baking custom cakes for friends and family I hadn’t ever made a from scratch Red Velvet Cake. But I have pushy family members, and a few years ago my older brother INSISTED that I could come up with a cake recipe (for a cake that I don’t normally like) in just 3 days!
Hahaha! I was doubtful… But I came across this Red Velvet Cupcake Recipe by McCormick and it had great reviews, so I figured I’d use it to try and make a cake. Over the years I’ve tweaked a few things and now I love it even more!
So here is how the happy accident occured…
I have A LOT of extracts in my pantry, and when reaching for the Almond Extract, I accidentally grabbed Lemon! When I poured it into the bowl it didn’t smell like almond. I looked at the bottle and realized it was lemon extract, and briefly panicked! But I was on a time frame, and it was one of the last steps. There was no going back… so I baked the cake anyway! And when that Decadent Red Velvet Cake emerged from the oven I could TELL it was a winner! The smell alone had me drooling.
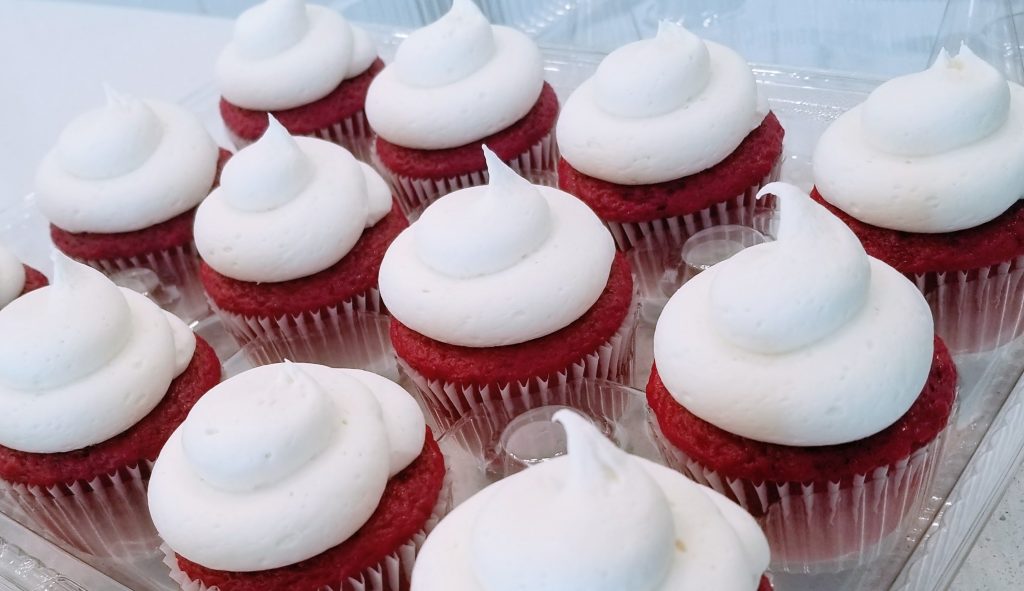
I paired it with my Fluffy Cream Cheese Frosting and it was the first Red Velvet Cake recipe that I have ever liked! The first one I actually WANTED to eat! And I think the hint of Lemon actually made a BIG difference.
Changes I made to the original Recipe
One thing that I didn’t love about the McCormick recipe was that I felt it had too much Cocoa Powder. Red Velvet always has cocoa powder, but the cake itself shouldn’t taste like Chocolate. It should be subtle. So I cut the cocoa powder in half! This makes the cake a brighter, happier red and gives it less of a cocoa flavor, which really helps the true flavor of the cake to take over.
Lastly I recommend substituting buttermilk for the milk. ***This step is completely optional.*** It still tastes great with just milk. However, I really like my cake to have a full body.
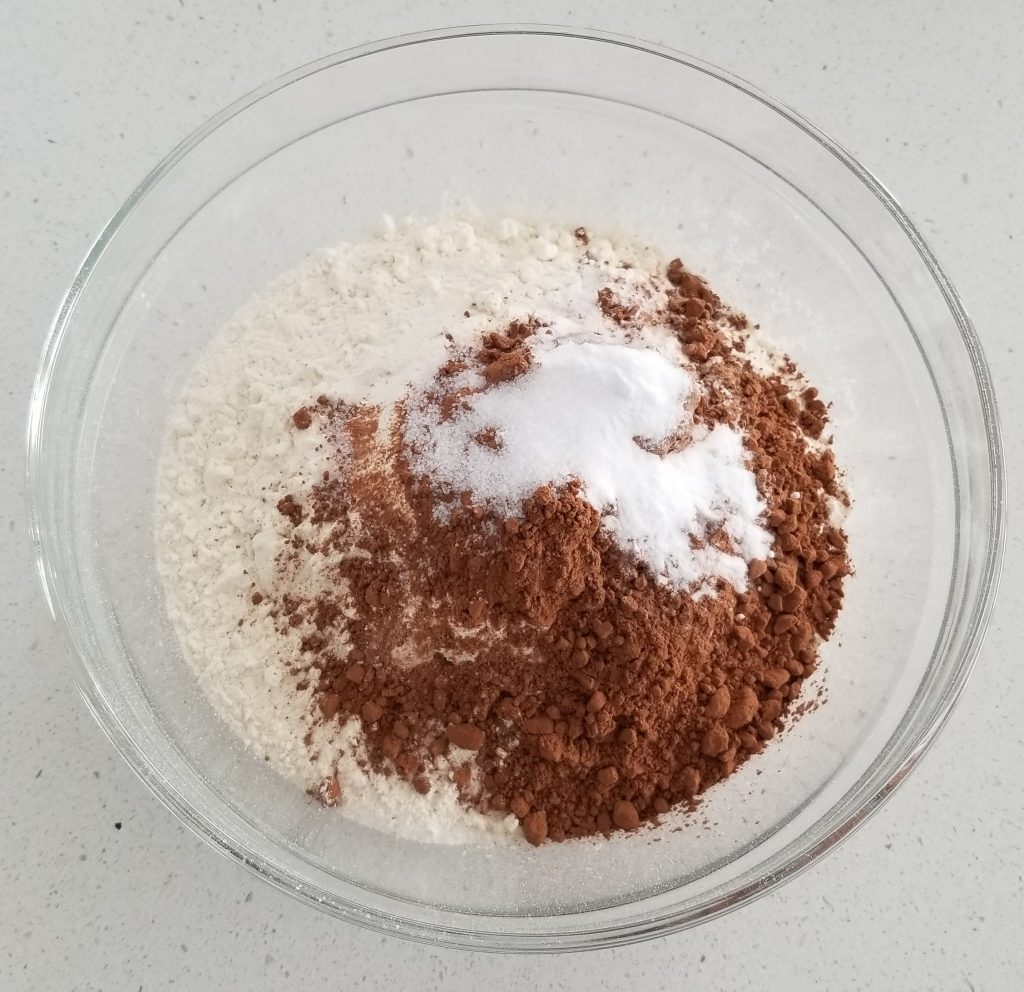
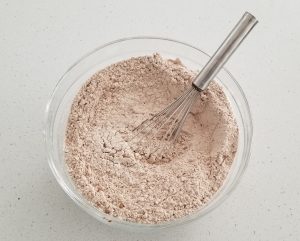
Combine Dry Ingredients 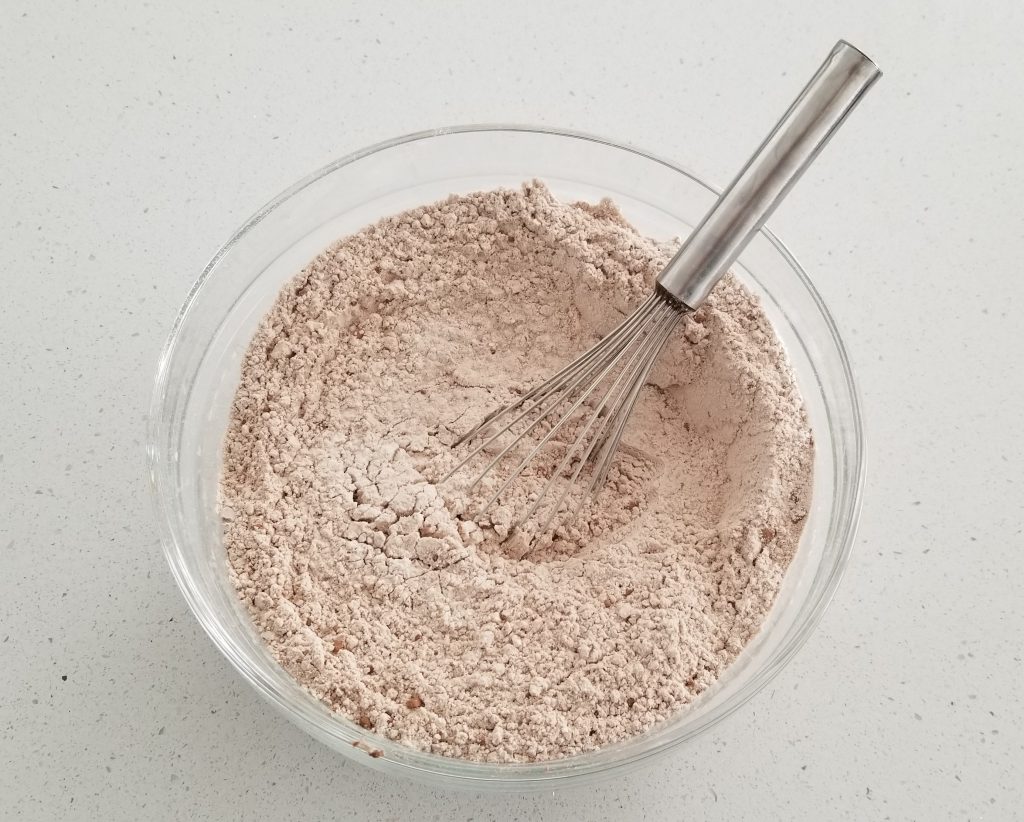
Whisk Together and Set Aside 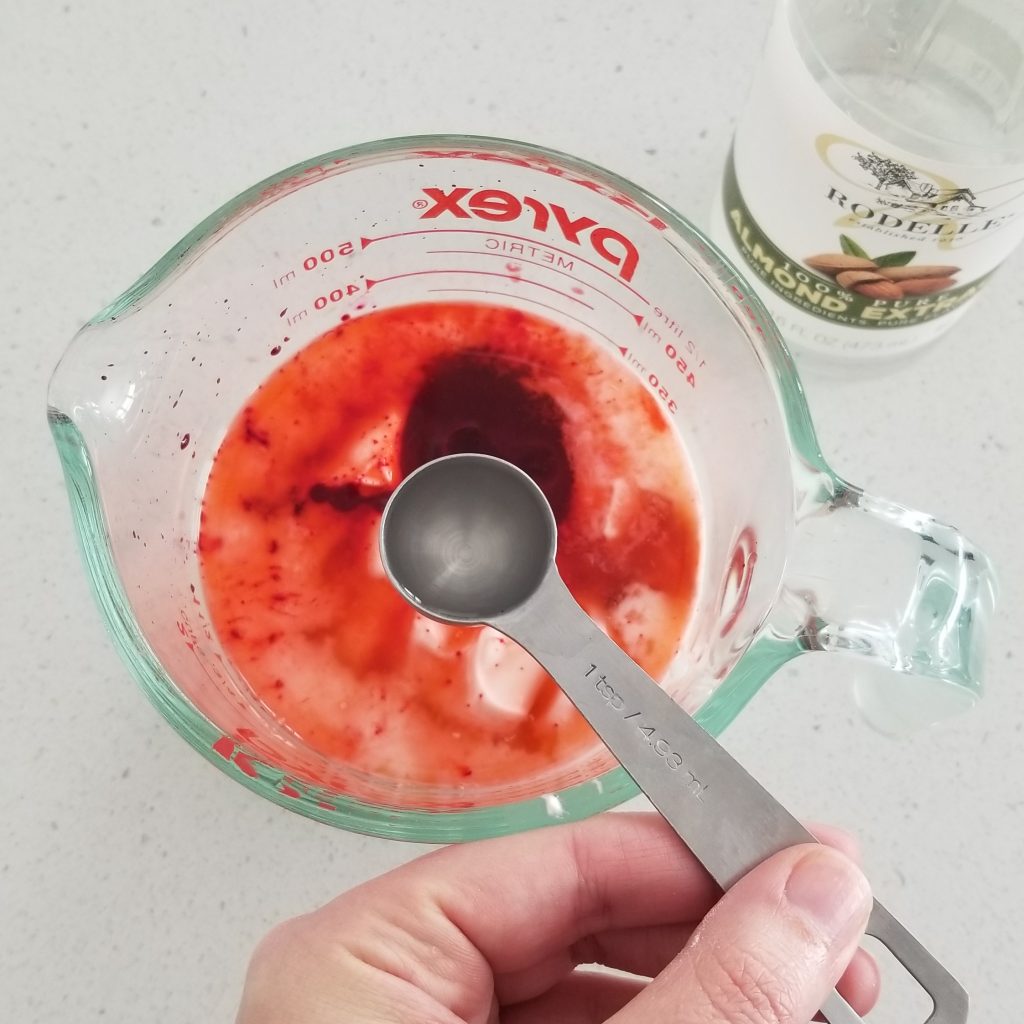
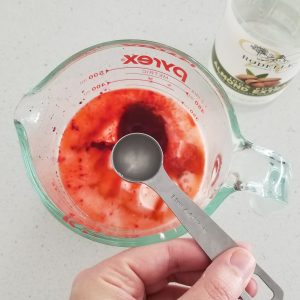
Combine Milk, Sour Cream, Red Food Color and Extracts
Set Aside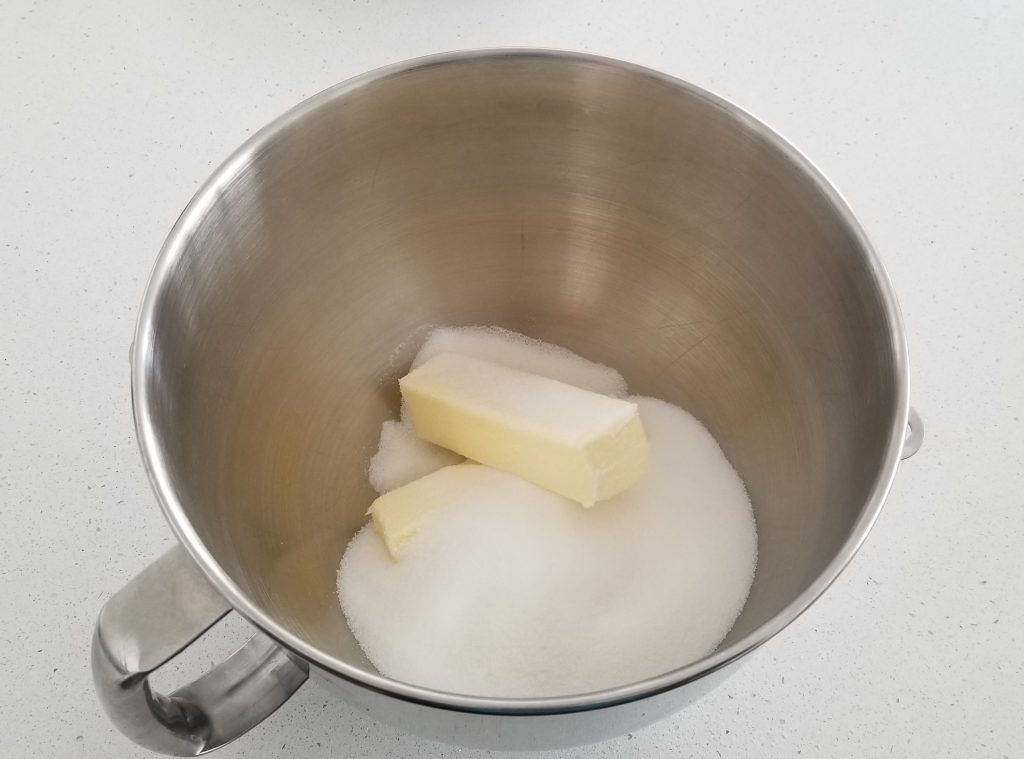
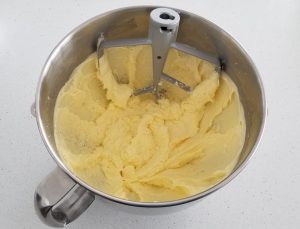
Cream Butter and Sugar 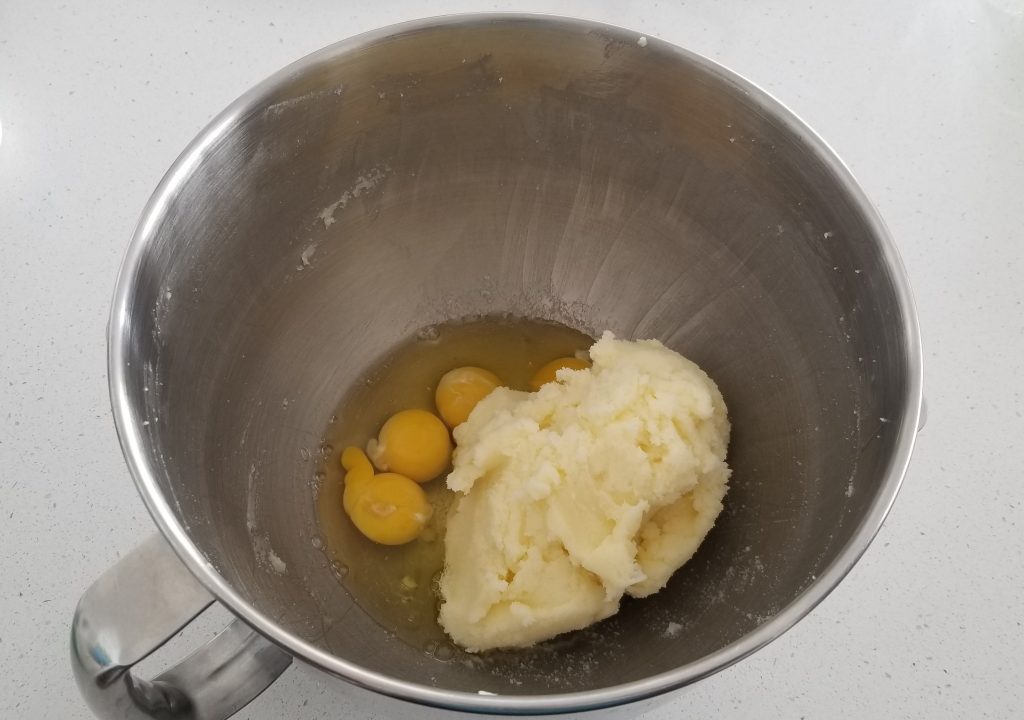
Scrape the bowl, Add Eggs 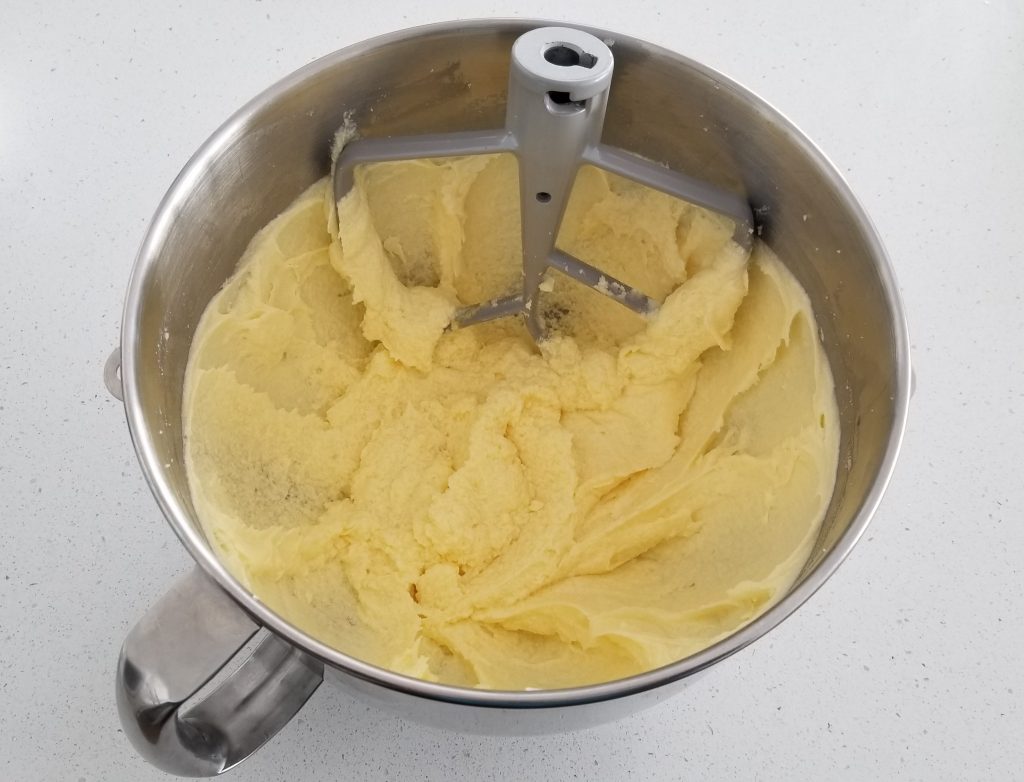
Whip Until Fluffy 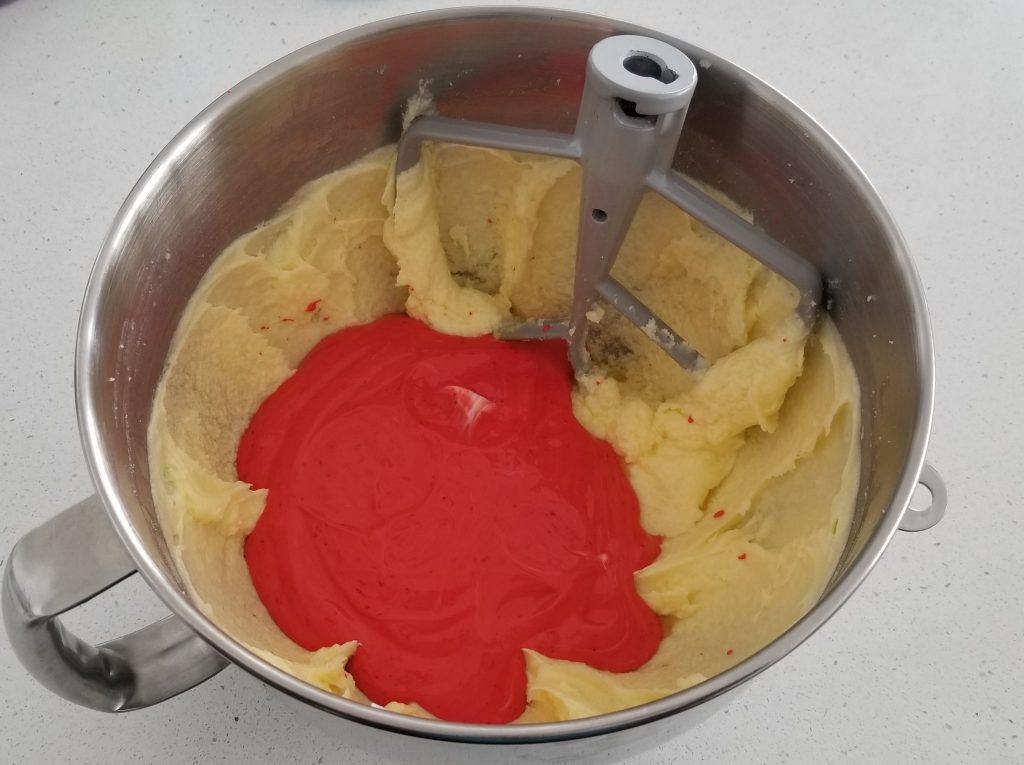
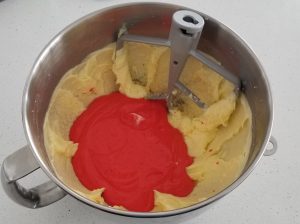
Add Wet Mixture & Mix Until Fully Combined 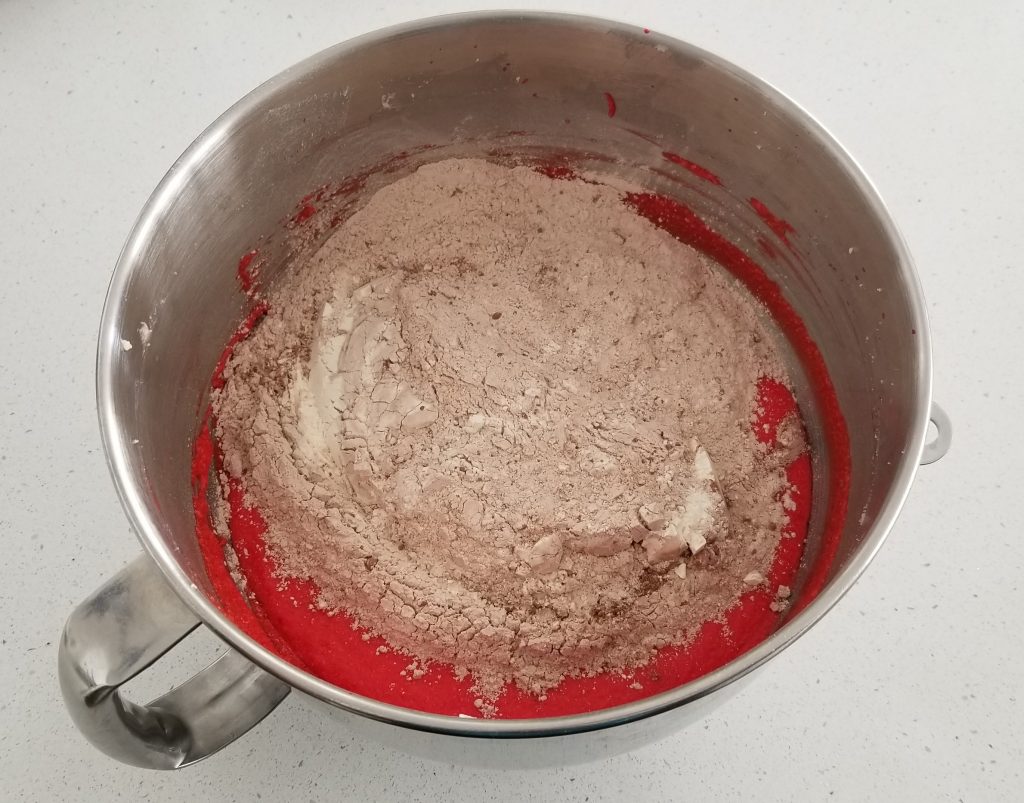
Add Dry Ingredients 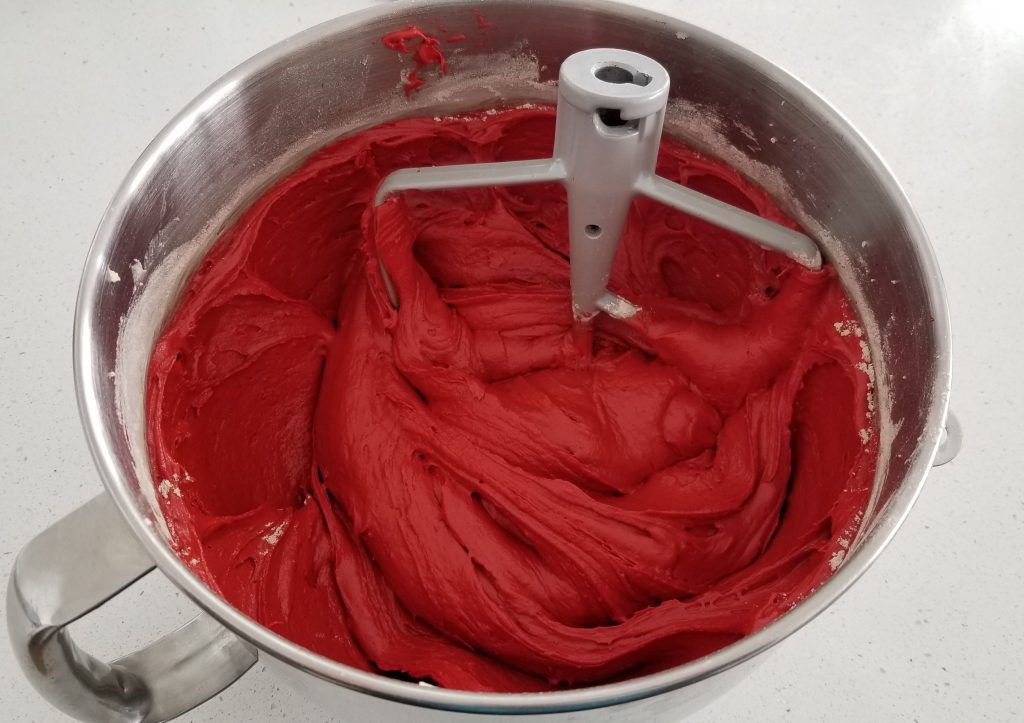
Mix Until Just Combined
What makes this cake a moist, Tender Cake?
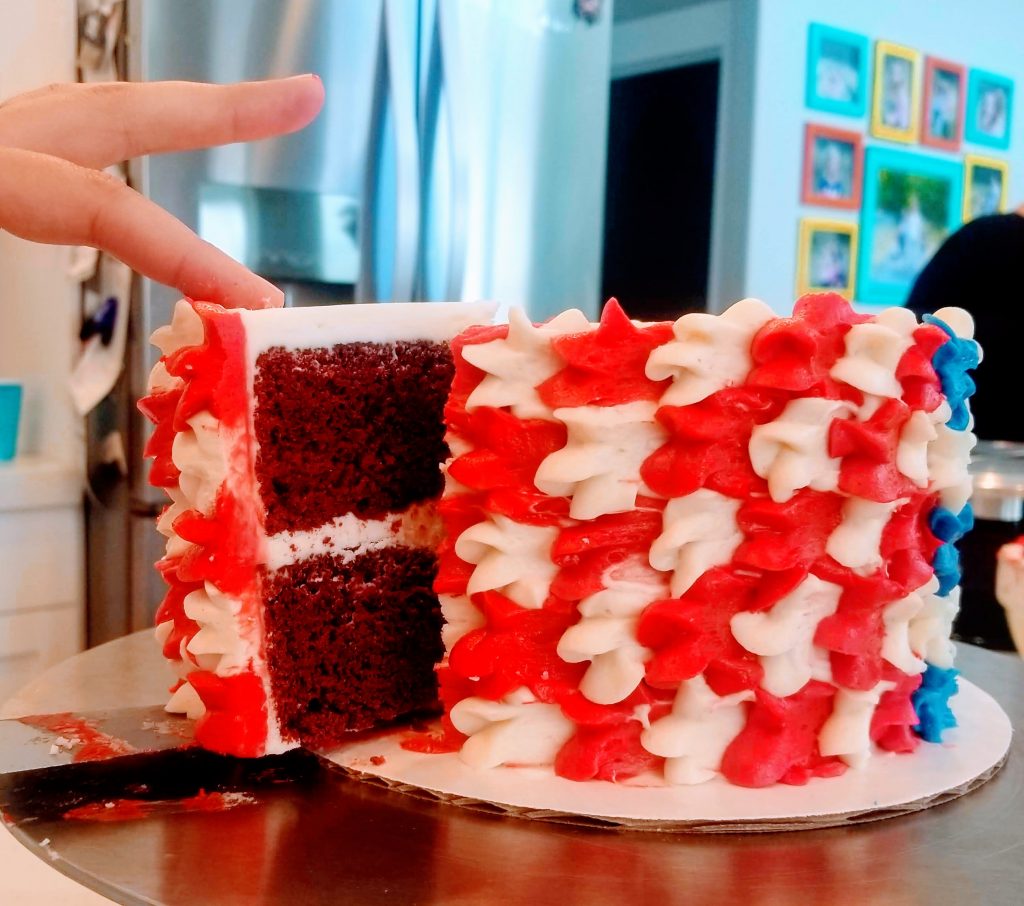
When I say full body, I’m talking about stack-able, sturdy and satisfying cakes. Personally, I tend to think that really airy, lite cakes leave you feeling like you need more. I like to eat a slice of cake and feel content. So I prefer my cakes to be on the denser side. I don’t want them to taste like a brick by any means! But I don’t want to feel cheated by a light airy piece either!
The butter, sour cream AND buttermilk in this Decadent Red Velvet Cake make it a bit heavier and extremely moist!
can you make this cake Gluten Free?
You sure can! Use your favorite Gluten Free Flour Mix to make this cake gluten free. I prefer the taste of 1 to 1 by Bob’s Red Mill. I honestly can’t even tell it’s gluten free when I make it with this flour!
How to get started
When You are preparing to bake this cake, don’t forget to head over to my post all about Baking the Perfect Cake Layers! Here you can learn how to prep your pans, what pans lead to better baking success, and most importantly, how to get that cake out of the pan PERFECTLY EVERY TIME!!!
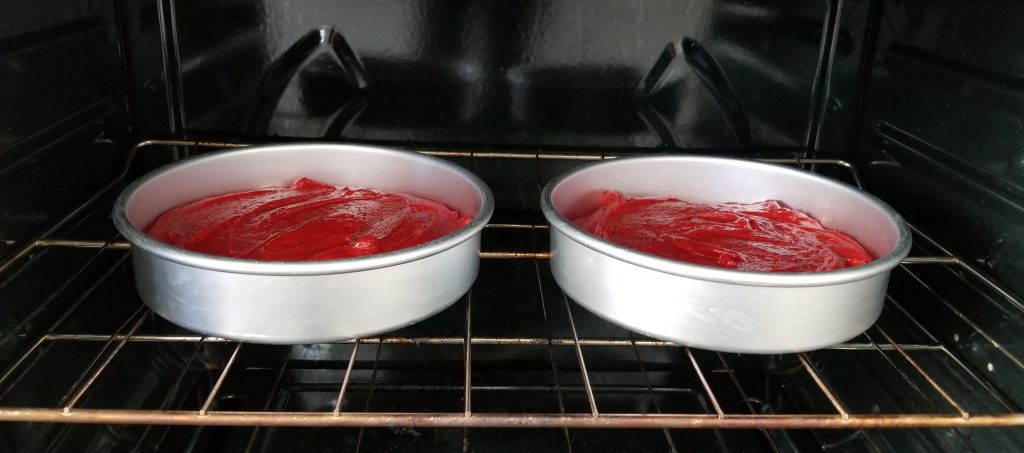
Bake at 325 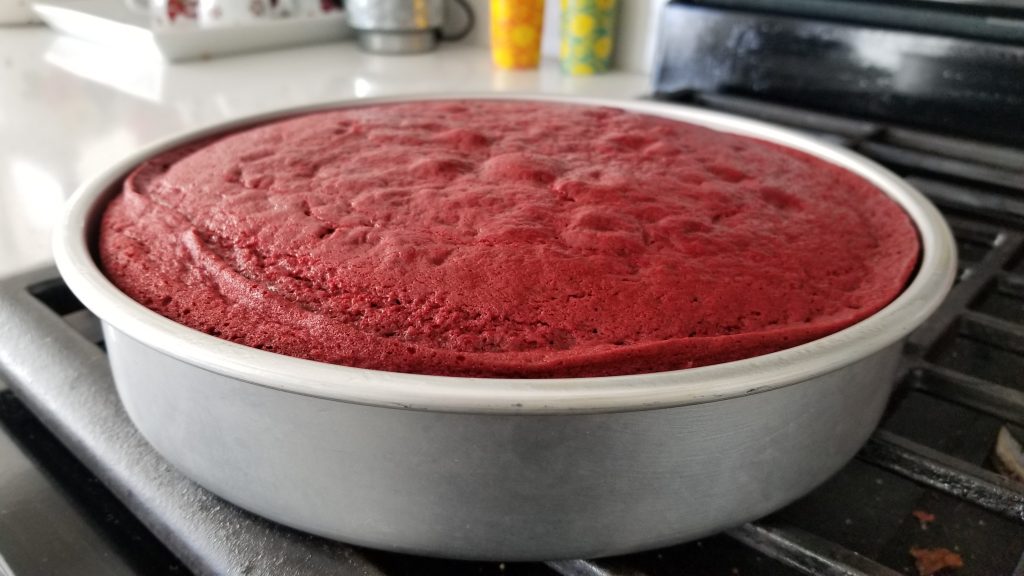
Cool in Pan for 10 Minutes 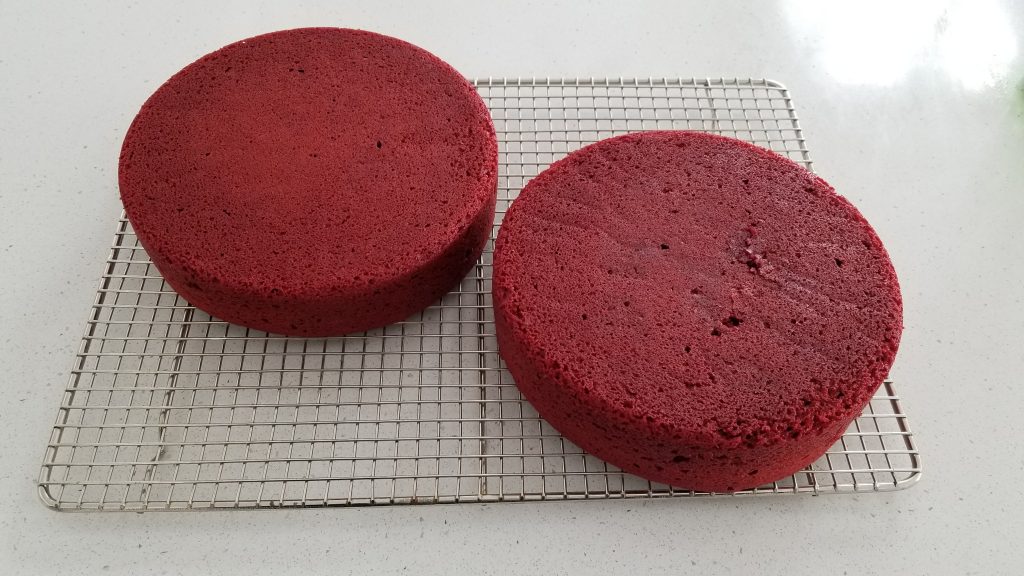
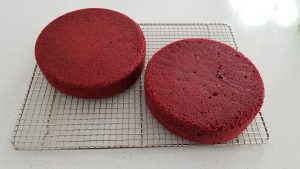
Invert onto Wire Rack to Cool Completely
Whether you are a Red Velvet Fan or not, this Decadent Red Velvet Cake will definitely have you grabbing for a fork…
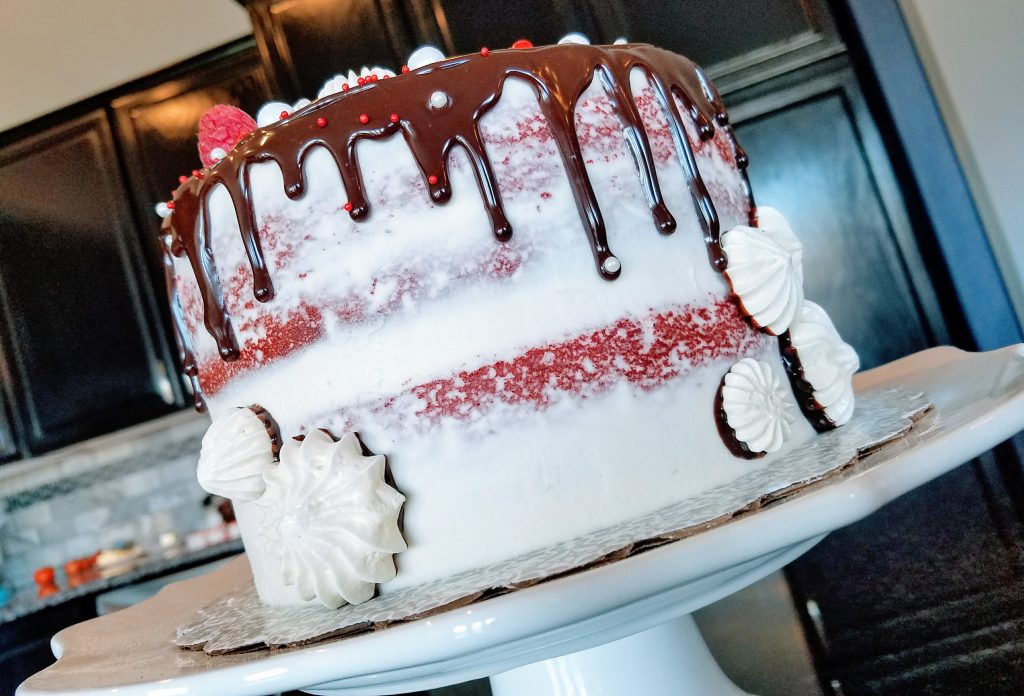
Want to try making that fun chocolate drip?
Pour 1/2 Cup of Hot Heavy Whipping Cream over 1 Cup of Hershey’s Special Dark Chocolate Chips. Let it sit for 2-3 minutes and then stir until combined. Let it cool until just slightly warm. When it is no longer hot, use a squeeze bottle or a spoon to guide it over the edges of your chilled cake and let it work its magic! Head to my Instagram page to watch a video of a Ganache Drip Cake in action!
Happy Baking! -Chels
Decadent Red Velvet Cake
Ingredients
- 2 3/4 Cup All Purpose Flour
- 1/4 Cup Cocoa Powder
- 1 tsp Baking Soda
- 1/2 tsp Salt
- 1/2 Cup Buttermilk
- 1 Cup Sour Cream
- 1 oz Red Gel Food Color
- 1 tsp Pure Vanilla Extract
- 1 tsp Pure Almond Extract
- 1 tsp Lemon Extract
- 1 Cup Unsalted Butter, at Room Temperature
- 2 Cup Sugar
- 4 Large Eggs, at Room Temperature
Instructions
- Preheat your oven to 325° Fahrenheit. Grease 2- 8" Baking Pans and line with Parchment Paper.
- Whisk Flour, Cocoa Powder, Baking Soda and Salt together in a bowl and set aside.
- Create your Wet Mixture by combining Buttermilk, Sour Cream, Food Color, and Extracts in a separate bowl and set aside.
- Beat Butter and Sugar together until fluffy and lighter in color. (About 3 minutes). Scrape down the sides and bottom of the bowl and add Eggs. Beat until fully combined.
- Stir in the wet mixture until fully combined. Scrape down the sides and bottom of the bowl to make sure no clumps of butter remain.
- Add in the Dry Mixture and Stir until just combined.
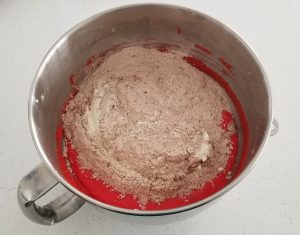
- Divide batter evenly between the 2 pans. This can be done easily with a kitchen scale (filling each pan with about 25 oz of batter), but if you don't have one, just eyeball it. Your pans should be about 1/2 way full. (You will have a bit of batter leftover, which is perfect for "test" cupcakes! 😉
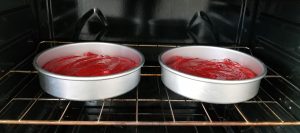
- Bake Cakes on Center oven rack for 35-40 minutes or until a toothpick inserted into the middle of each cake comes out with only a few moist crumbs. Do not over bake.
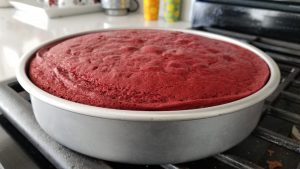
- Remove Cakes from oven and allow them to cool for 10 minutes. After 10 minutes, invert onto a wire rack to cool completely. When cakes are cool, wrap each layer tightly in plastic wrap and place into the freezer to chill for easier decorating. Enjoy!!
Notes
Such a stunning cake!
Thank You Barbara!
Gorgeous and delicious!!
Thank You!
Best Red Velvet Cake recipe EVER! A MUST try!!! 💕
I love the flavors that this recipe allows to come through but I followed everything in the directions, my cake ended up so dry. I even took it out of the oven early.. just wish I knew what caused this to happen but overall great recipe.
I’m so sorry your cake ended up dry. That is usually my complaint about from scratch cakes, but this one has never turned out dry for me even when I HAVE overbaked. What a mystery! Let me know if you want to try and troubleshoot the recipe!
Hi! I was wondering for the ganache drip design, would you do the drips in the squeeze bottle first before putting a layer of ganache on the top of the cake??!!
If you want intentional drips, yes. But there are many ways do do the drip, and there really is no wrong way.
Made this gluten free for a birthday. Turned out wonderful! It really is a beautiful cake. Used bobs 1 to 1 baking flour as recommended. Thank you!
Yay! So happy to hear it! It is such a great recipe to be made gluten free! Can’t even tell the difference IMO!
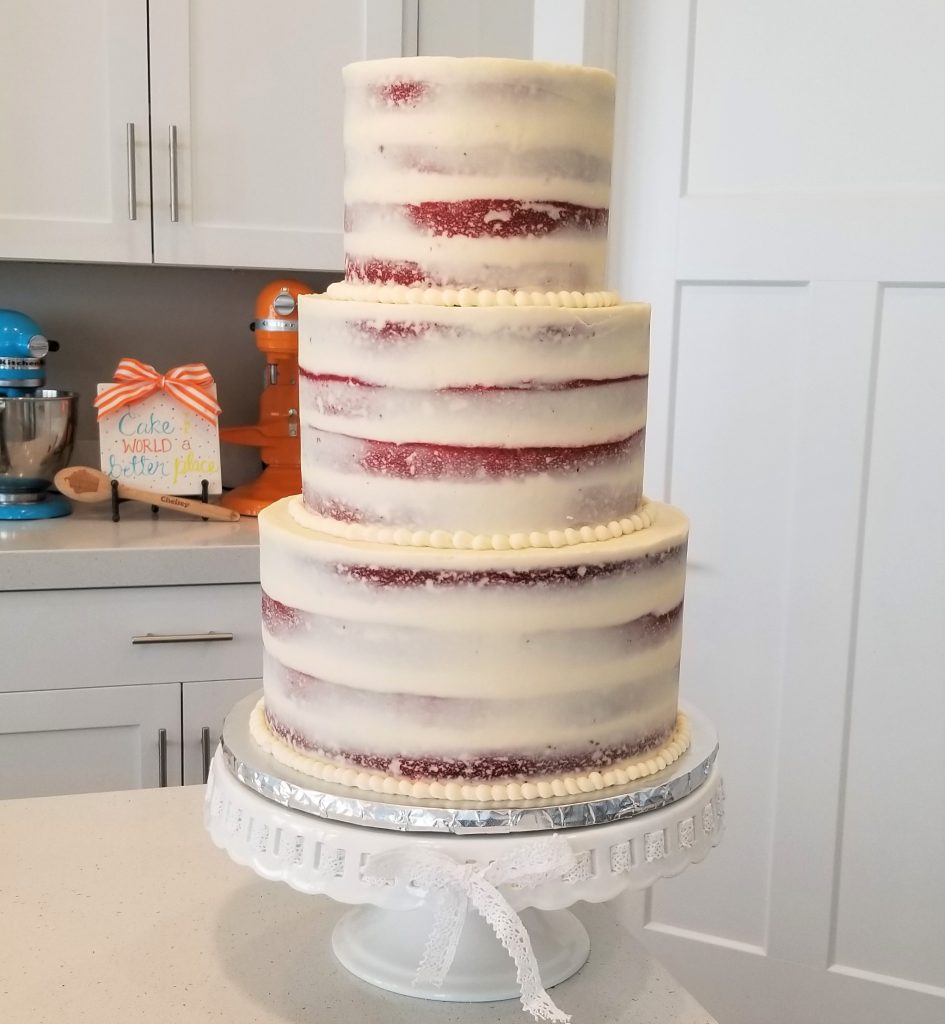
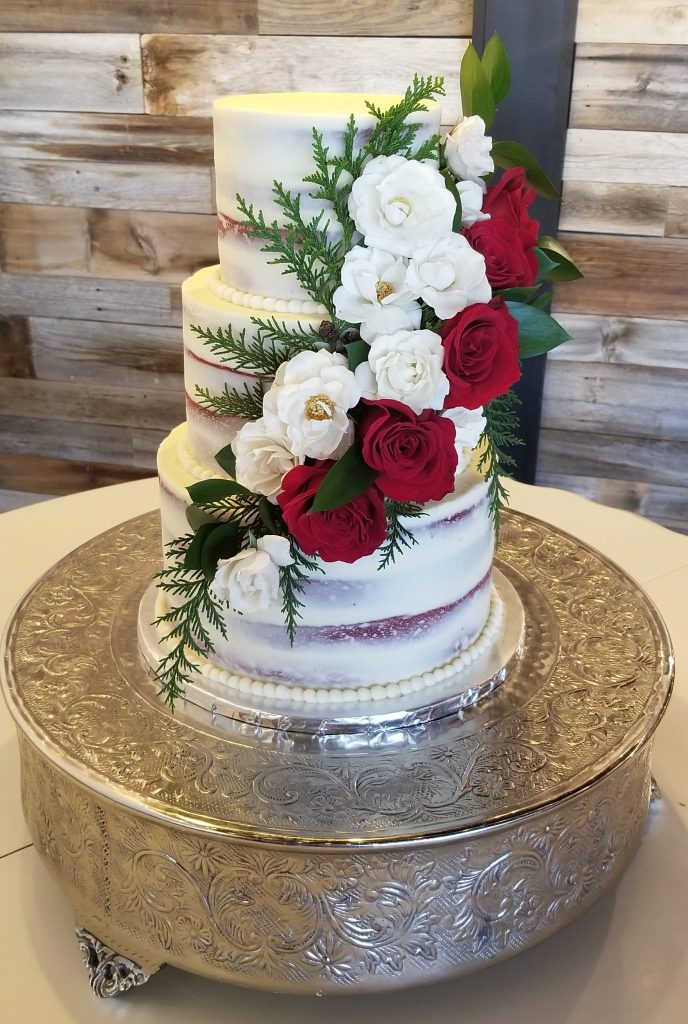
Thank you for this recipe! I am definitely going to try it. Do you have instructions that you would share for how you did that BEAUTIFUL three tier naked cake?
You’re welcome! If you haven’t stacked a cake before I would definitely hop on YouTube and find some videos on how to stack a cake. As far as the naked cake goes, I always frost my cake layers frozen. This way the icing sets up quickly and you have minimal crumb escape into your buttercream. I also would suggest frosting it thicker than you thing and using a bench scraper to get closer to the cake layers. Use light pressure and your turn table to swipe around the cake until the layers are just slightly exposed. I rarely do a full naked cake, and opt for the semi. Good luck!! Let me know how it turns out.