This Soft & Chewy Homemade Vanilla Caramel recipe will give you step by step instructions for making the BEST caramels you’ve ever had. It also includes options for making them with nuts and flaked sea salt.
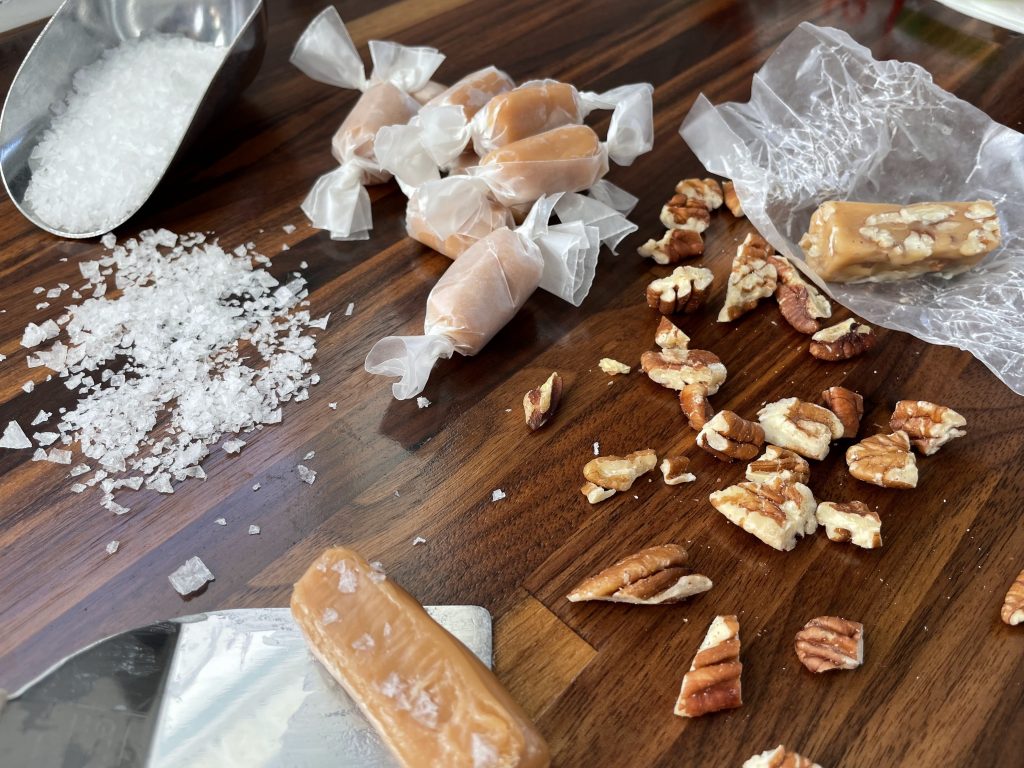
Add a new tradition to your holiday baking and try making these delicious, creamy, Soft & Chewy Homemade Vanilla Caramels! These yummy, addicting treats will impress your loved ones and have you reaching for more. Make them plain, with nuts, sprinkled with sea salt, covered in chocolate, rolled in your favorite toppings… the options are only as limited as your imagination!
Each Christmas I spend a day with my mom and make MANY MANY batches of these Soft & Chewy Homemade Vanilla Caramels. This tradition is something that my entire family looks forward to. Not only because they get to eat them, but also because my mom and I typically argue the whole time we make them. And people come just to see the show! Apparently we are quite entertaining!
What is different about my cooking environment?
A few things to consider while reading this post:
I live at a very high altitude. 6660′ to be exact! And altitude DOES affect candy making I have learned. So I only cooked my caramels to 222 degrees Fahrenheit, whereas when I’m in Salt Lake (4000′) I will cook them to 232 degrees for the desired firmness I’m looking for.
I also used an induction stove during this process, so they cooked faster, and I didn’t have to be quite as vigilant about getting them out of the pan as quickly. If you are working on a regular stove, you’ll want to work faster because the pan continues to cook your homemade vanilla caramels even after you have turned the burner off!
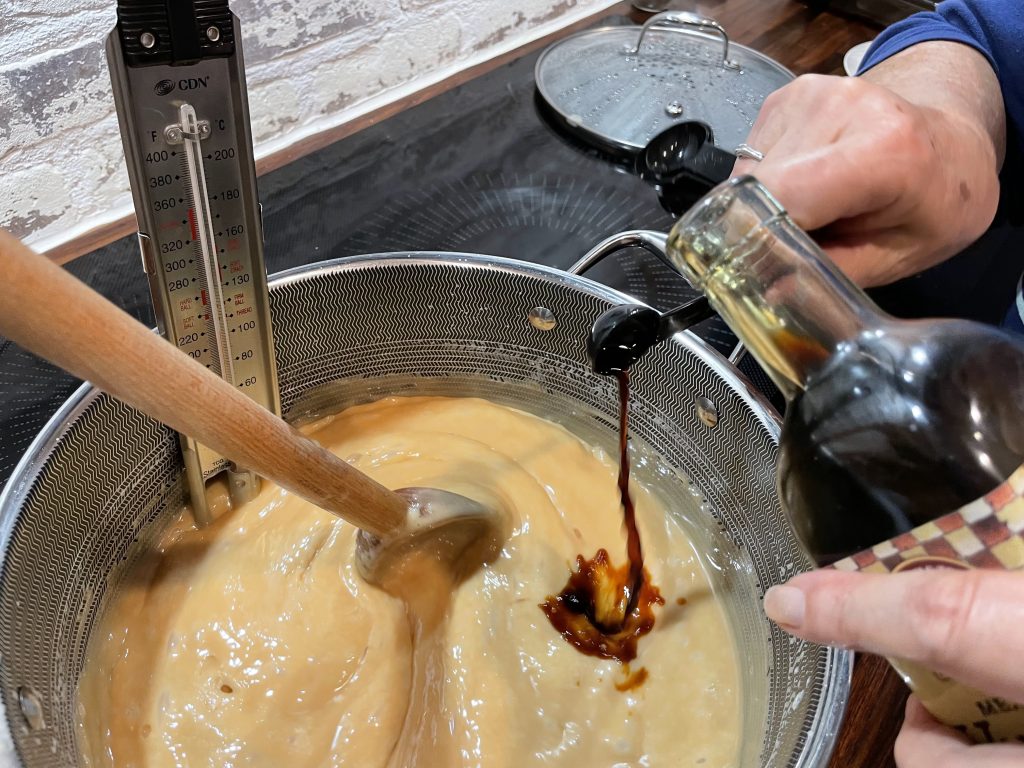
So stir in your vanilla and quickly get that lovely caramel lava out of the pan!
Make alone- or make with a friend
Normally I make these with a partner. It is a little easier. This year, however, I made 7 batches just so I could determine how to make them on my own. My mother helped me and we tackled all of the stressors we typically argue over. We took massive notes, and trouble shot all of the issues we commonly have. Then I made 3 batches on my own. We determined just what you need to do to tackle this job solo if you don’t have a Caramel making partner!
Supplies needed to make Homemade Vanilla Caramels
- Heavy Bottom Pan- this prevents your caramels from cooking too quickly or burning
- Candy Thermometer- this is candy making, so this is essential
- Long Wooden Spoon- the longer the better, so you don’t burn yourself
- Silicone Heat Resistant Spatula
- Pans for Caramels to cool and set in
- Wax Paper to wrap you cooled and cut caramels
Step By Step
Butter Pan 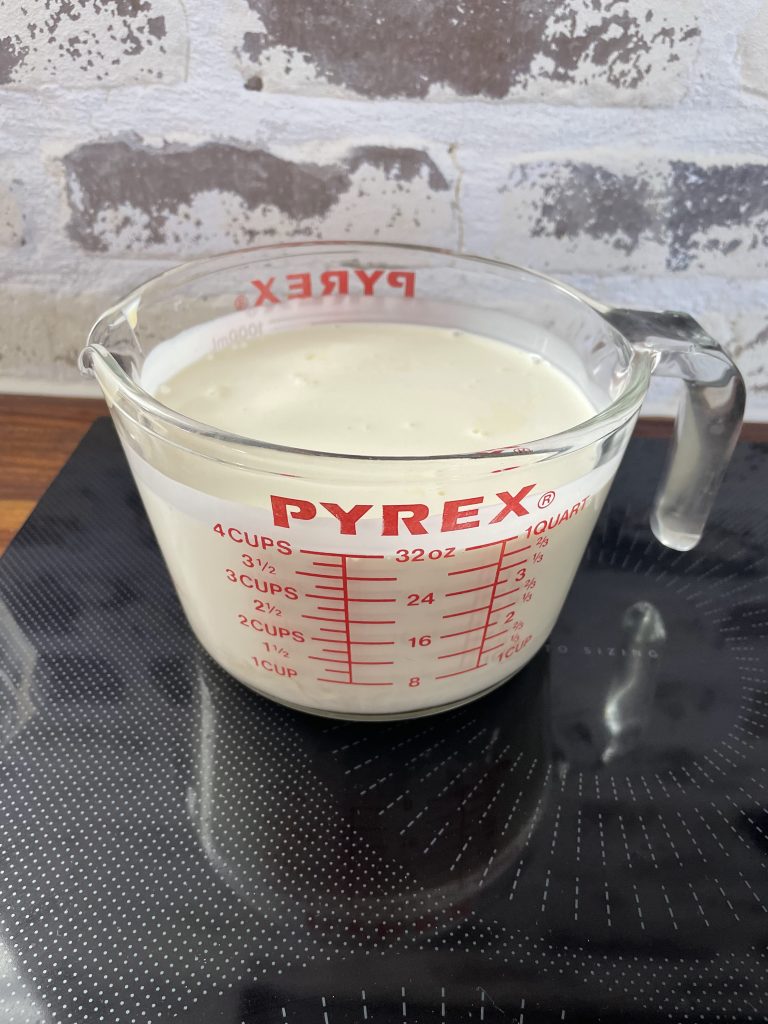
Warm Cream & Condensed Milk
Set Aside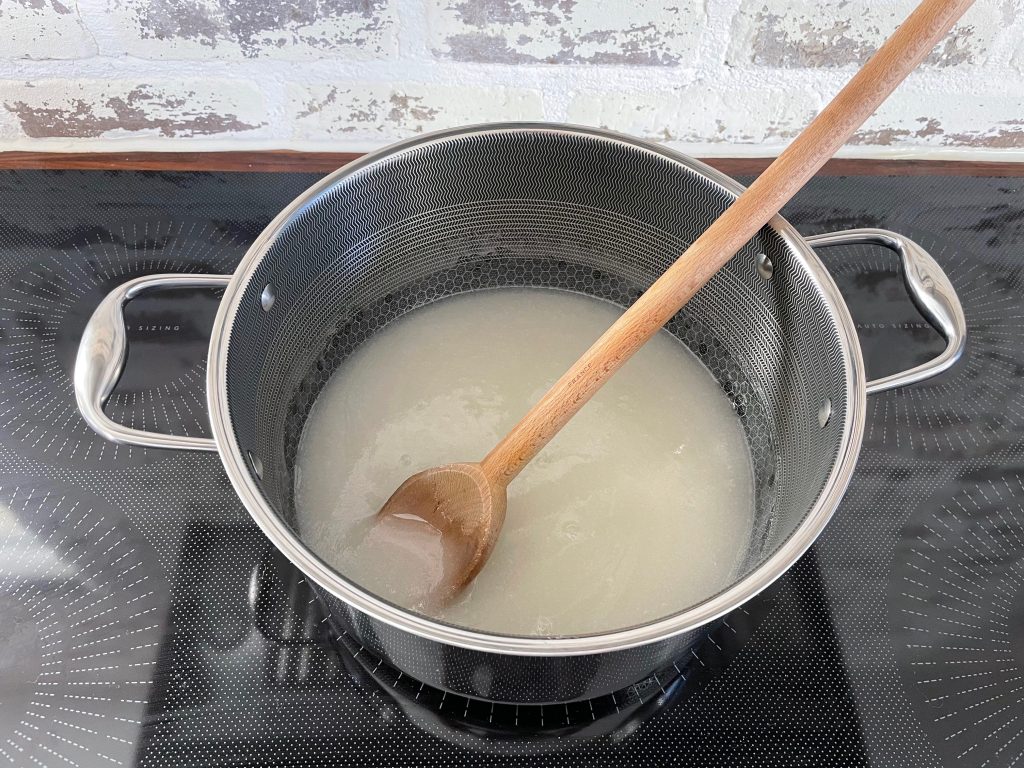
Combine Sugar, Syrup & Salt 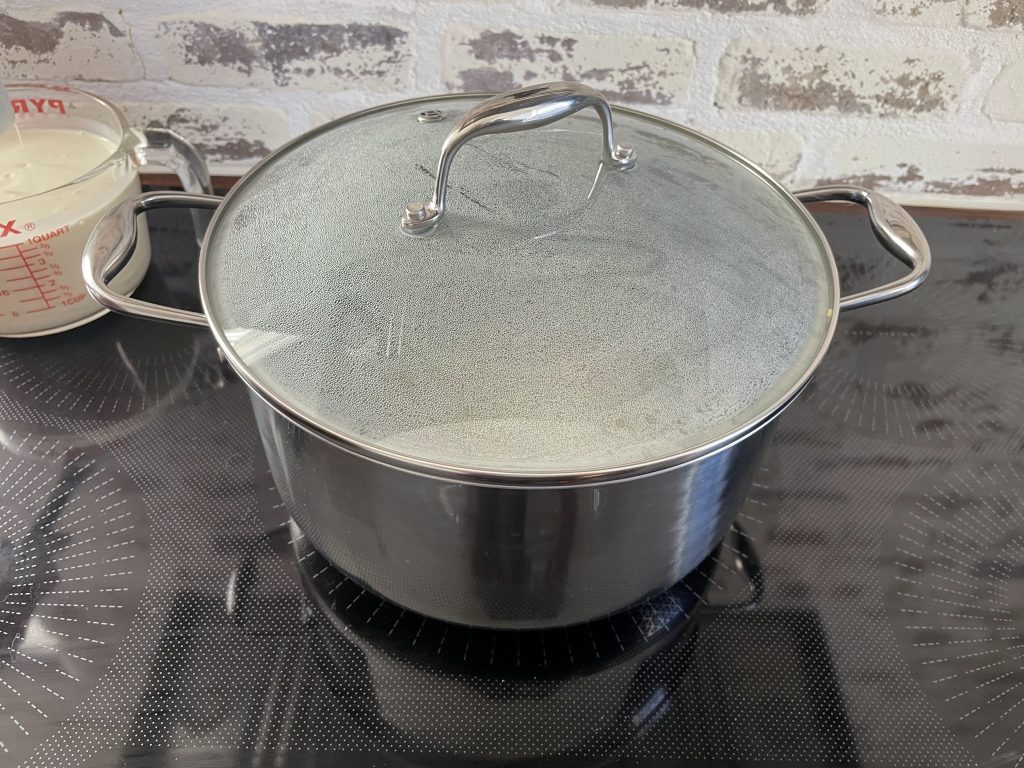
When boiling, put on lid for 2 minutes 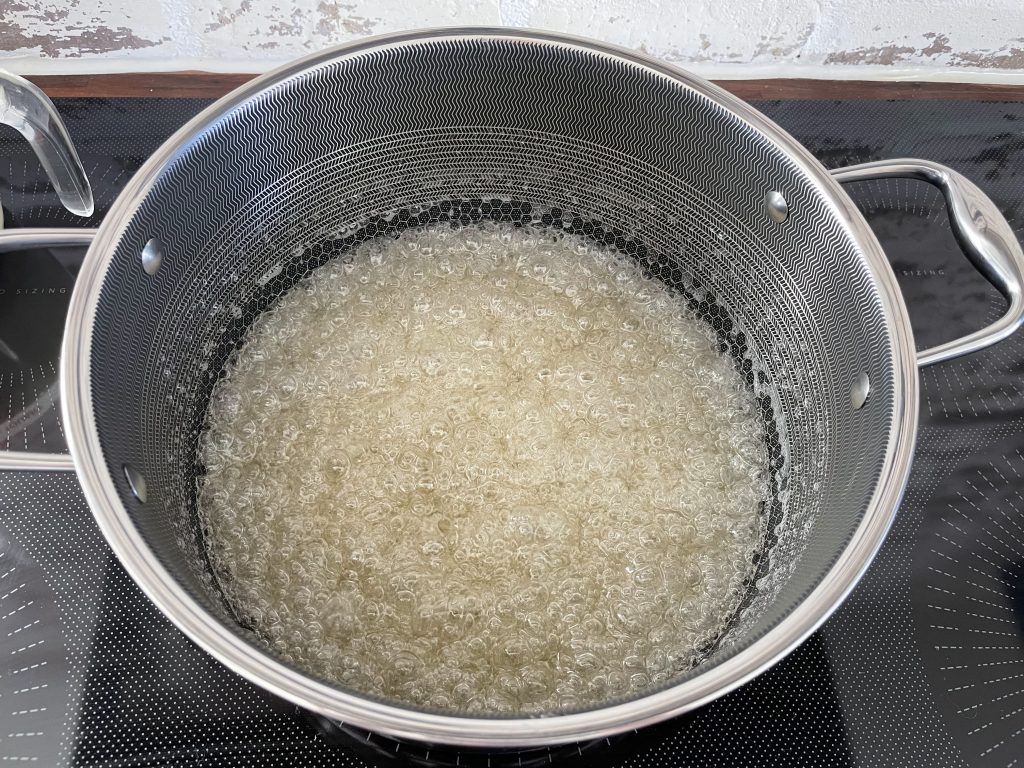
Watch for Color Change 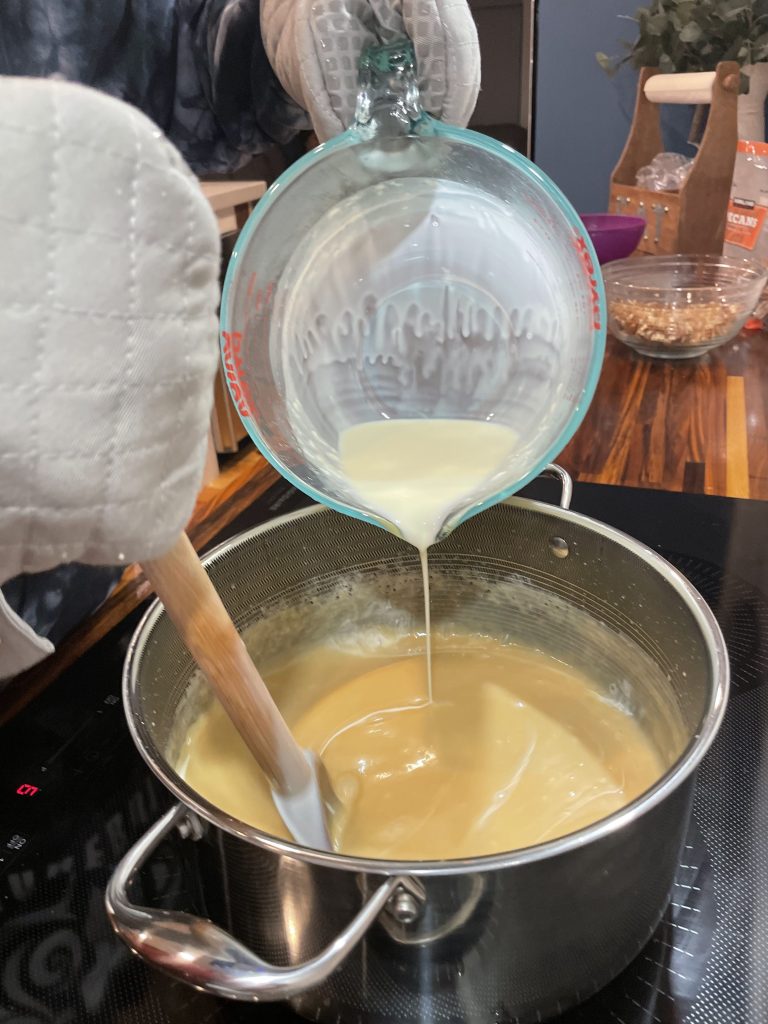
Add Cream SLOWLY while stirring constantly 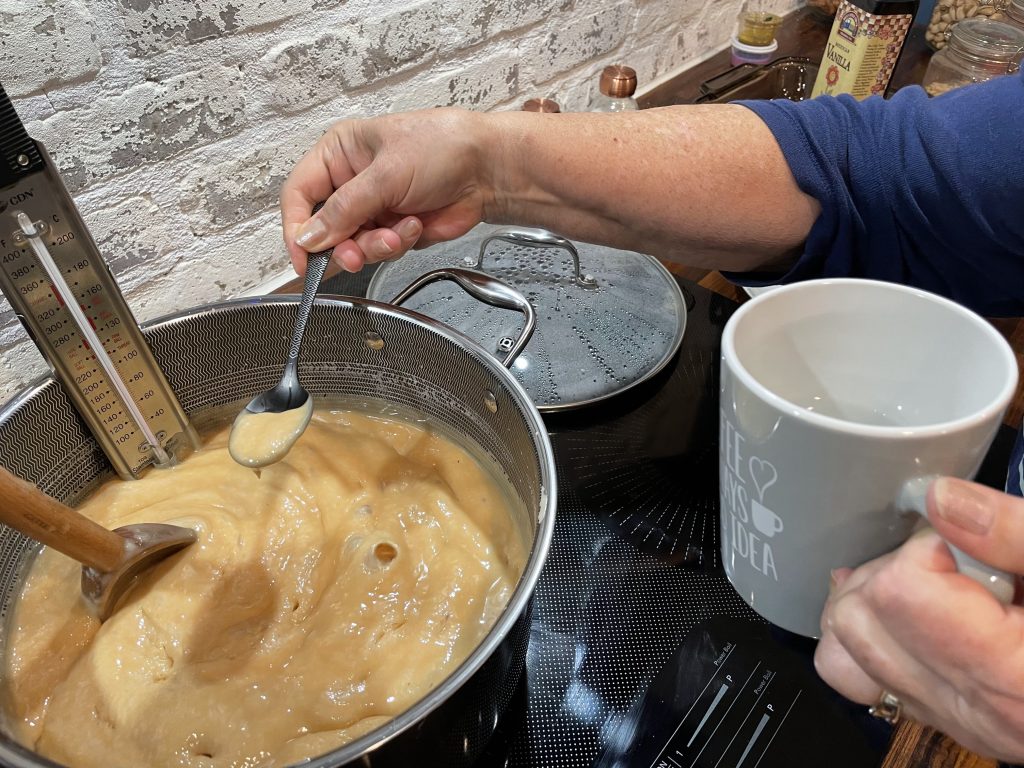
Test Consistency 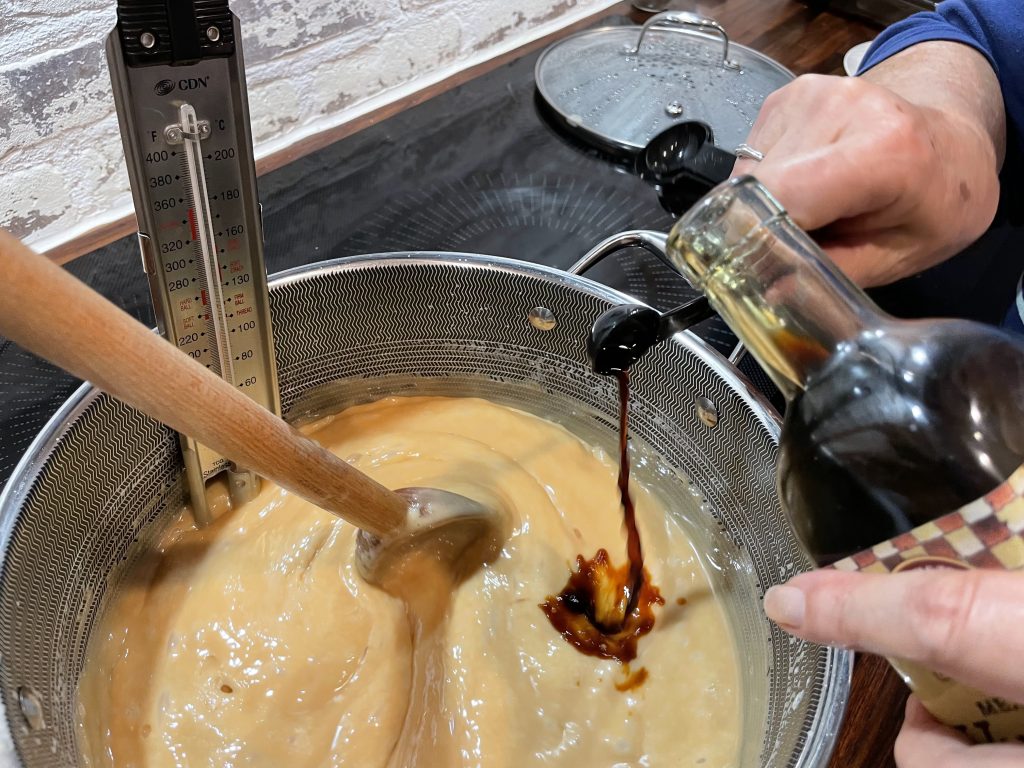
When softball consistency is met, add Vanilla 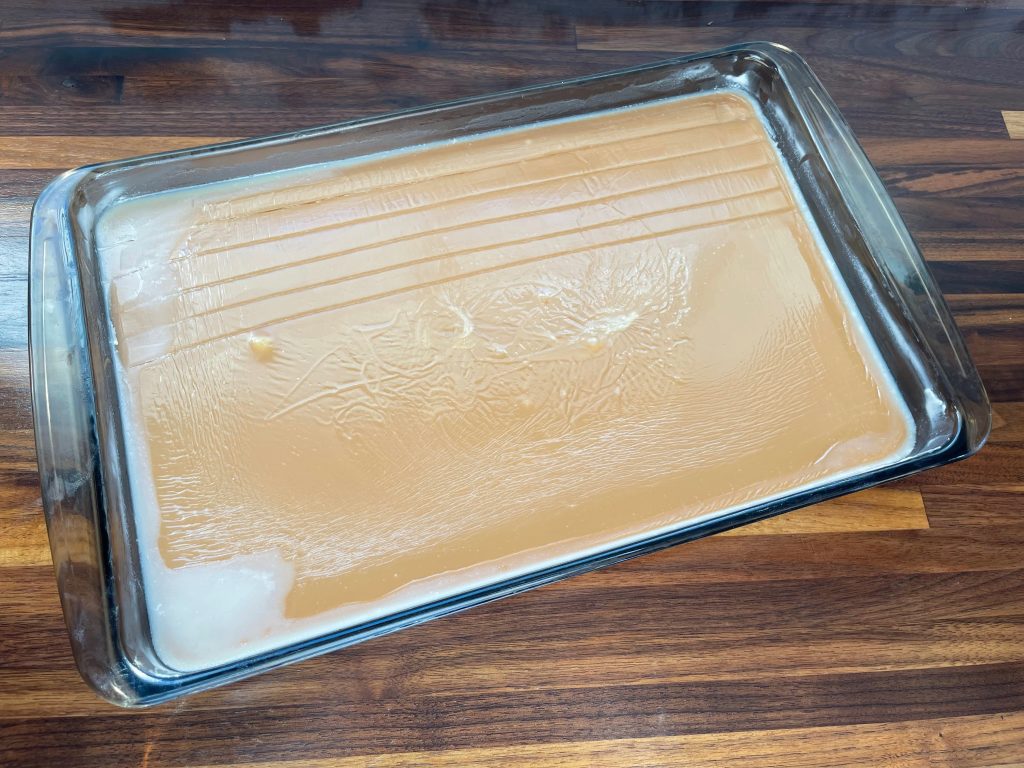
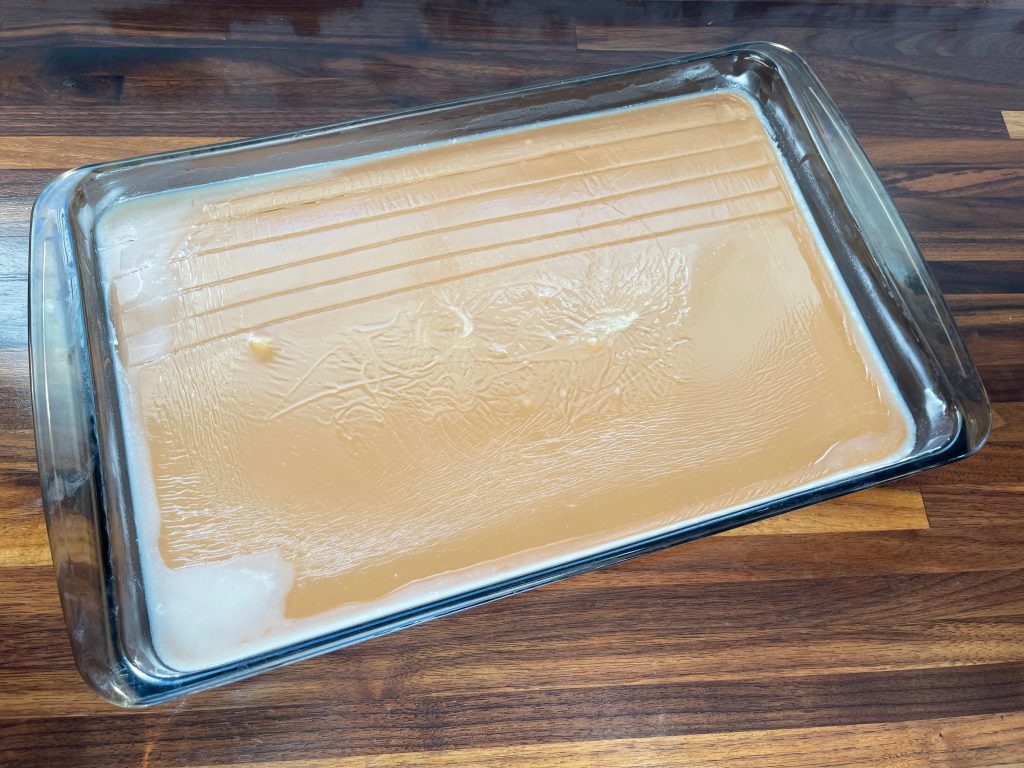
Pour into prepped pan
1. prep for homemade Vanilla Caramels
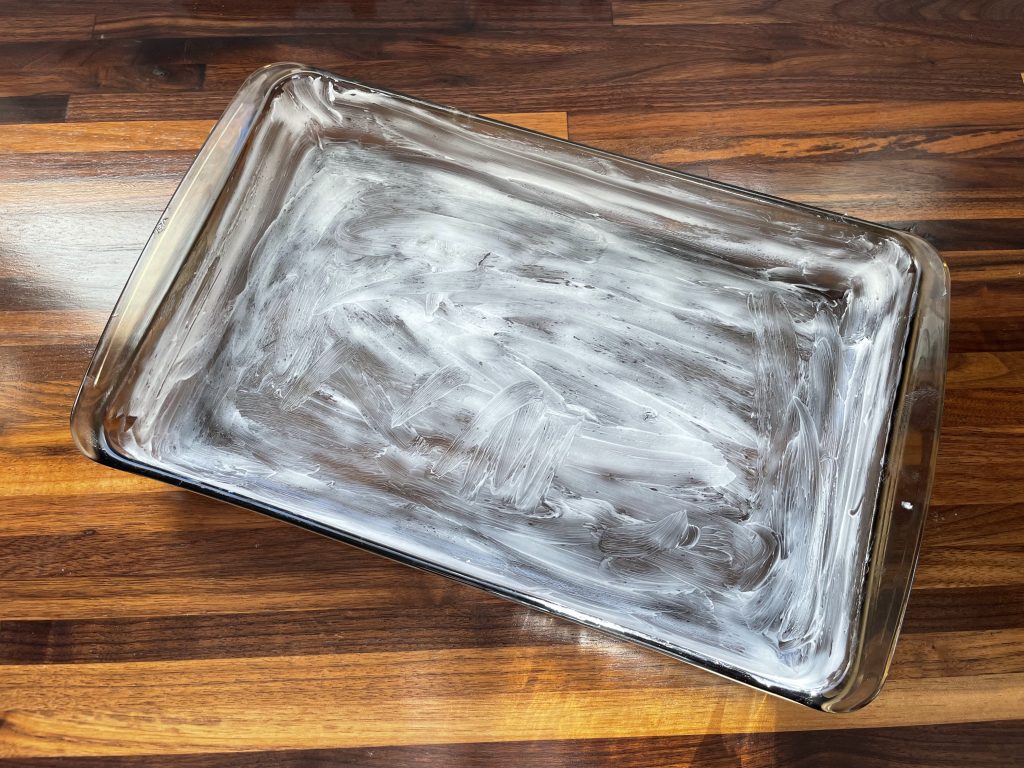
Prep your pan with BUTTER… Lots of butter. You’ll want to scrape off any excess when you’re cutting and wrapping, but butter is going to keep those soft and creamy caramels from sticking to the pan without adding unwanted flavor. Who doesn’t like butter?!!!
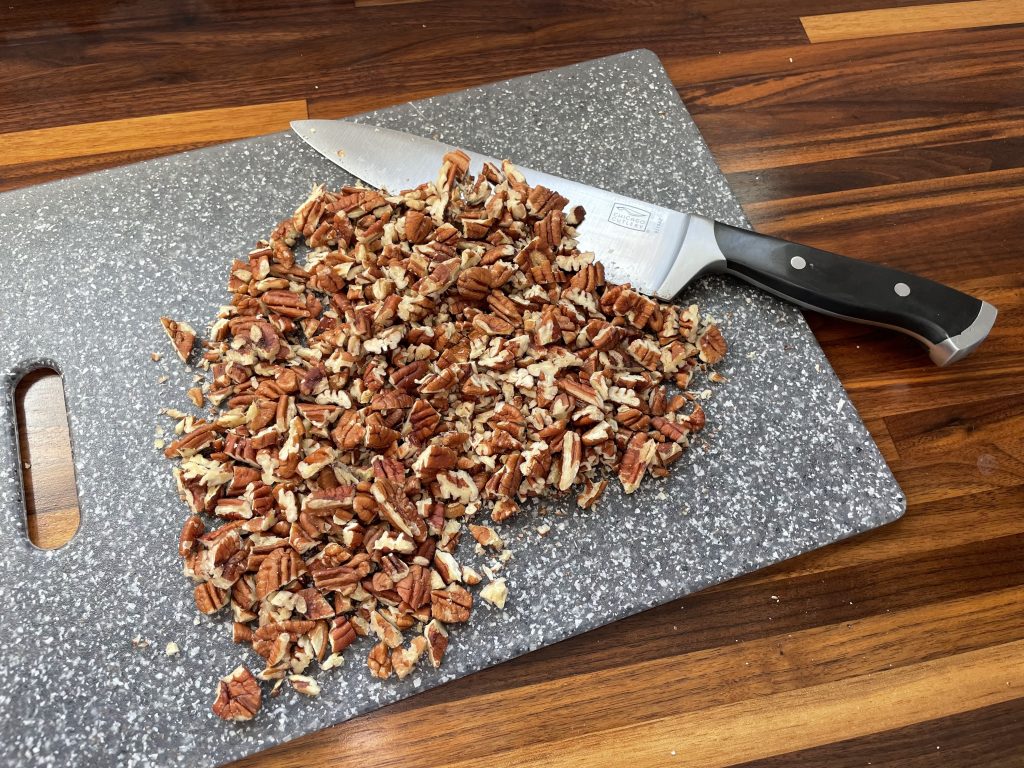
If you’re planning to add nuts, chop them and set them nearby.
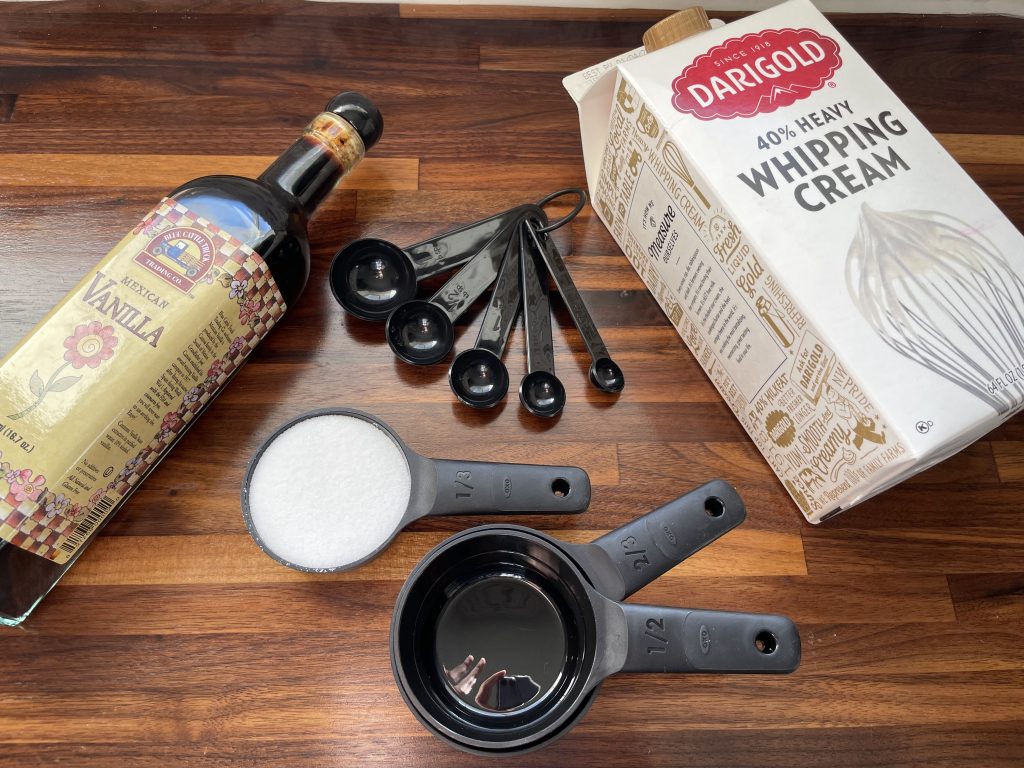
Measure out your vanilla and set it by the stove also.
2. Prep Cream Mixture
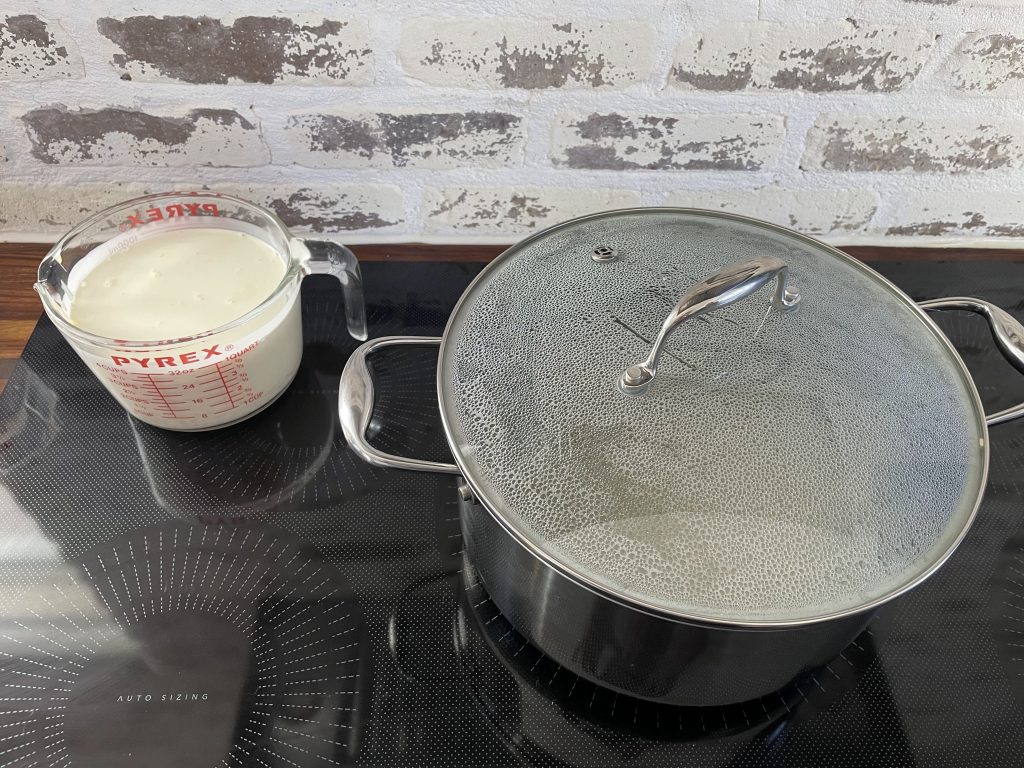
Combine the whipping cream and sweetened condensed milk into a microwave safe dish and warm for about 3 minutes. You want it to be nice and warm, not cold and not scalded. Set it close by your stove so it’s easy to reach.
3. Heat Sugar Mixture
Combine the sugar, corn syrup and salt in a heavy duty stock pot. Set the temperature to medium-high. Stir the mixture until it starts to boil. Once it’s boiling take out your spoon and put a lid on your pot for 2 minutes. This helps to melt any sugar crystals sticking to the sides of your pan.
When you remove the lid after two minutes, use a silicone spatula to scrape the sides of the pan so there are no crystals remaining.
Watch vigilantly for the color to start to change. This part is what will determine if your caramels are deeply flavored and dark, or lighter and have that yummy vanilla flavor. If you are going for that lighter look and taste you’ll want to jump to cream step as soon as you notice your sugar mixture turning yellow. If you like your caramels darker and want a more intense caramel flavor, you can let that light yellow deepen to a lighter brown.
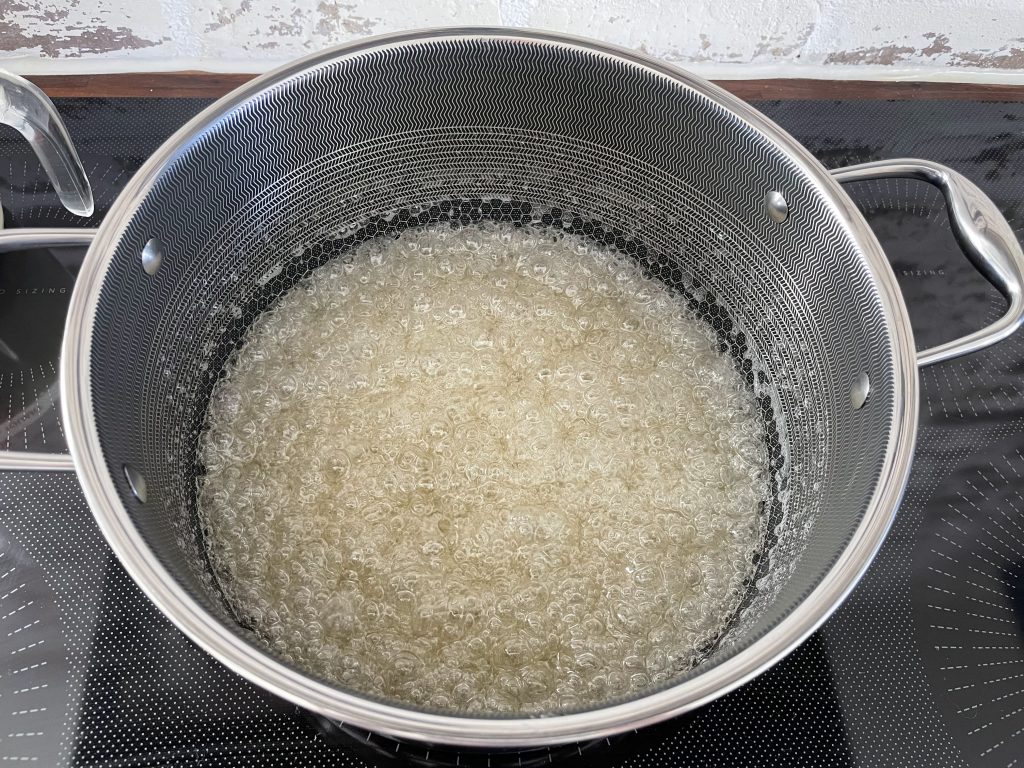
Color beginning to Change. Perfect for Lighter Vanilla Caramels 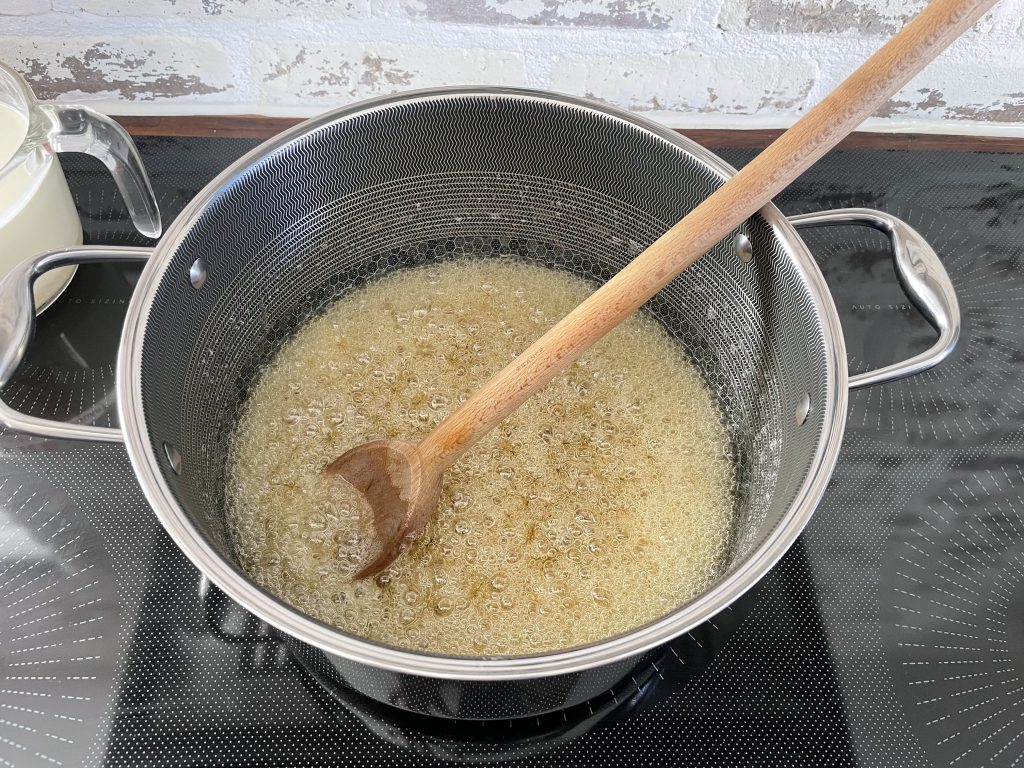
Darker, Intense Flavored Caramels
4. Add Cream Mixture & Thermometer
When your color starts to change toss on your oven mitts. Safety first folks! (Aim for light yellow if you’ve never made them before and don’t know. I’ve never had anyone complain when they’re light, but many do NOT like dark)
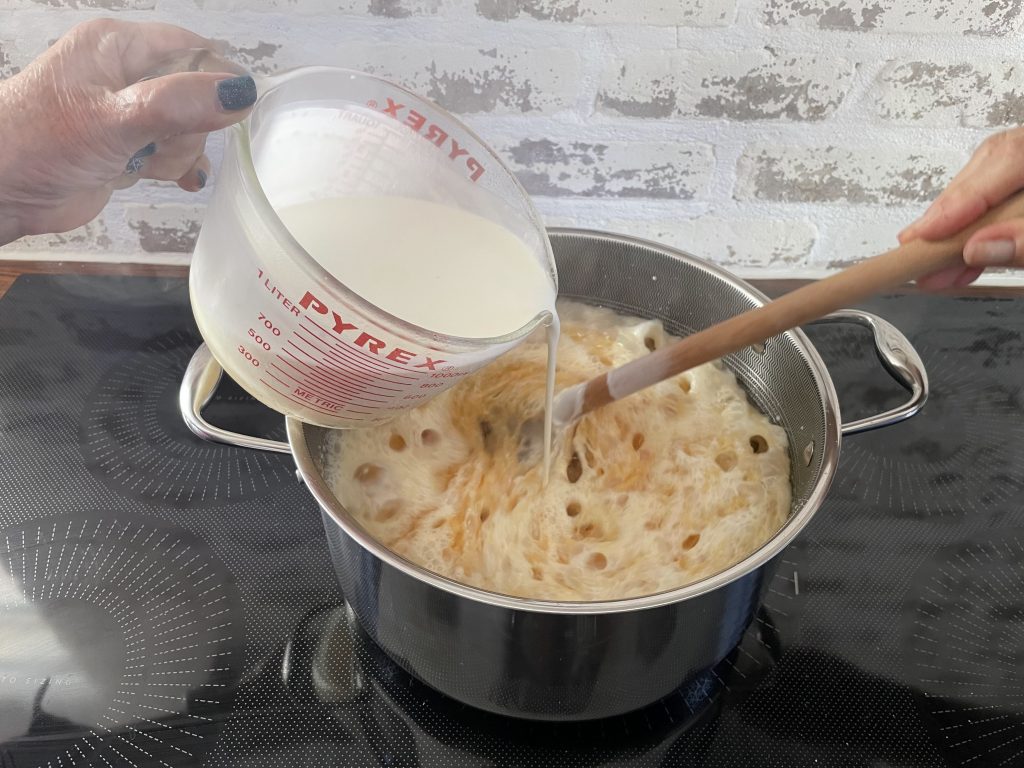
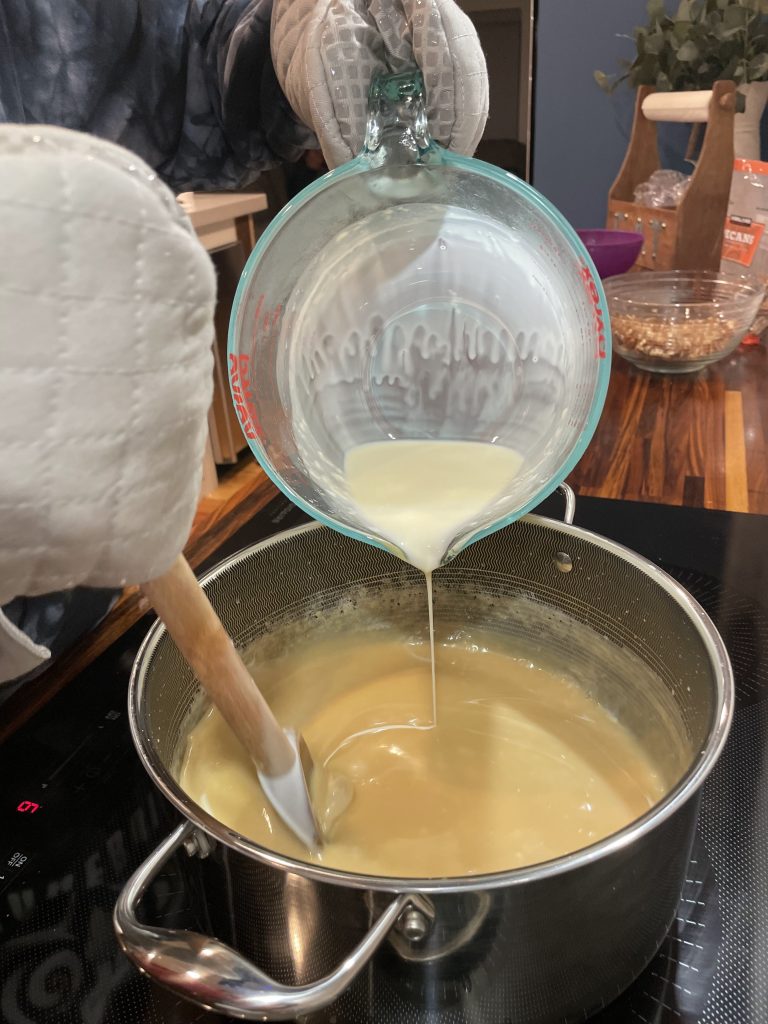
Time to add your cream mixture SLOWLY while you constantly stir!!! Turn down the temperature on your stove to a 6 (or just slightly above medium heat) and pour your cream with a steady slow stream. Your mixture will boil and bubble and steam, be prepared. This is where the long sleeves and oven mitts will be needed most.
Be patient, if you pour the mixture in too rapidly your caramel will clump, which isn’t the worst thing, you’ll be able to break it up, but it’s best if you can go slow and steady.
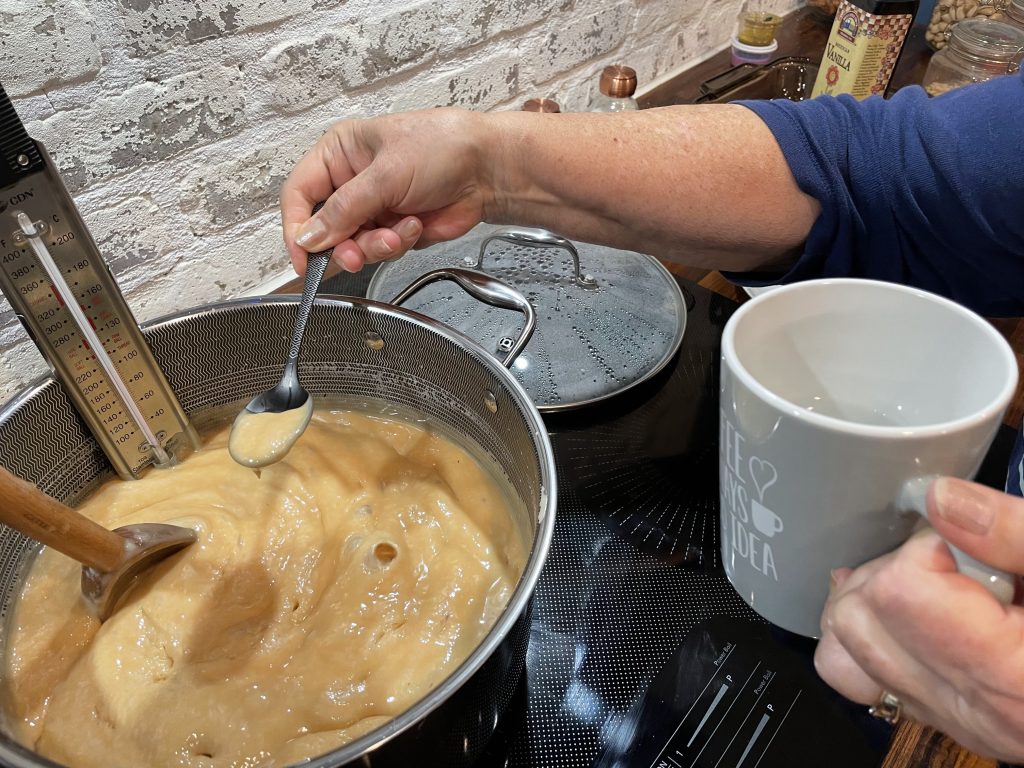
Insert your thermometer and continue to stir stir stir until you start approaching 218 degrees. I would start testing for soft ball (which is where your caramel comes together in a ball in a cup of cold water) at around that temperature.
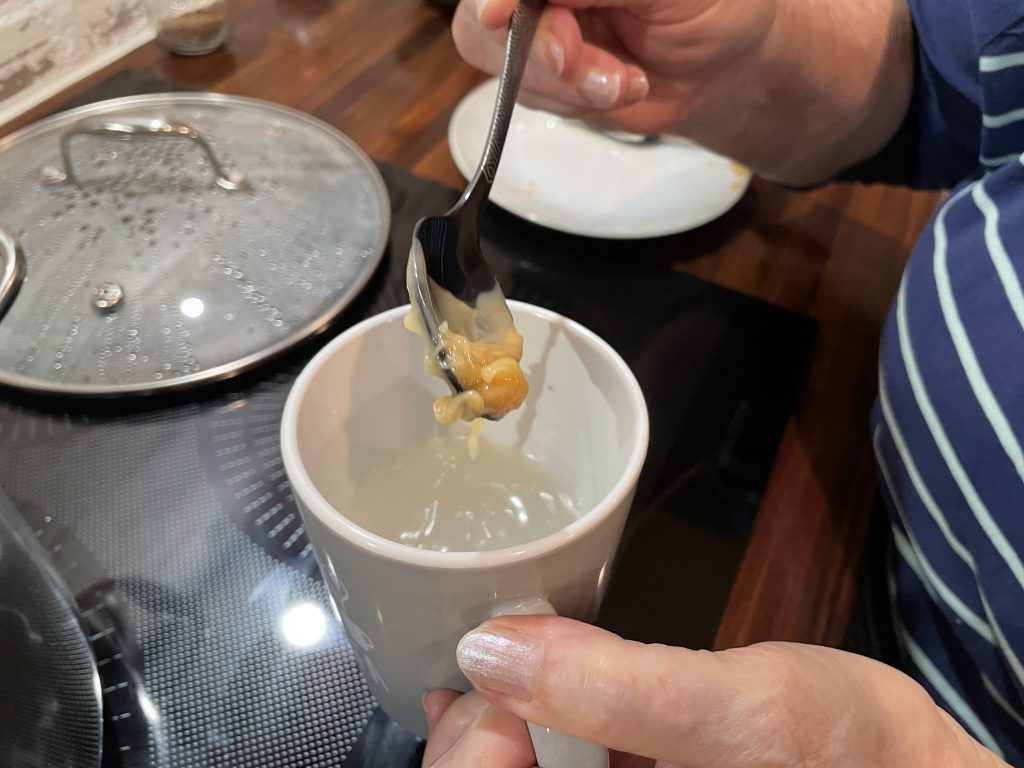
Test Consistency
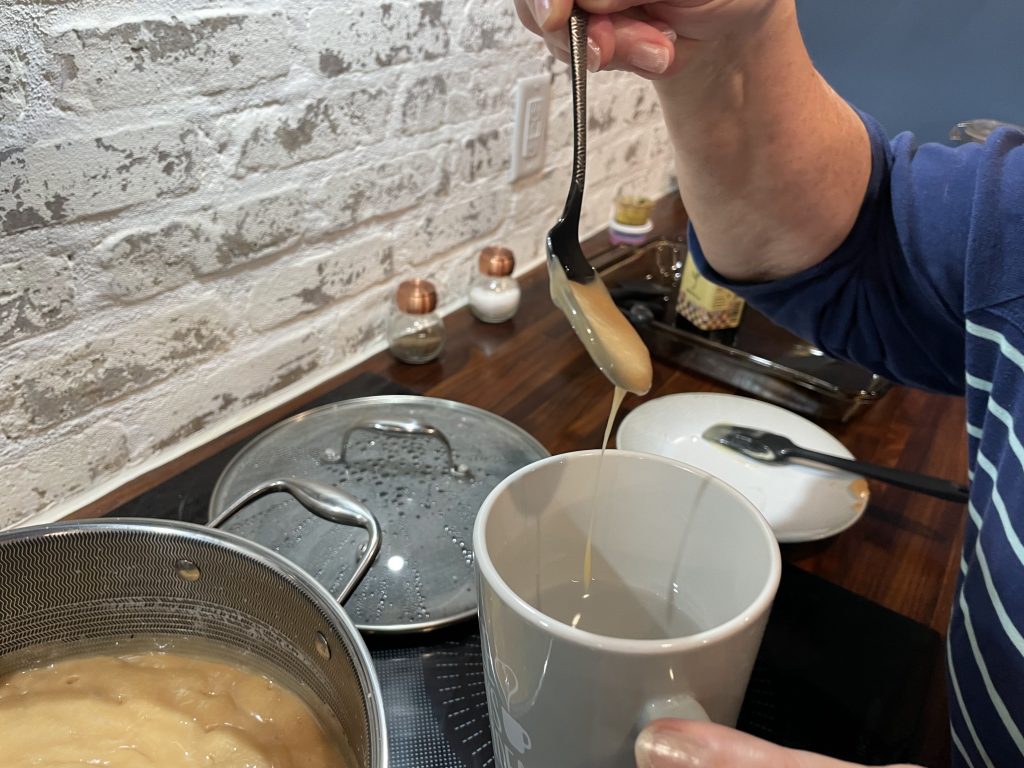
I grew up testing the consistency in a cup of cold water. Grab a mug, fill it with cold water and grab a small spoon full of your caramel from the pot. Drop the caramel into the water. If the caramel can be manipulated together in a lump, your caramel is ready to be poured out. If it doesn’t, and it kind of disintegrates, keep cooking.
Add Vanilla & Optional Nuts & Pour out
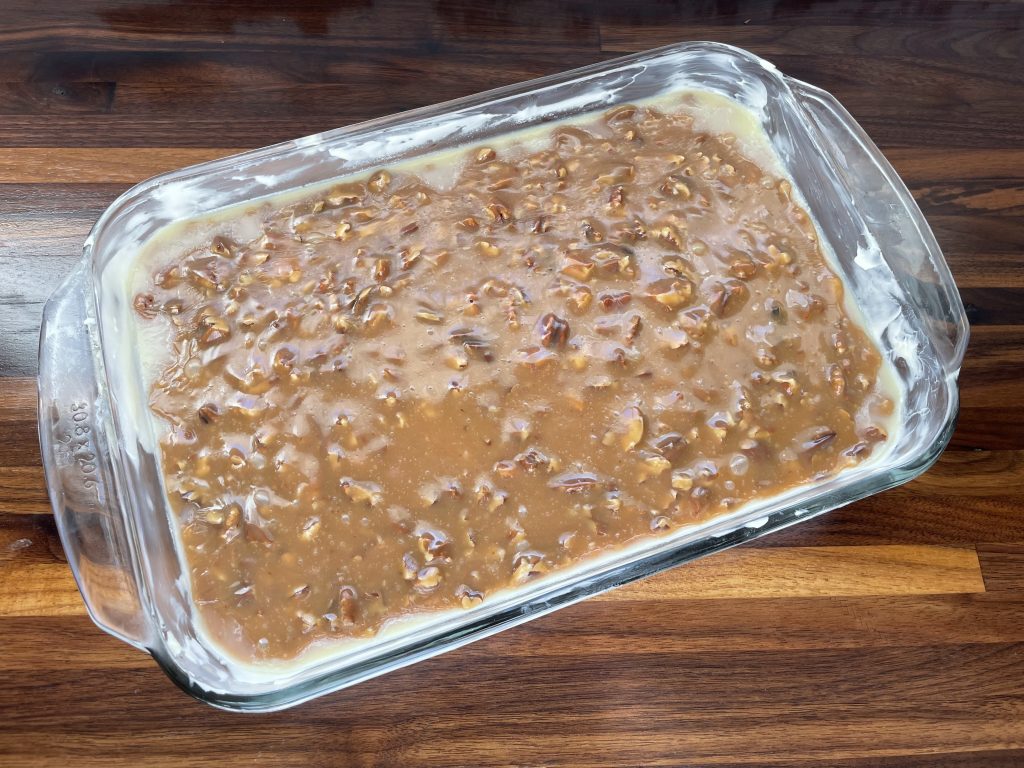
Once you’ve reached desired consistency (Soft Ball, around 232 degrees Fahrenheit, or 222 in high altitudes) Stir in your Vanilla. Then if desired stir in your nuts. Quickly pour into your prepared pan, cover with plastic wrap and allow to cool in a cold location.
If you’re a sweet and salty person, like me, now is a great time to sprinkle some flaked sea salt onto the pan of caramels. A little goes a long way! Yum!!
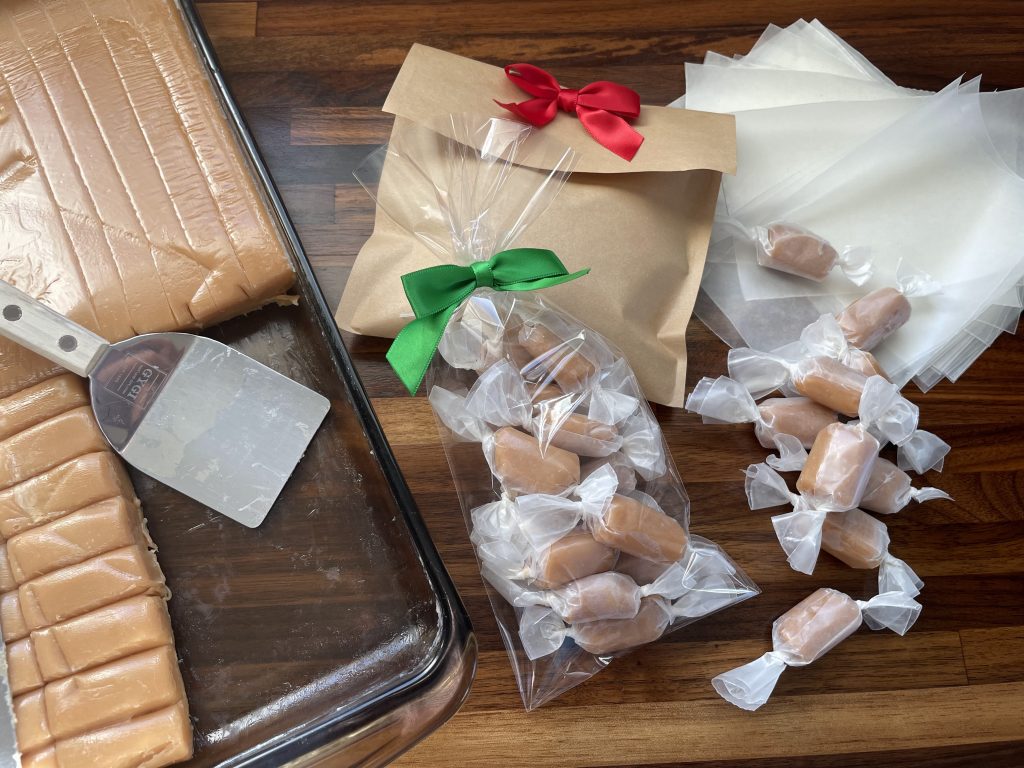
Cut – Wrap – Package & Make someone’s day
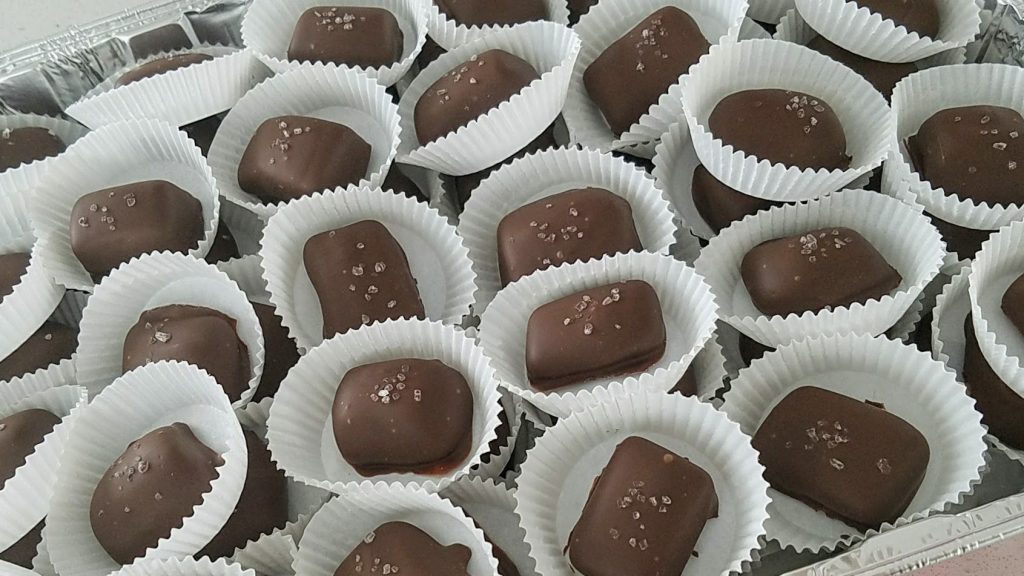
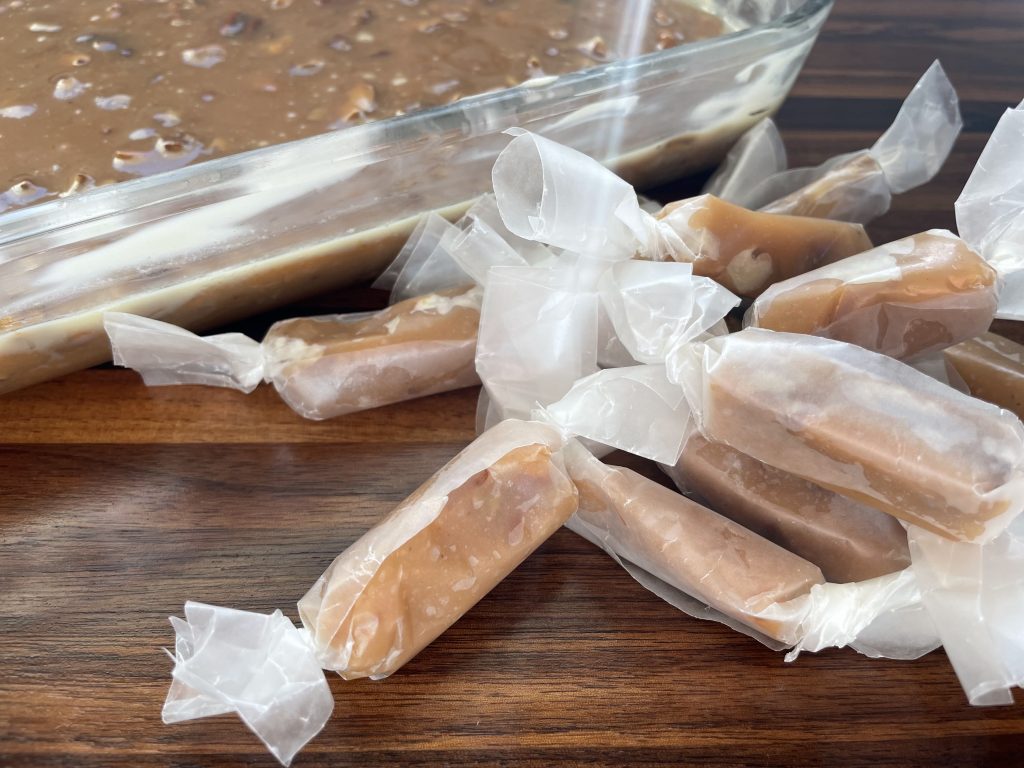
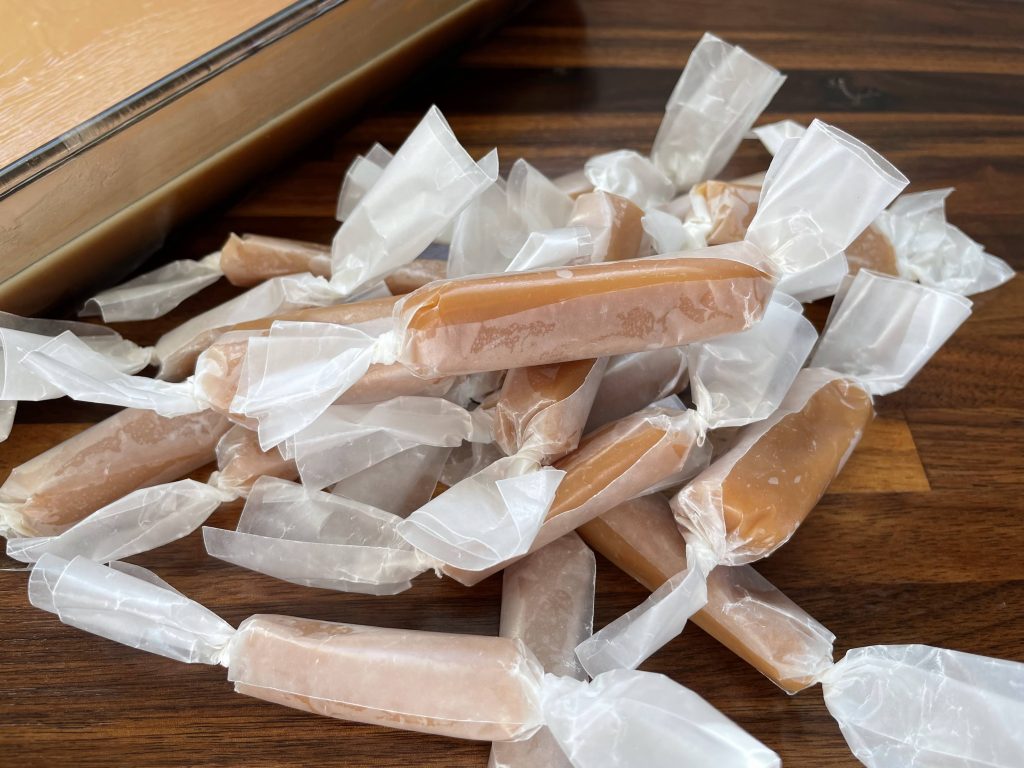
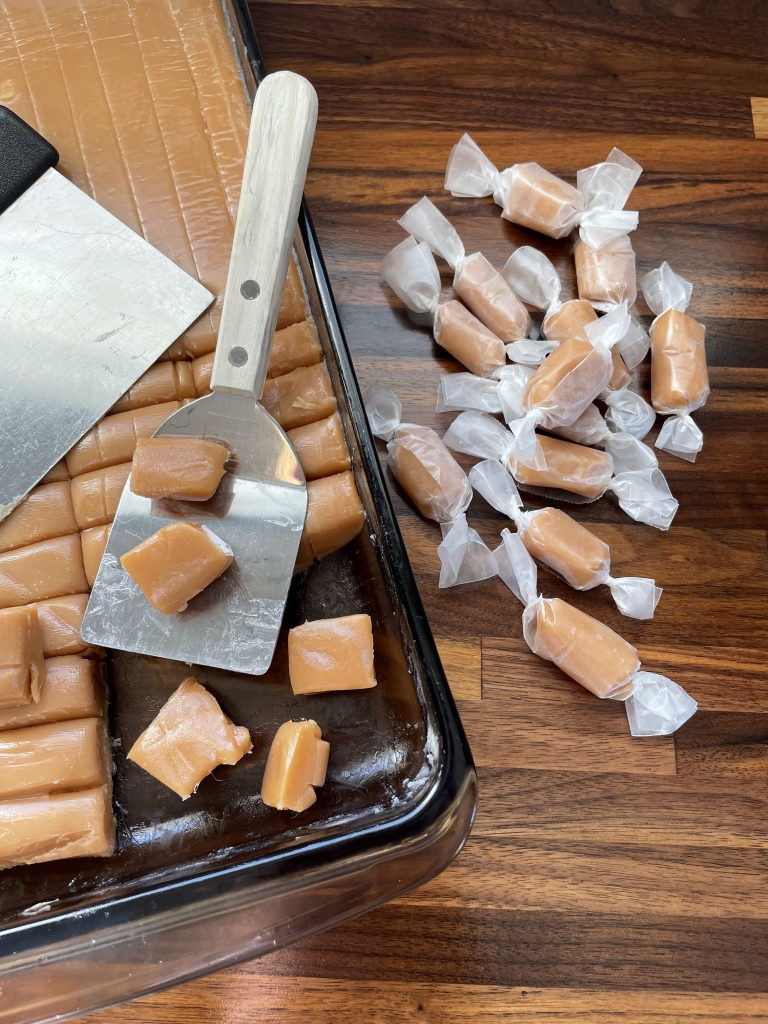
Once your soft & chewy homemade vanilla caramels have set up and cooled, you can wrap and package them. Or if you’re looking for an extra special treat, you can cut them and then dip them in chocolate and sprinkle them with some sea salt!
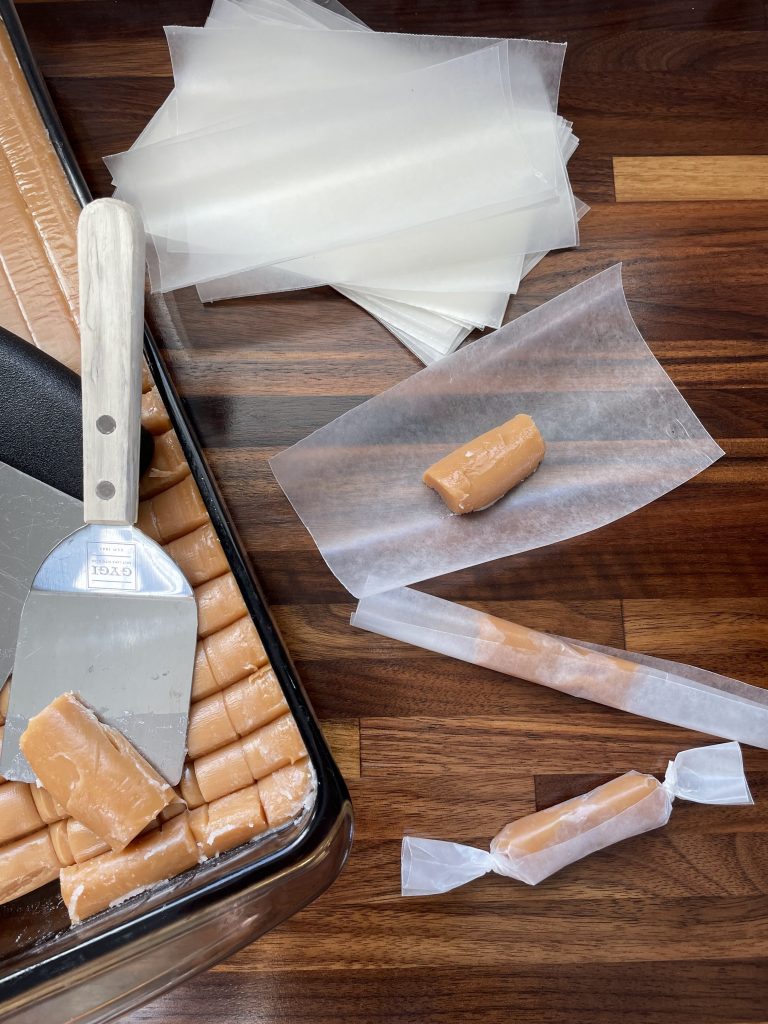
I suggest cutting wax paper into small sections and wrapping them that way. I know some use plastic wrap to wrap them. Others parchment… You do what works for you.
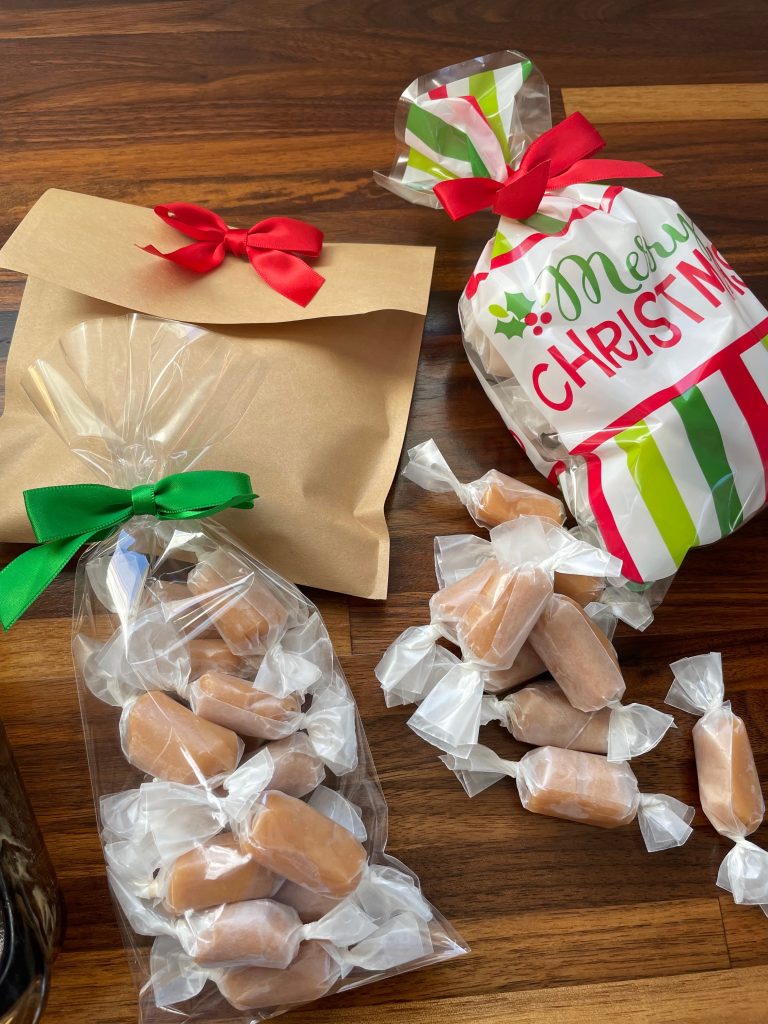
Like those adorable bags or amazing twist tie bows?!! You can find the Christmas bags at your local Walmart. The Clear Plastic Bags, Treat bags and twist tie bows can all be found on Amazon.
Tips for making Homemade Vanilla Caramels on your own
Like I mentioned earlier, these candies are always easier to make with a buddy, but they are possible to make on your own. There are a few things you’ll need to do to make them completely on your own.
- Wear long sleeves. This may seem weird, but I burn myself EVERY year making these. The steam that comes up when you pour in your cream is POWERFUL… wearing long sleeves will prevent those burns and you’ll thank me for the tip later!
- Have everything prepared before hand. Everything should be premeasured. Pans need to be prepped. And all mix ins (including the cream mixture, vanilla and nuts if desired) need to be within reach and ready to go so that you don’t risk burning these beloved homemade vanilla caramels!
- Make sure to have heavy duty oven mitts on hand. To prevent steam burns, I promise this is very important!
How Long do these keep?
According to Taste of Home, homemade caramels can be kept for six to nine months if stored properly. They do not need to be frozen or refrigerated. They just need to be wrapped and contained properly and kept away from light or heat!
Though I am willing to admit, that they would NEVER last that long in my house!!
Other Great Neighbor/Co-worker Gifts
If you’re looking for other tasty treats to take to neighbors, friends, coworkers, etc… check out these other great giftable treats:
- Razzle Dazzle Chex Mix
- Red Hot Sugar Cookies & Cinnamon Icing
- Soft Roll-Out Gingerbread Cookies
- Soft Roll-Out Sugar Cookies & Fluffy Cream Cheese Frosting
Christmas is the time for baking! Time to share all the yummy treats and warm other’s hearts with fresh baked sugary goodness!
Happy Holidays everyone! -Chels
Soft & Chewy Homemade Vanilla Caramels
Ingredients
- 3 Cups Sugar
- 2 Cups White Corn Syrup
- 1/4 tsp Salt
- 7 oz Sweetened Condensed Milk 1/2 Can
- 3 Cups Whipping Cream
- 1-2 tsp Vanilla
- 1-2 Cups Chopped Nuts * optional
Instructions
- Butter a 9×13 pan and set aside.
- Combine sugar, corn syrup and salt together in a deep, heavy bottomed pan. Cook on medium high heat, and stir frequently until mixture begins to boil. Place lid on top of pan and leave in place for 2 minutes. Remove lid and use a silicone spatula to scrape down the sides of the pan. Continue cooking until color starts to change to yellow. (This takes about 14-15 minutes when cooking at 8 on an induction burner, your time will vary)
- Turn down heat to about a 6 (medium heat) and add cream mixture in a stream while stirring frequently. Continue to stir and increase heat up to a 7 (medium high heat). Put your candy thermometer in your pan.
- Continue cooking while stirring frequently until medium or firm ball. (232° Fahrenheit, or 222° in high altitude)
- Turn off the heat and stir in your vanilla. Then if desired stir in your nuts.
- Pour into your prepared pan and let rest, covered in a cool place for at least 6 hours. Or overnight.
- Cut and wrap in waxed paper, plastic wrap or parchment. Place in an airtight container.
- Will keep 6-9 months if stored in an airtight container away from heat and light.
Notes
Leave a Reply