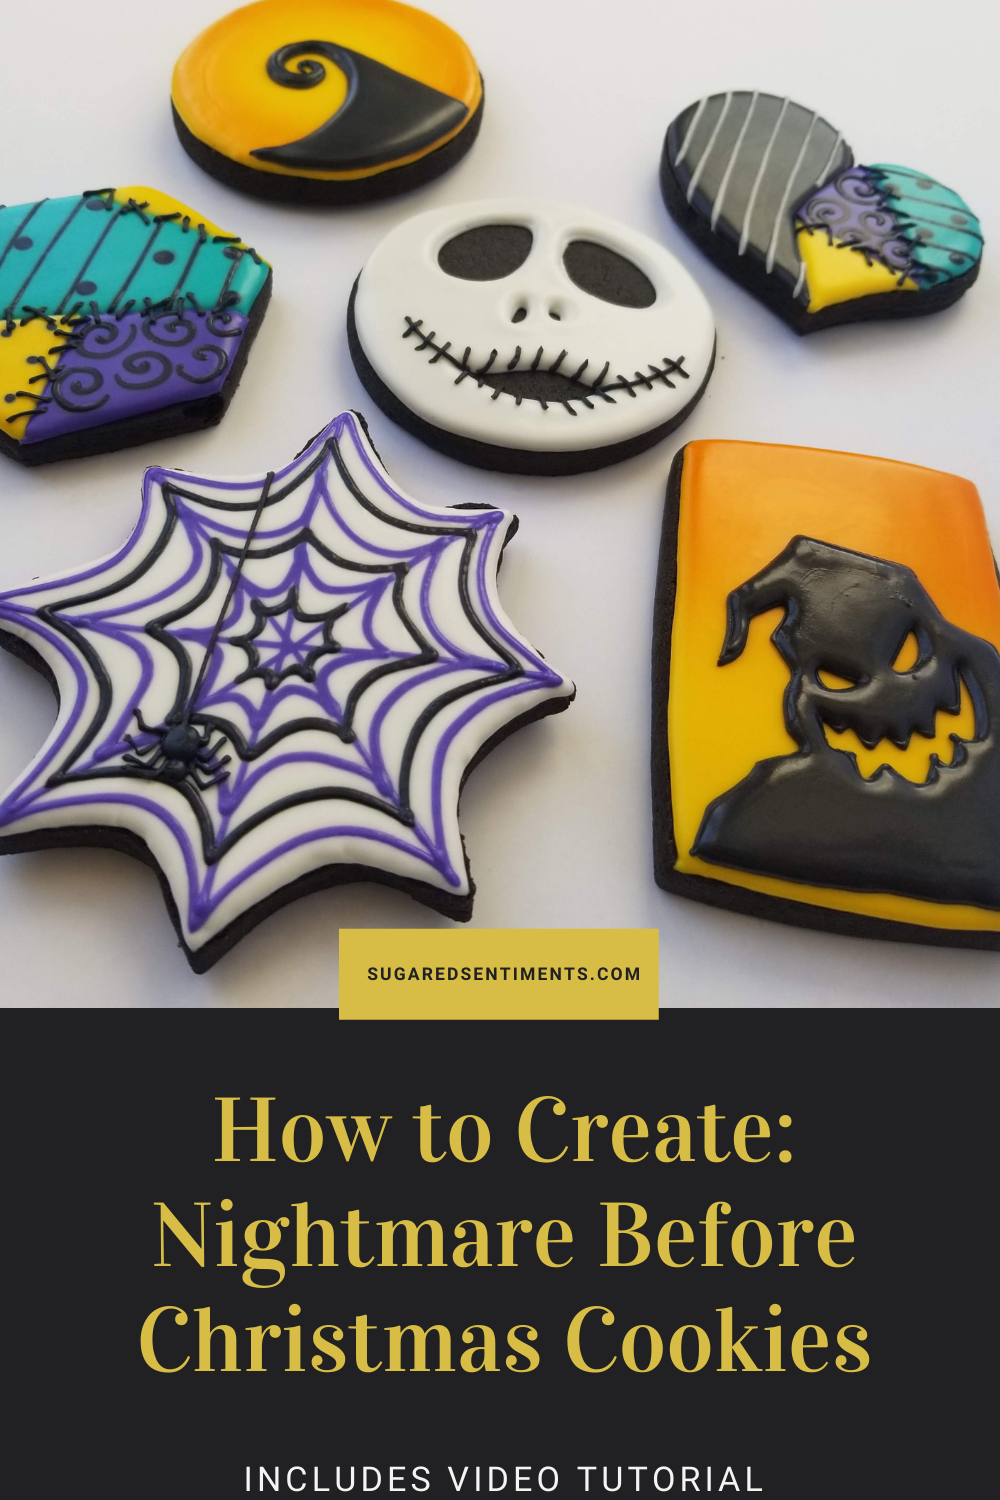
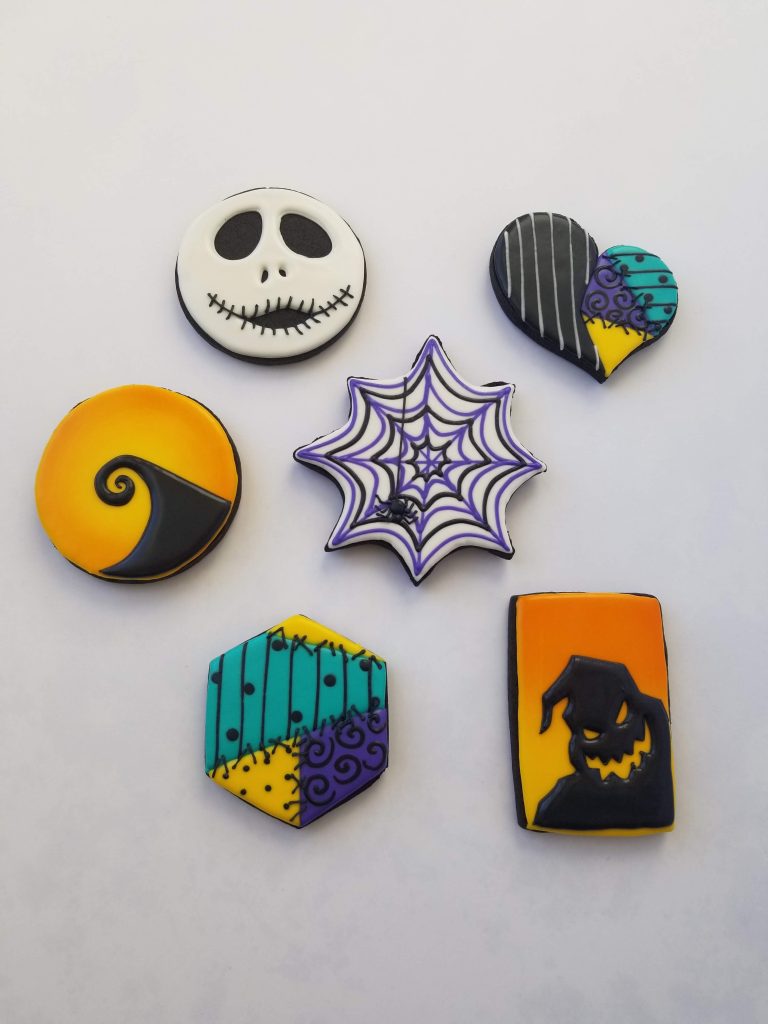
If you’re a fan of Jack and Sally and love to decorate with Royal Icing, try out these festive cookies inspired by the Nightmare Before Christmas for your Halloween festivities! Cookies can be made to fit your personal skill level. Options are listed for each design.
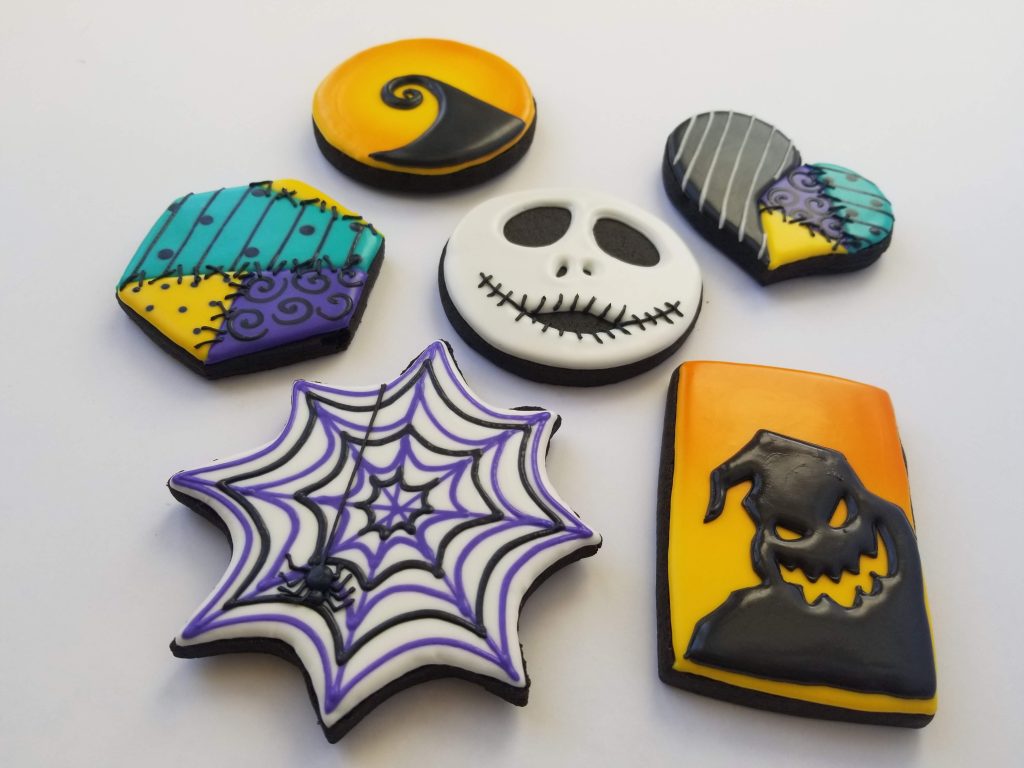
Decorating sugar cookies is largely a Holiday tradition. Take a break from reality and escape into the world of Tim Burton with me. These festive cookies based on the infamous movie, Nightmare Before Christmas are a hit with most during Halloween. Use my tips and techniques for success and truly make them your own!
Are you a fan of Jack and Sally? I feel like you either love the Nightmare Before Christmas and you watch it every year, or you hate it! Personally, my love for the film has come into play more as I’ve grown as a baker. Tim Burton created some truly unique and fun characters to throw into your cake and cookie decorations.
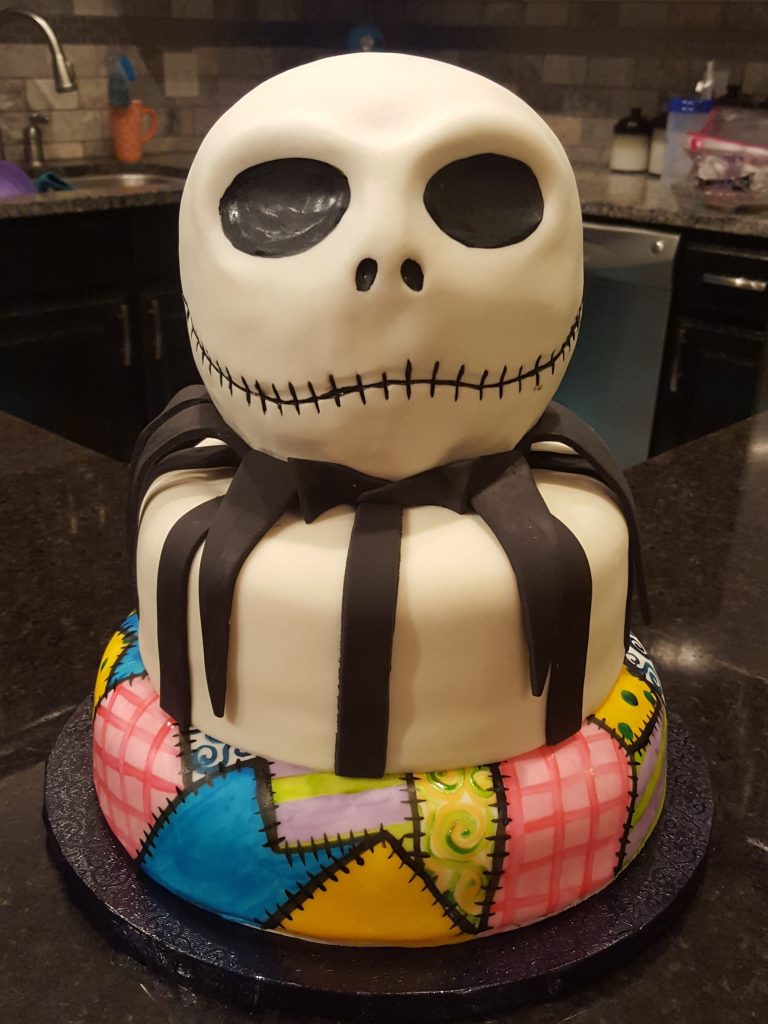
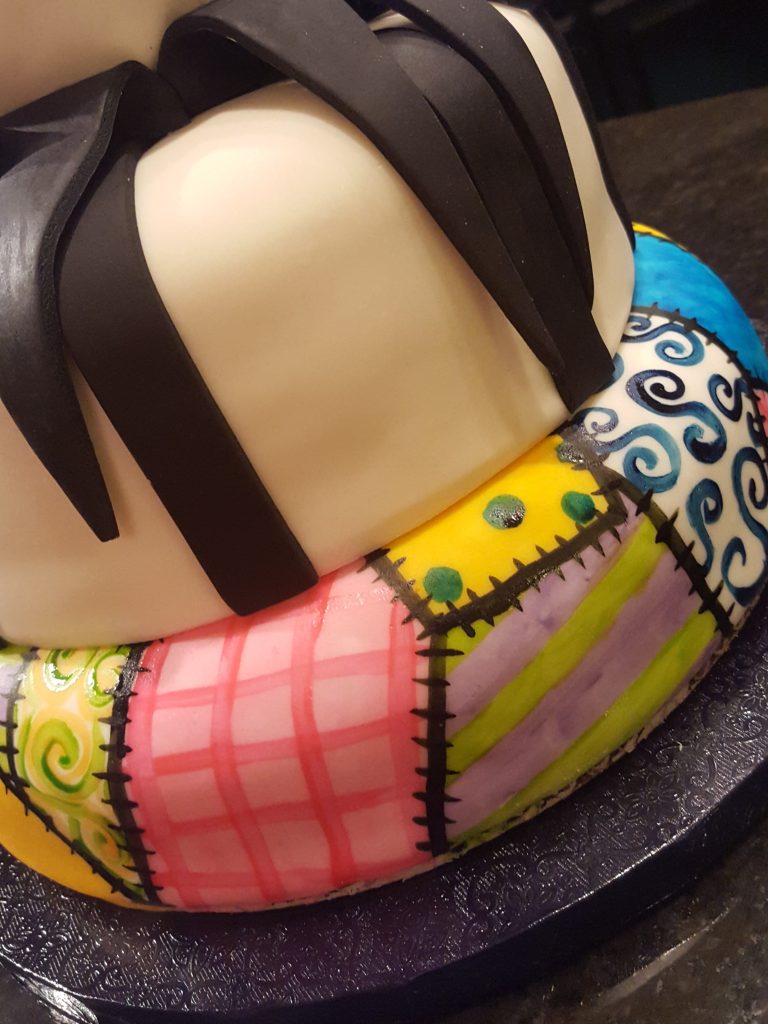
No surprise…. Sally’s dress is my favorite inspiration when it comes to Halloween cakes and cookies. It’s a way to use bold colors and not just red, black or orange. Below, you’ll see one of my first tiered cakes and my first 3D cake that I ever made! I had so much fun hand painting that bottom tier to look like her dress.
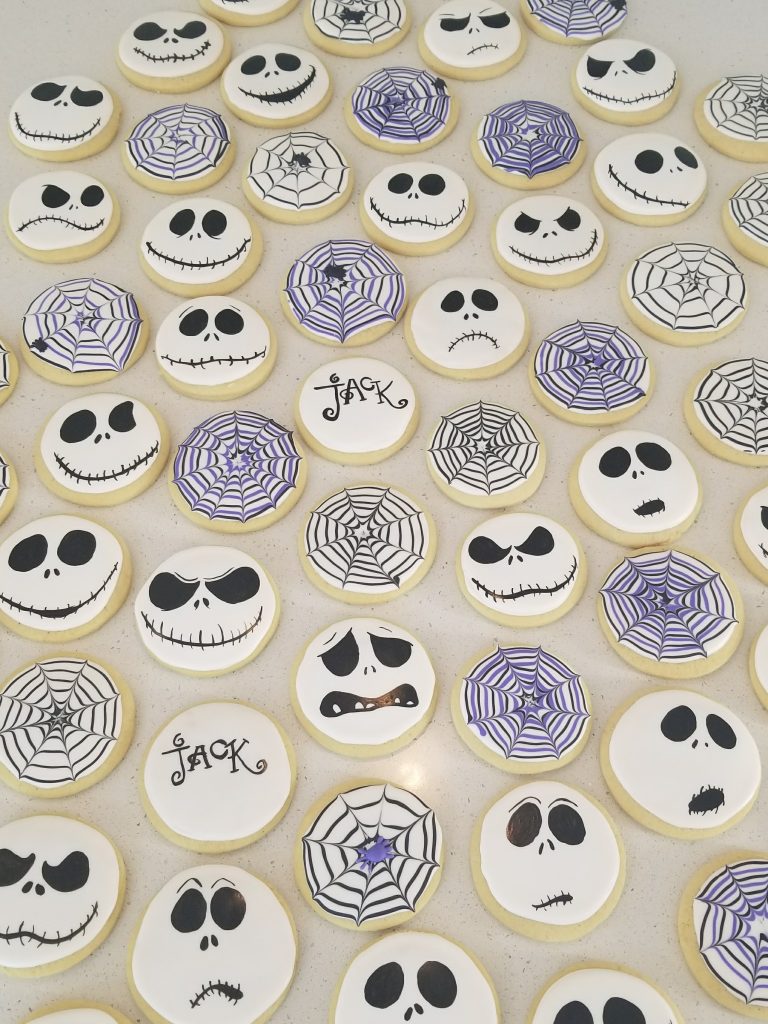
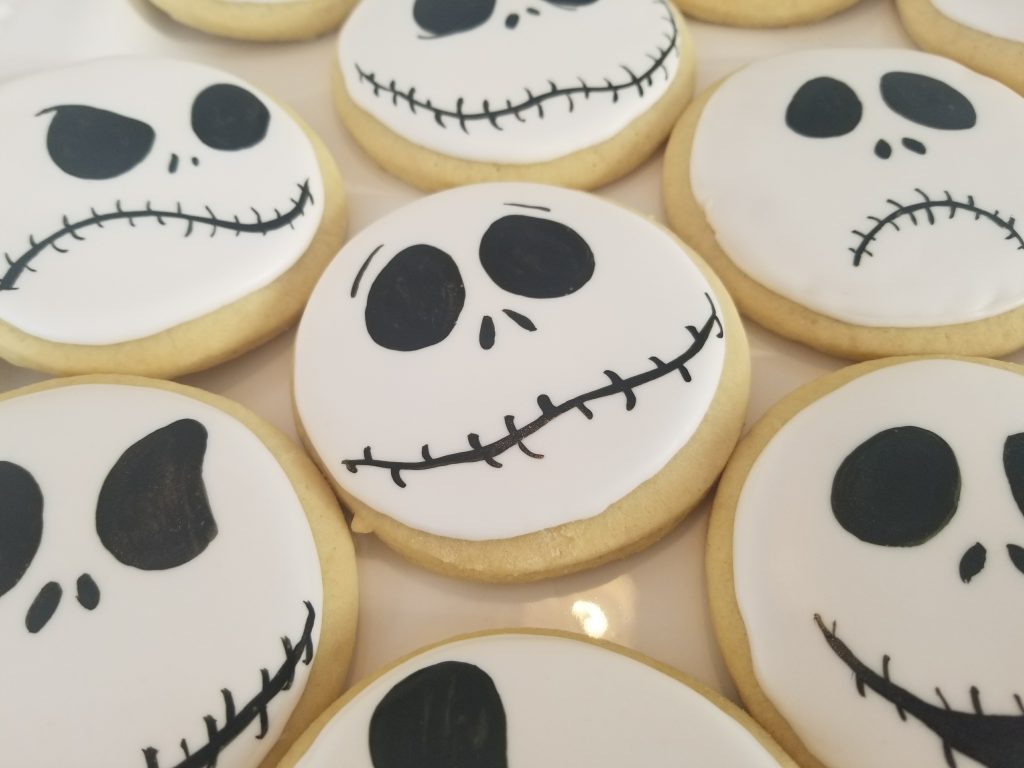
About a year after that I took that love of painting and made some Jack Cookies for a client.
A few years later, when my skill had improved, I took that same inspiration and put it into these Nightmare Before Christmas Cookies. They were so popular that I ended up teaching a private class to some local ladies and we had a blast using my projector, my airbrush machine, and so much black icing!
I feel that it’s only fair to share those same tips from my class with anyone and everyone who would like to celebrate Halloween with Nightmare Before Christmas Cookies!
Recipes for the cookies and Icing
For these cookies pictured I used my go to Soft Royal Icing Recipe. And for the base I wanted something a little different. So I used Lilaloa’s End-All Chocolate Cookies Recipe. I did make a slight change, by replacing the cocoa powder with black cocoa powder to make the cookies black. And I LOVED them! As did all who tasted them. They tasted like an Oreo when combined with my Soft Royal Icing. However, if you’re going for a more classic sugar cookie, you can always use my No Spread Sugar Cookie Recipe. It’s a winner every time!
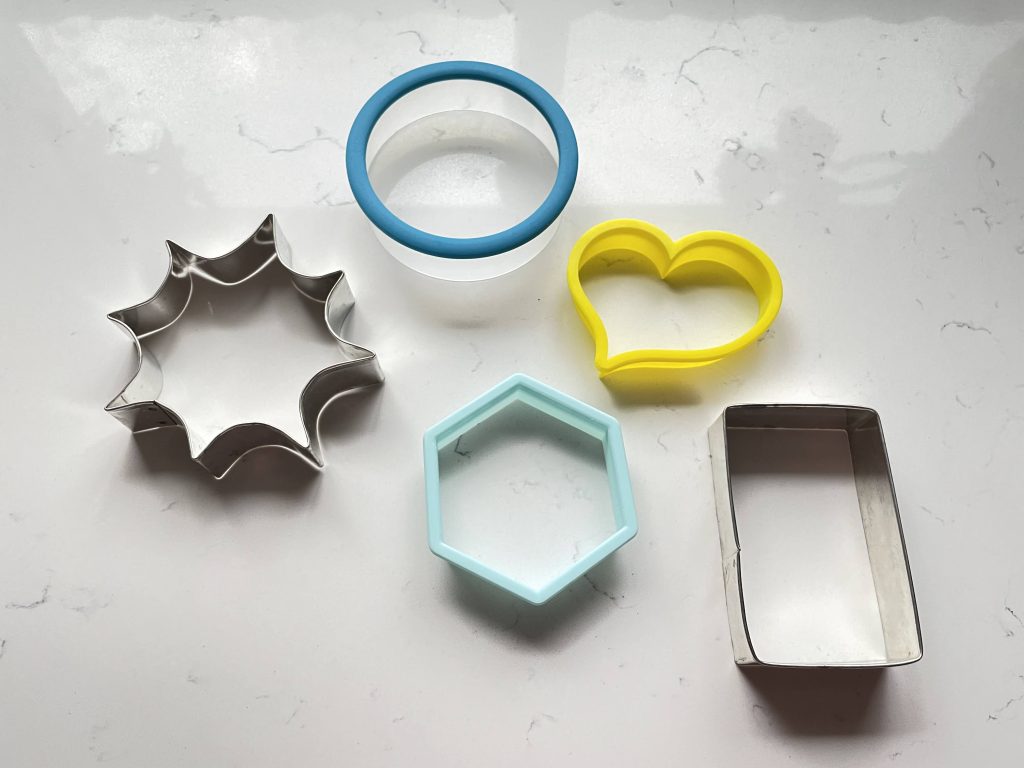
You really can use any shape cutters you would like, but pictured below are the ones I used to make this set. Really, the only ones that are essential are a circle cutter and a heart. I loved this wonky heart from Periwinkles Cookie Cutters, but any heart will do. The spider web cutter is totally optional. If you won’t use it again, don’t buy it. I do recommend adding a hexagon cutter to your collection, it’s versatile and I find that I use it quite a bit. This one pictured is from my favorite cutter shop: Oquirrh Mtn Cookie Cutters.
Other Supplies Needed
- Soft Royal Icing
- Cookies
- Decorator Bags
- Gel Food Coloring
- Air Brush (Optional), These will still be so cute just flooded an orange, yellow or lime green!
- Projector (Optional), for years I just tried my best to pipe the image while looking at a photo. This is the one I use, if you’re looking for a pretty affordable one.
Tips For Successfully Decorating your Cookies
I ALWAYS ALWAYS ALWAYS decorate the bottom of my sugar cookies. Maybe this is strange to some, but let me explain! A huge part of what makes decorating with Royal Icing so satisfying and fun is the fact that it settles out and creates a smooth, flawless surface on your cookie. This means that the icing spreads.
The bottom of your cookie is the flattest part of your cookie. Therefore, it decreases the chance of run off. (Run off is when your icing breaks through the dam and runs off the side of your cookie)
Step By Step: what should I do first?
Custom Royal Iced Cookies are a process, and sometimes getting started can be overwhelming. Take it one step at a time, and you’ll find yourself less overwhelmed. If you can split up the tasks over a few days you’ll have the most fun. So here is my suggested schedule:
- Day 1: Make your dough, icing, and cut and bake your cookies.
- Day 2: Color, thin and bag your icing. If using an airbrush, flood the cookies you will be airbrushing and let them sit out overnight to dry. If using a projector for Jack’s face and Mr. Oogie Boogie, save and upload those images so they are ready to be projected.
- Day 3: Initial Floods, Decorate and Have fun!!
- Day 4*: If you so choose, adding a fourth day for detail work makes it a little less stressful than piping on icing that hasn’t quite hardened yet. But if you initially flooded your cookies on day 2, day 4 isn’t necessary!
What consistencY Icing and colors do I need?
I decorated these cookies with primarily Medium Consistency Icing. This is 15 second icing, or 7 taps icing. You can read more about icing consistencies in my post All About Royal Icing Consistency. I like this consistency because I can pipe my dam and flood with the same bag. It saves on time and bags! Eliminating excessive cleanup and waste!
However, for the spider, Jack’s face details- such as his mouth, and the stitching on Sally’s Dress I used Piping Consistency (25 second icing, 10 taps) Icing.
For these Nightmare Before Christmas Cookies I used the following gel colors:
TIPS FOR MAKING BLACK ICING: You can visit my post on icing consistency linked above for making black icing, but if you choose not to, just know that black needs time to develop. You will NOT get a true black right away without adding an EXCESSIVE amount of black gel color. Best to color deep grey and let it sit for a while. Then come back to it, adding a bit more black if necessary.
*If you’re going to airbrush, I also used Chefmaster Orange Airbrush Color.
making Jack, 2 ways
There are two ways to make Jack in your Nightmare Before Christmas Cookie set. And I like them both!
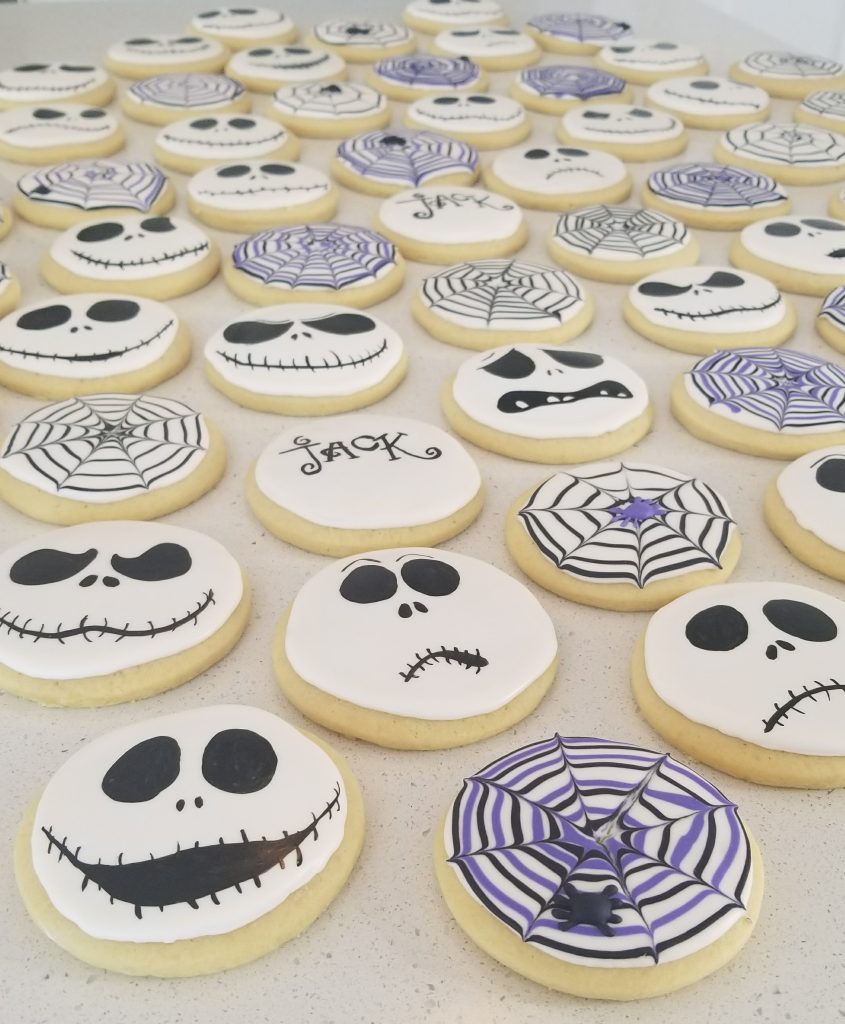
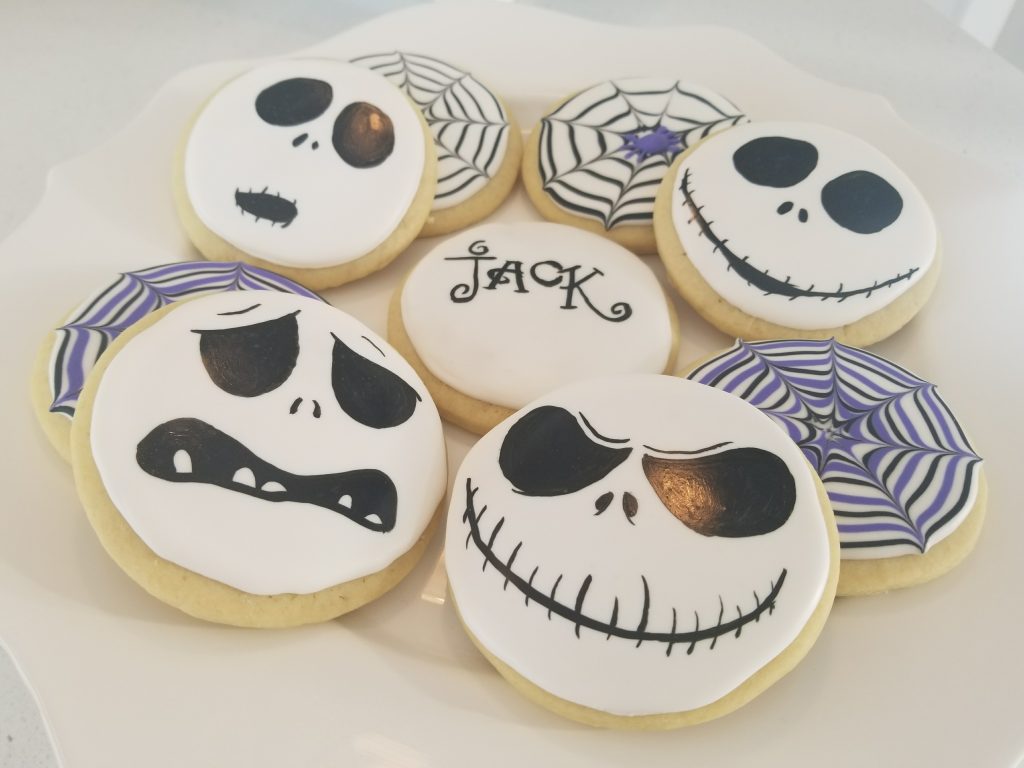
Option 1: Paint Him
If you don’t want to do Black Cocoa Based Cookies and prefer regular sugar cookies, I would suggest painting on Jack’s face with an Edible Black Paint, or Black Gel Food Color mixed with a strong alcohol such as Everclear or Vodka. (If you have never painted with alcohol before, just know that the alcohol evaporates and leaves the paint behind. It’s tasteless and doesn’t leave you with a funky flavor like an extract would.)
These are a good beginner cookie. In terms of flooding, it’s simple: Just pipe, flood and paint. If you mess up, EAT IT! Make extras, you’ll want some practice cookies. If you enjoy painting, this is the method for you. If not…..
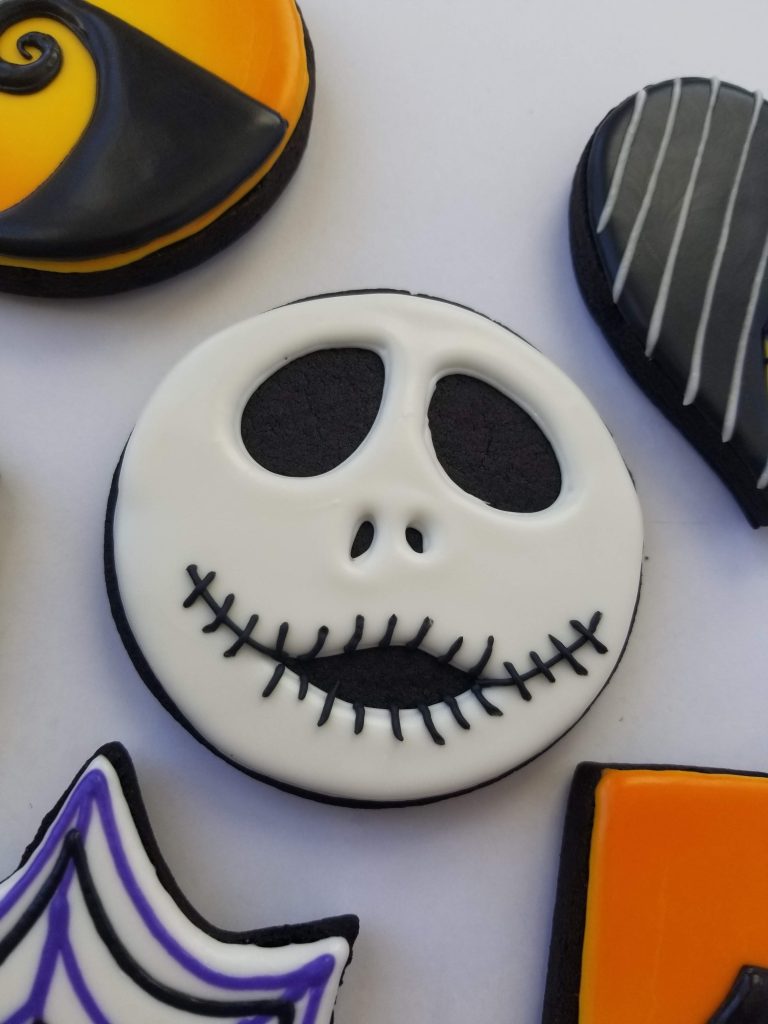
Option 2: Pipe and Flood
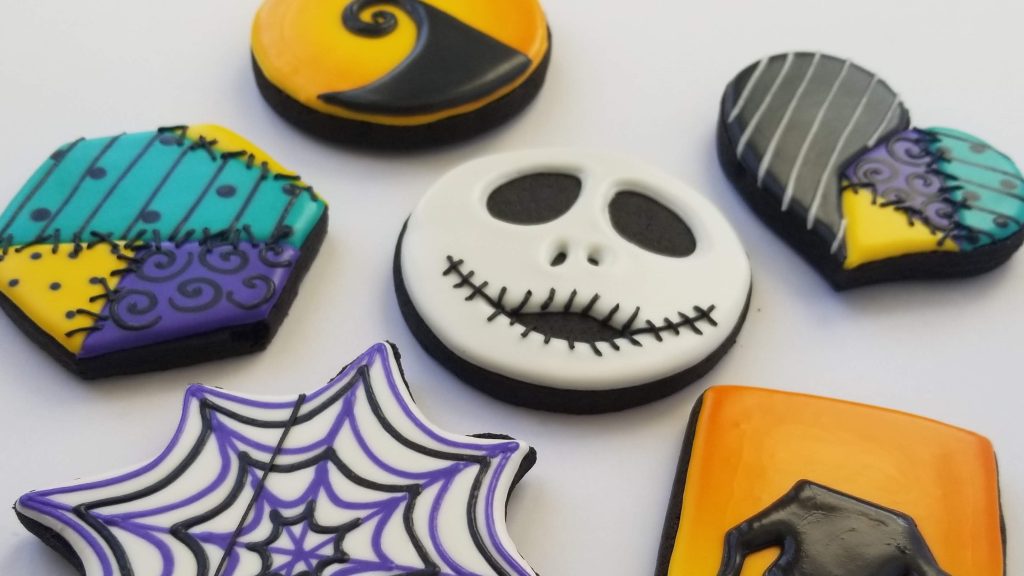
Black cookies are the perfect base for these Nightmare Before Christmas Cookies featuring Jack’s iconic face. Simply leave his eyes and nose holes open. Watch the youtube video below to see how this process is completed.
If you do prefer to use sugar cookie dough instead of black cocoa cookies, spread a thin layer of black icing in the center of your circle cookie and then pipe the eye, nose and optional mouth holes over the top. You’ll have the same effect. It’ll just require that one extra step.
Making Sally’s Dress
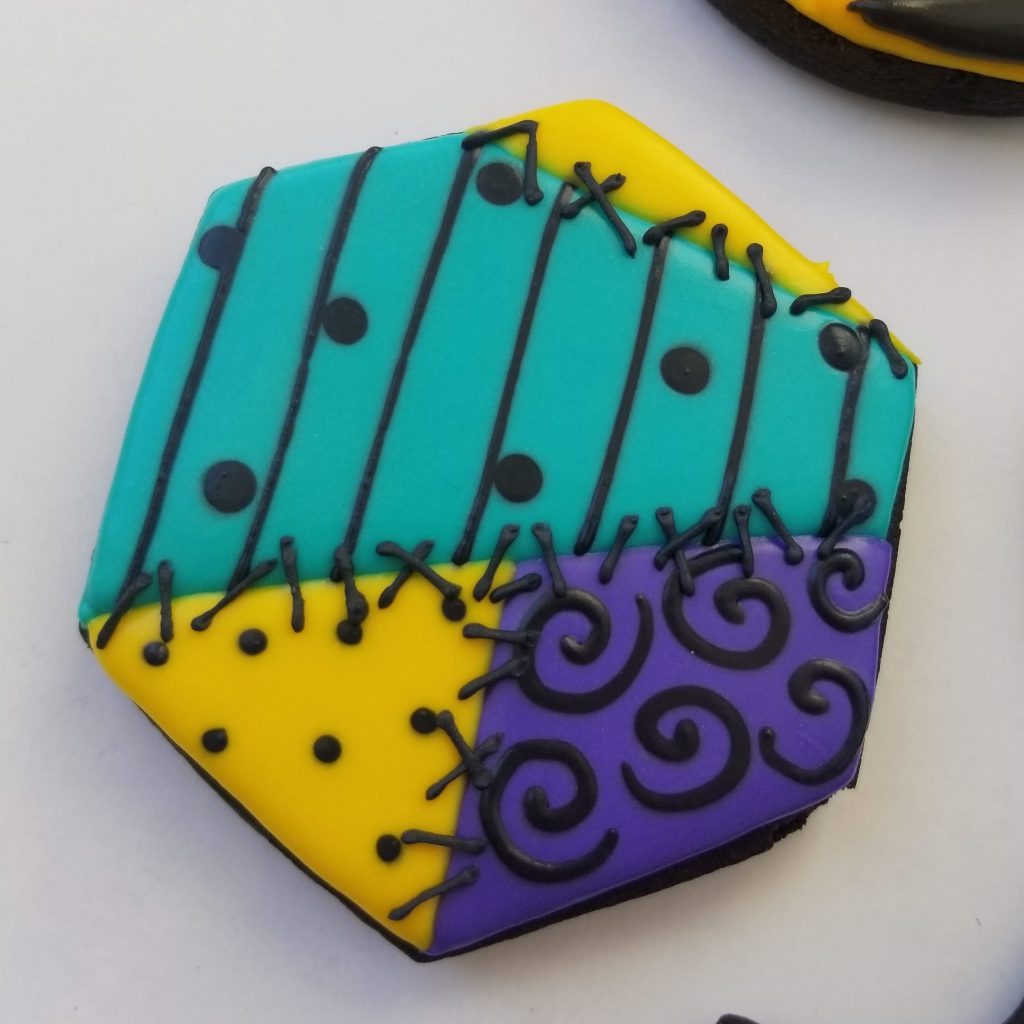
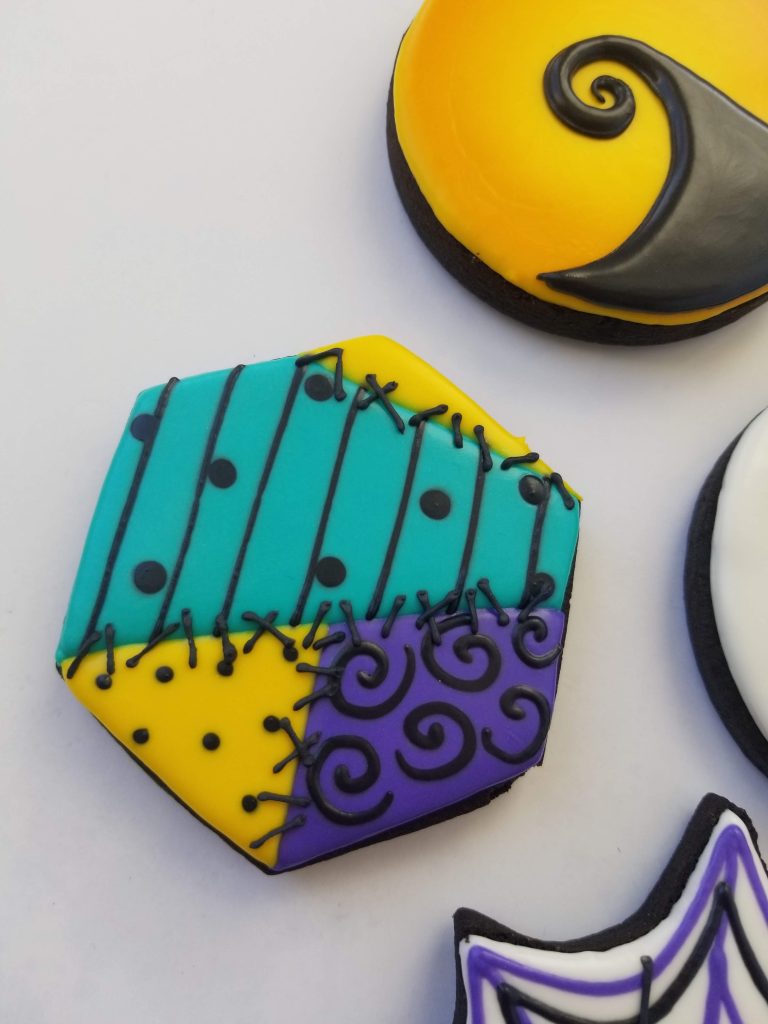
Sally’s Dress Cookie is a mixture of techniques. Blocking, Wet on Wet, and Detail piping.
Start by blocking out some sections for each piece of fabric. (Blocking is piping a dam and flooding a section of the cookie, letting it dry, and then piping the next section. This will create separation between each section, preventing the colors from coming together and making a flat surface.) There really is no wrong way to do this. I enjoyed using the hexagon cutter for this cookie because it encourages straight lines and makes each cookie unique.
Pipe the outline, flood, and then immediately pipe the detail with your black. (i.e. the swirls, dots, lines and dots… etc.) Part of what makes this cookie look the way it does is waiting to pipe each section of color after the other(s) next to it have dried for a bit. Give each section at least 20 minutes before piping the next section. Then allow your cookie to dry for at least an hour before piping on the stitches with piping consistency (25 second) icing.
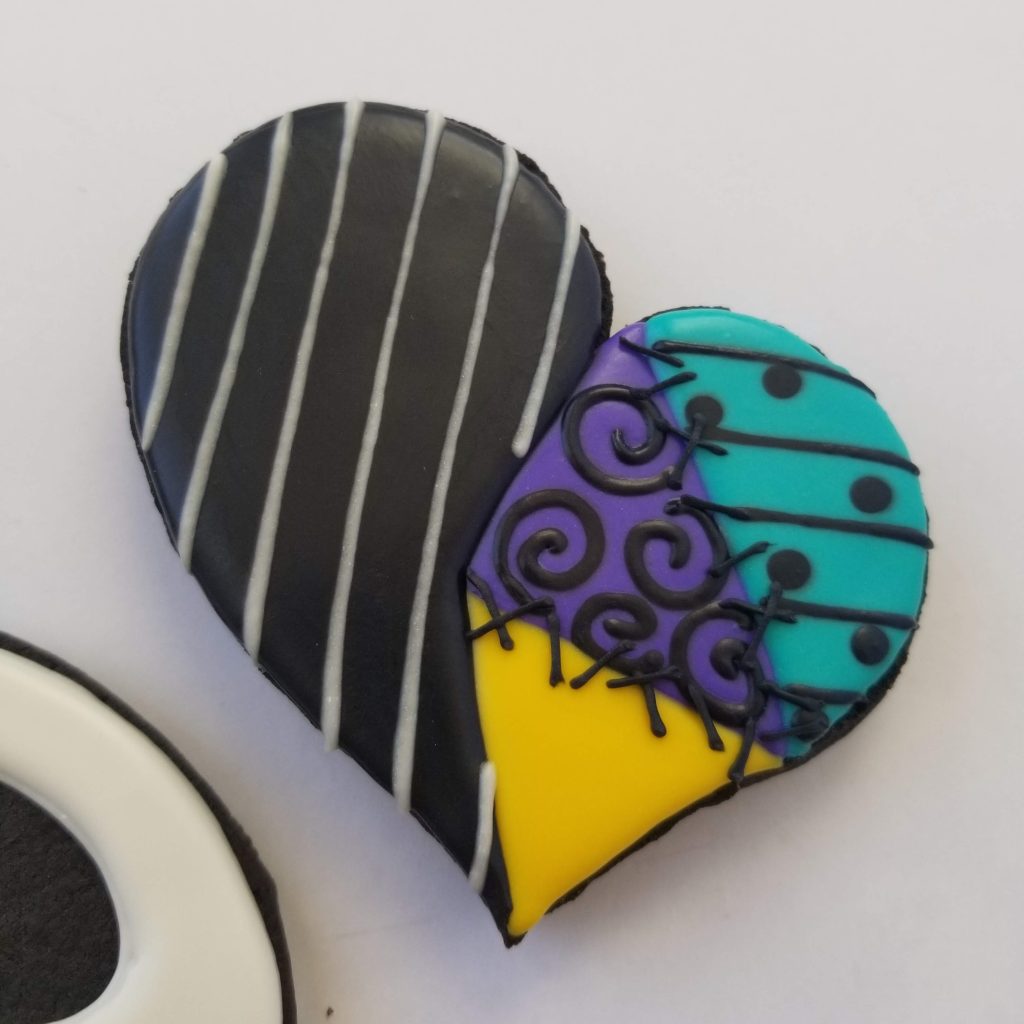
JAck & Sally Love
For your lovey-dovey Jack and Sally Cookie you’ll follow the same blocking technique and finishing touches as Sally’s Dress. For half of the cookie, however, you’ll pipe and flood your cookie black. Then, use the wet on wet technique to pipe the white pinstripes onto that section.
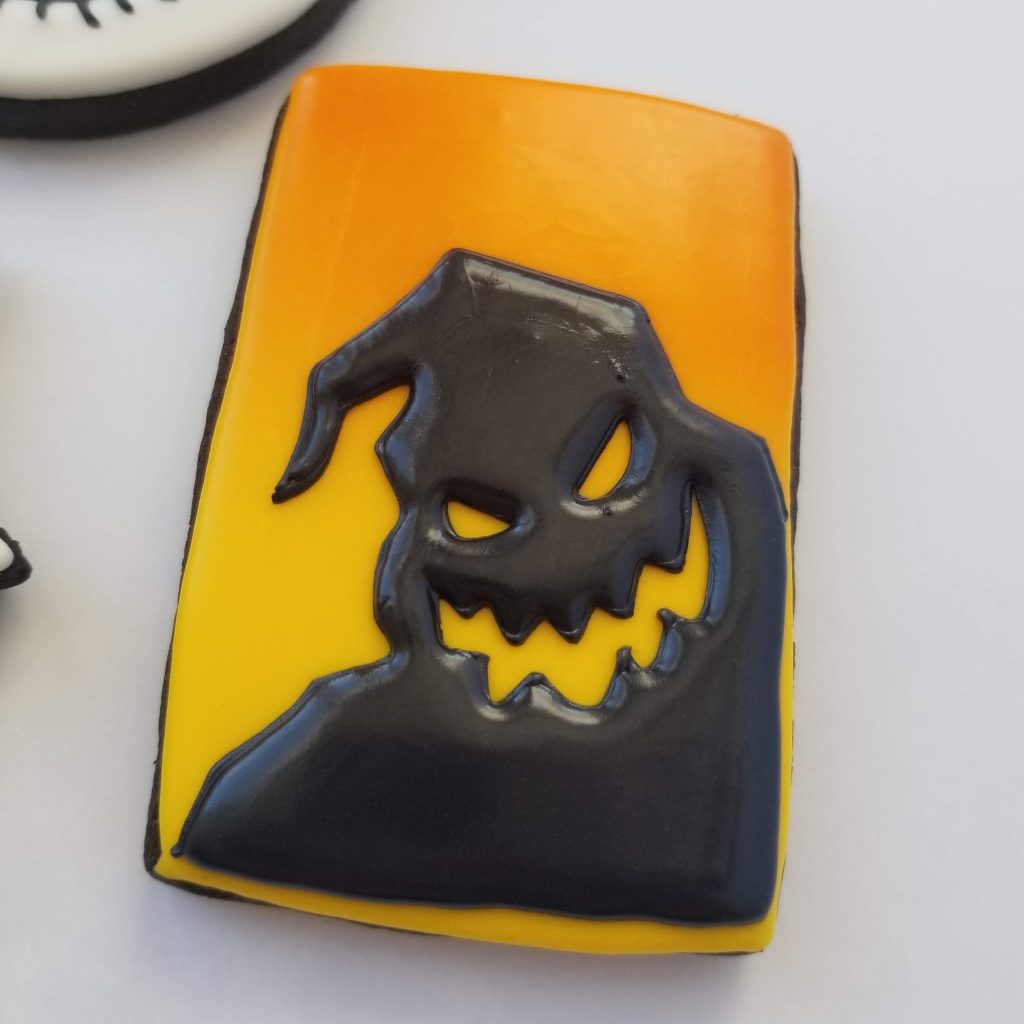
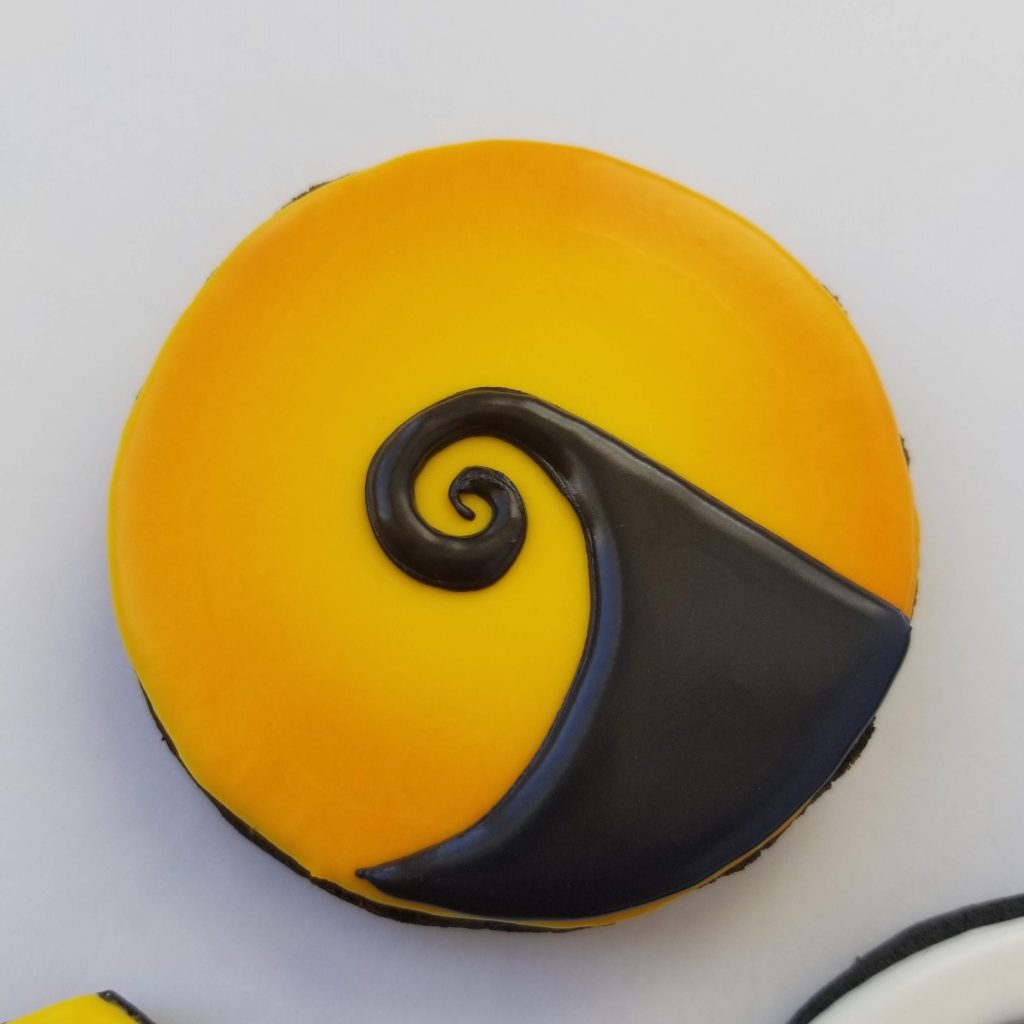
Making Oogie Boogie & Swirly Hill
There are options with these two Nightmare Before Christmas Cookies. If you are an experienced decorator and have an airbrush machine, I love the look that airbrushing these cookies gives. If you are more of a novice decorator, airbrushing is totally optional. These cookies would look great with a yellow, orange or even a lime green background! You can also do just a white background, which could also be great and look classic.
Make sure that whichever method you choose, you wait 24 hours to pipe on your detail. (This is specific to using my Soft Royal Icing Recipe. If you are using typical Royal Icing you may not need to wait as long.) This way you will not accidentally break through your initial flood.
I used a projector to trace the outline of Oogie Boogie. But you can easily hand pipe him without a projector. The great thing about Tim Burton’s Nightmare Before Christmas is that his characters are wonky, and spooky. The lines of the characters do not need to be perfect. If you are close, the message will come across. So if you don’t own a projector, there’s no rush to buy one! If you LOVE decorating and you’re looking to get more serious, I find it a good investment. And I will be posting other custom cookies I’ve made that I also used a projector for, so subscribe to my page and I’ll give you plenty of opportunities to practice with your new toy!
Spider Web cookie: 2 Ways
For the spider web, you don’t NEED a web cookie cutter, it is optional! I’ve piped a web on a circle cutter, a hexagon and plenty of other shaped cookies. Also, there are two ways to do this. Both ways are wet on wet. (Wet on wet is when you pipe your detail while your flood is still wet. Therefore earning the technique the name: Wet on Wet.)
Pipe your dam, flood your cookie, then you can proceed with option one or option two to achieve your web look. I personally liked the look of option 2, but the drag option is great as well, and sometimes that method is very therapeutic and satisfying!
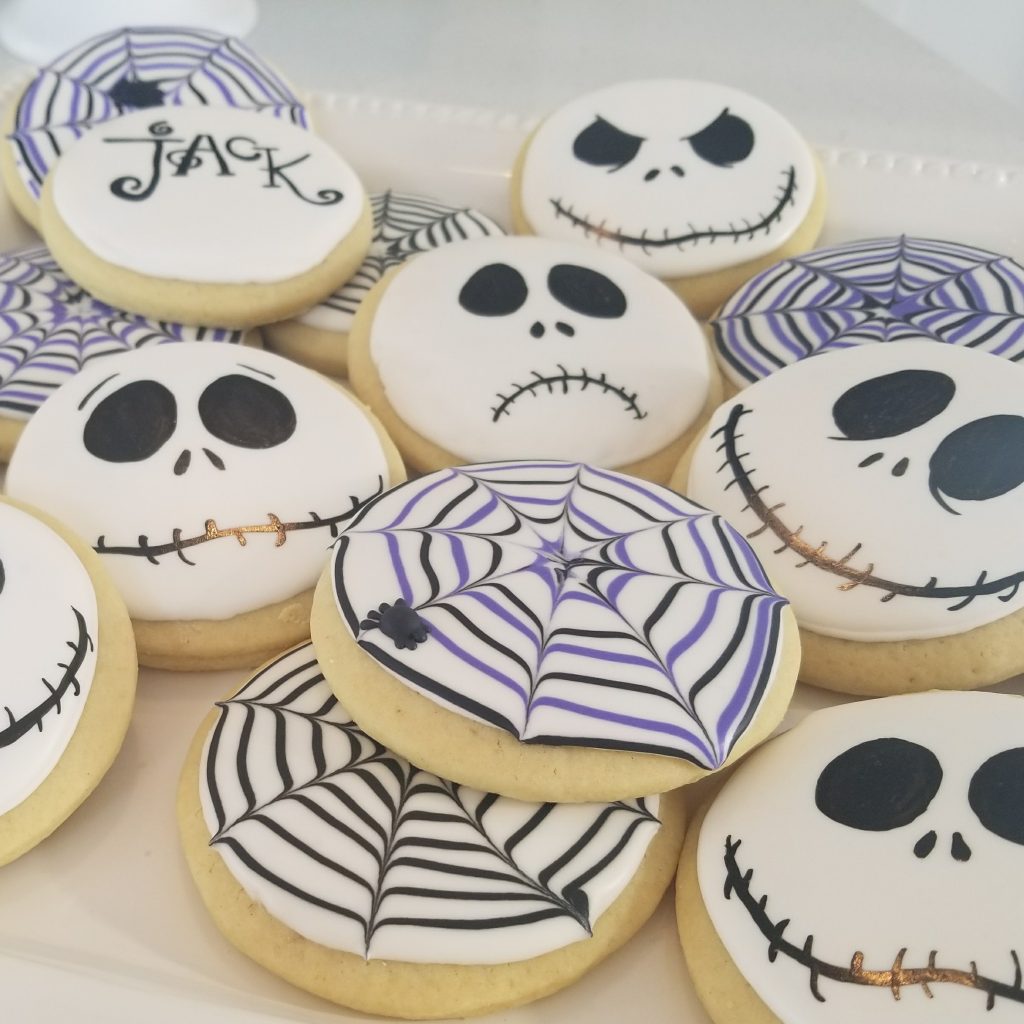
Option 1: The Drag
Pipe your dam, flood your cookie white, pipe circles, or a swirl with you black and optional* purple icing. Then drag a toothpick or your booboo stick from the center of your cookie to the outside edges. This will create web like edges that flare out from the center of your cookie.
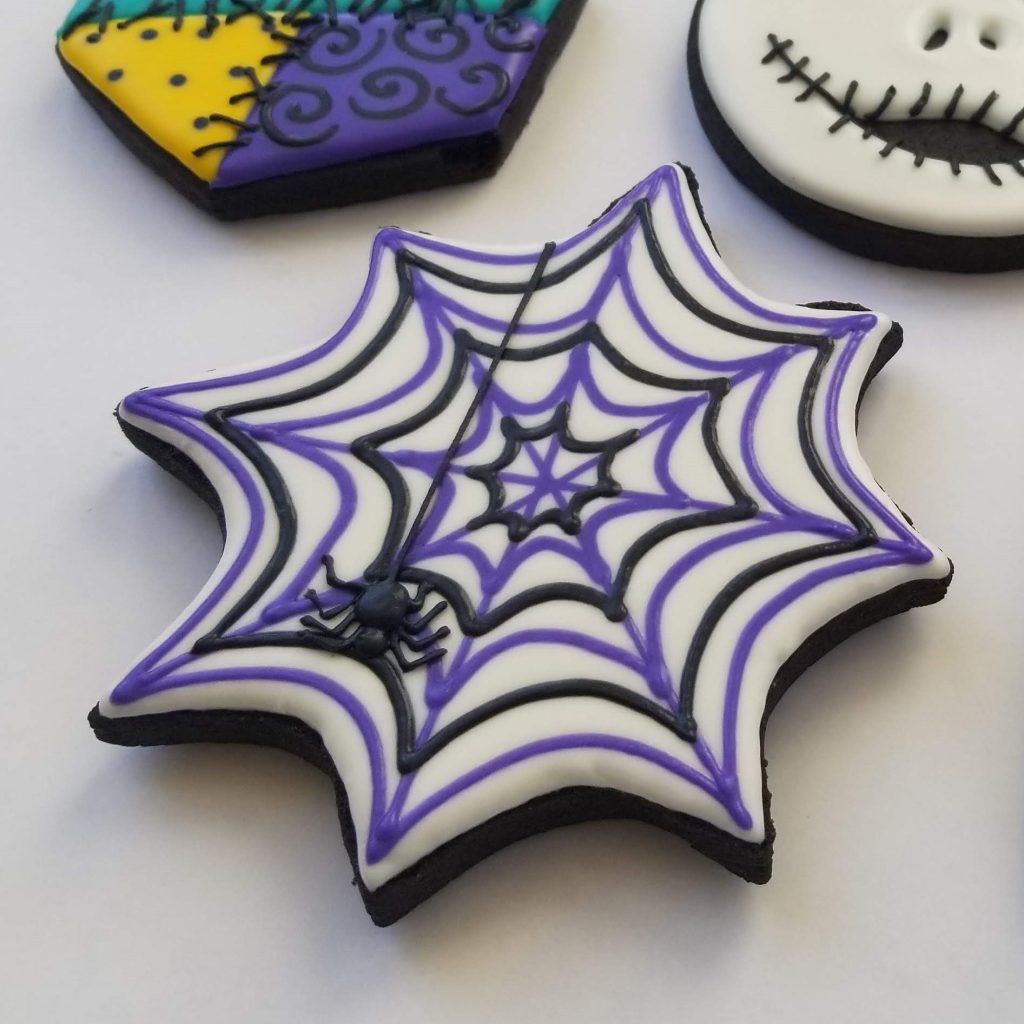
Option 2: Pipe the Web by Eye
Start your cookie the same way, pipe your dam and flood your cookie. Then, also while the icing is still wet, pipe on the web. Start with making lines across the cookie and connecting those lines with curved lines. (Refer to the Web section of the video tutorial)
Finishing Touches
Let the cookie dry for at least an hour, then pipe on your spider and his hanging web.
How to store and keep your cookies fresh
Custom Cookies are a LOT of work! When you spend the time decorating for hours you want to make sure you can enjoy those cookies before they go bad. If decorating cookies is something you do often, invest in a heat sealer. It is a cookie life extender! Once sealed, we’ve enjoyed our cookies for weeks. Or even months after if we freeze them.
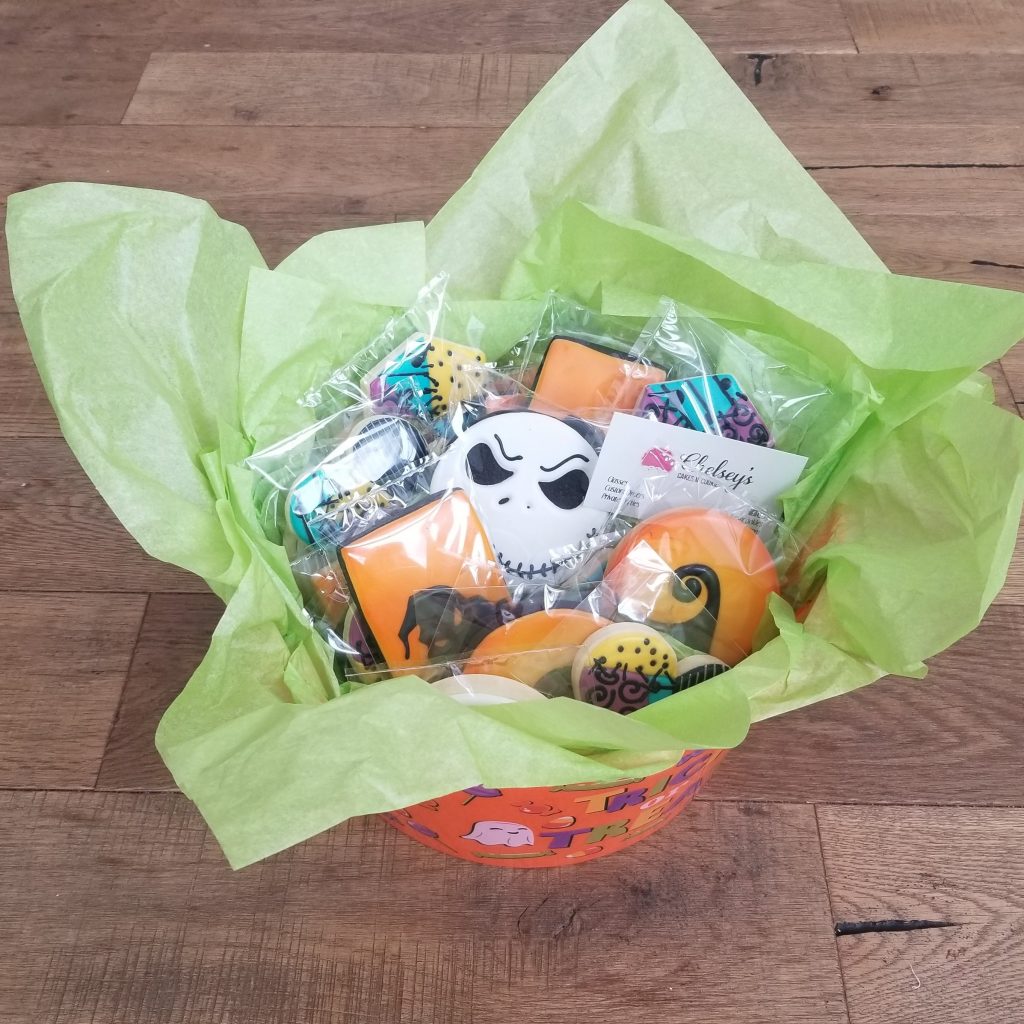
If you don’t decorate enough to warrant the purchase of a sealer, you can buy bags that have a self adhesive edge. I highly recommend these instead. They are nearly as good!
Otherwise, throw them in a ziplock bag after they are completely dry. They’ll keep for up to a week before going stale.
Watch the Tutorial, And follow along!
Thanks for Stopping by! Enjoy your decorating, and let me know how it turns out!
-Chels
Leave a Reply