Fondant doens’t have to taste bad… It can taste great! Making Your Own Marshmallow Fondant is easy, cheap and doesn’t require any specialty tools or experience… learn how now!
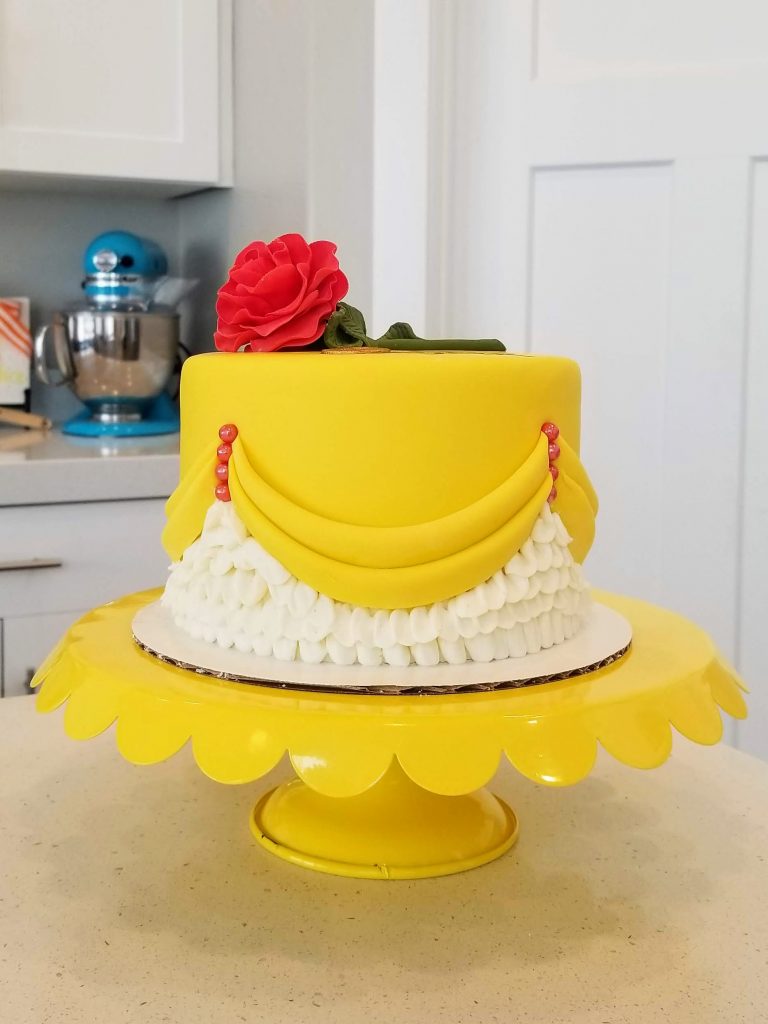
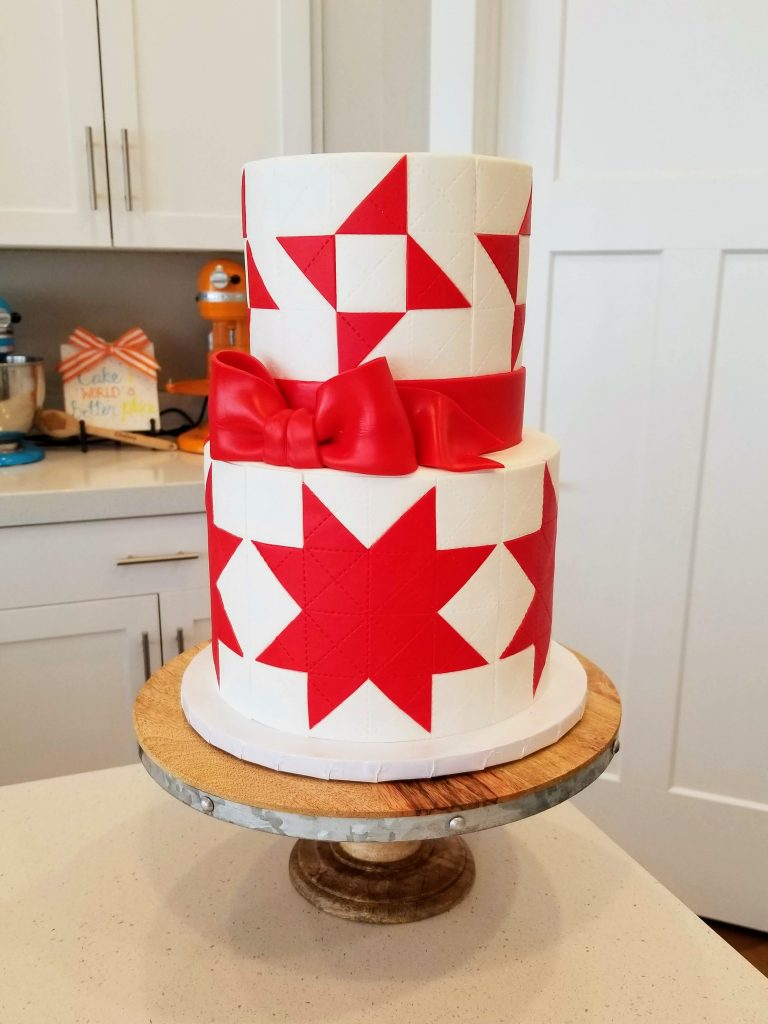
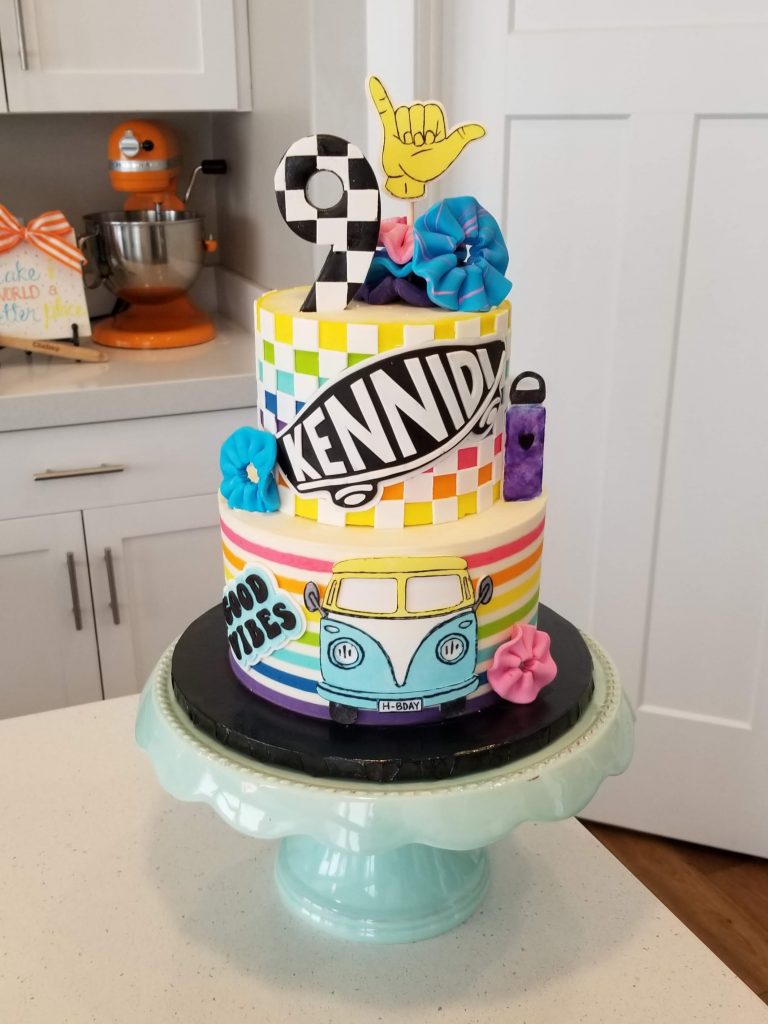
There are lots of ways to use fondant on a cake. You can cover the cake completely, use it only for detail, make edible toppers, flowers, logos.. the list is endless. There are also lots of different kinds of fondant. But they are not all created equal, and the best tasting one you can make yourself with only 5 ingredients!! Enter Homemade Marshmallow Fondant…
If you’re here, you’ve entered the world of cake making and now you’re thinking, hmmm…. what about fondant?!
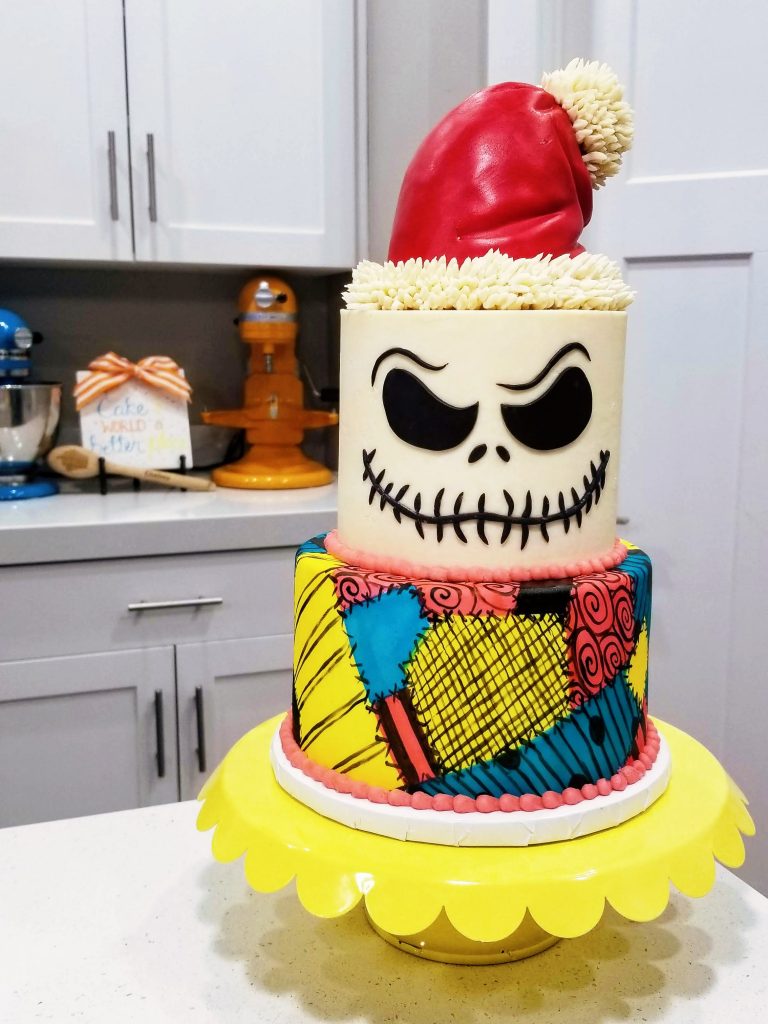
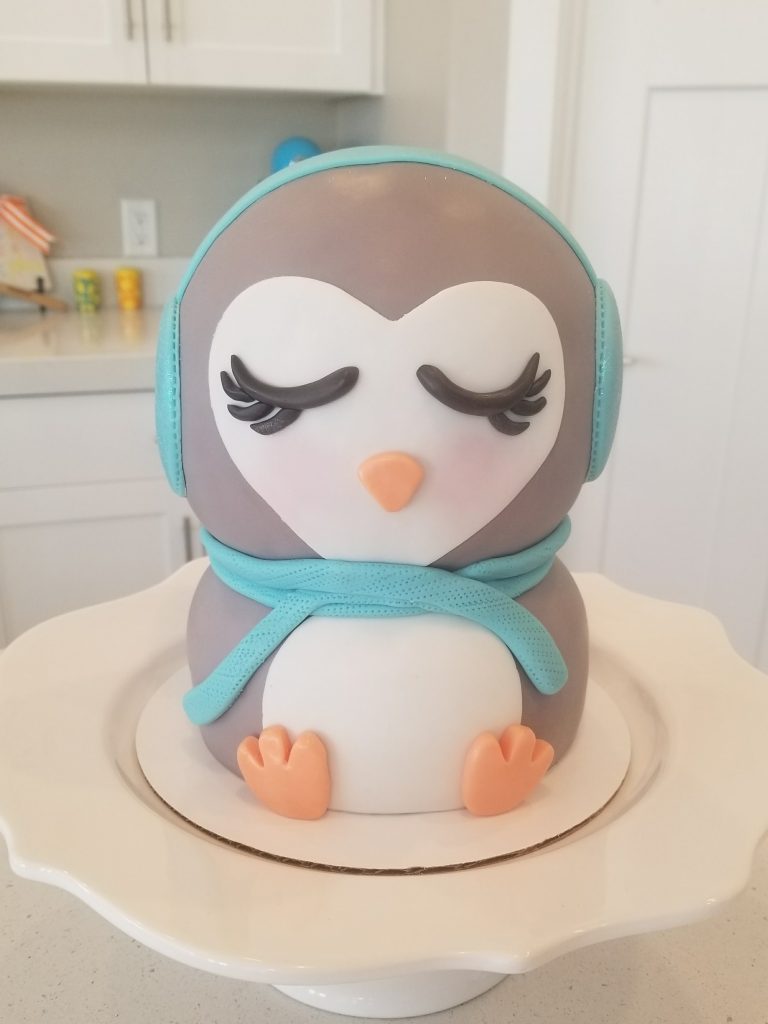
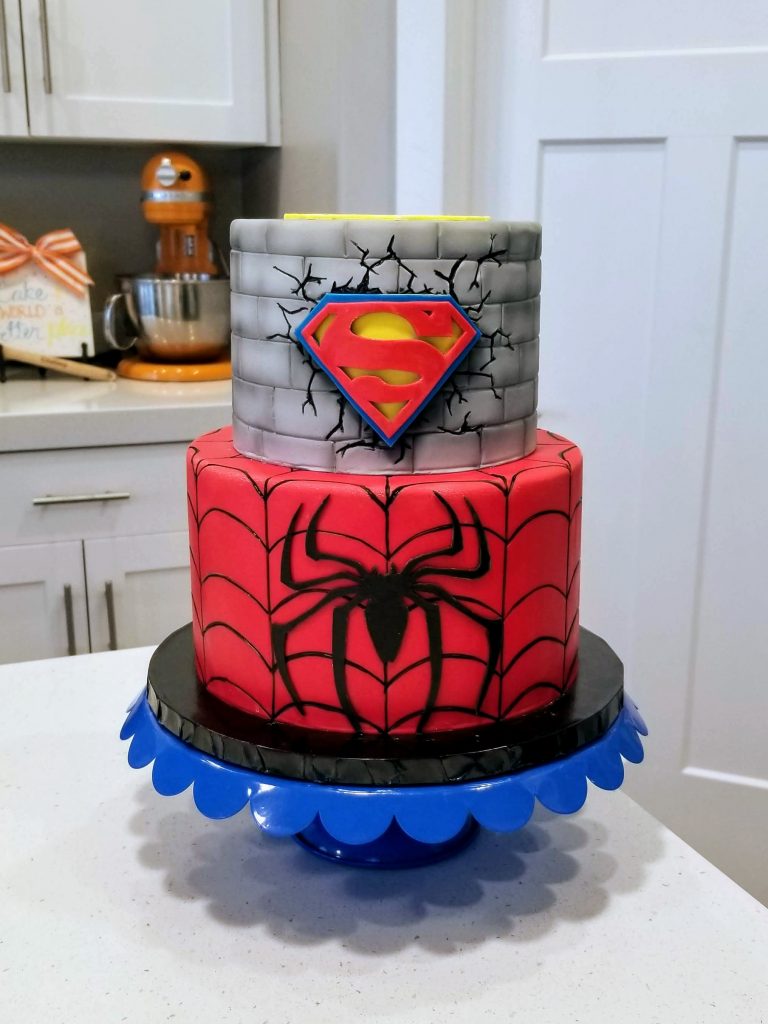
I like the look of a well put together fondant cake with all that beautiful detail.
Is it hard?
Is it expensive?
Does ALL fondant taste terrible?!!
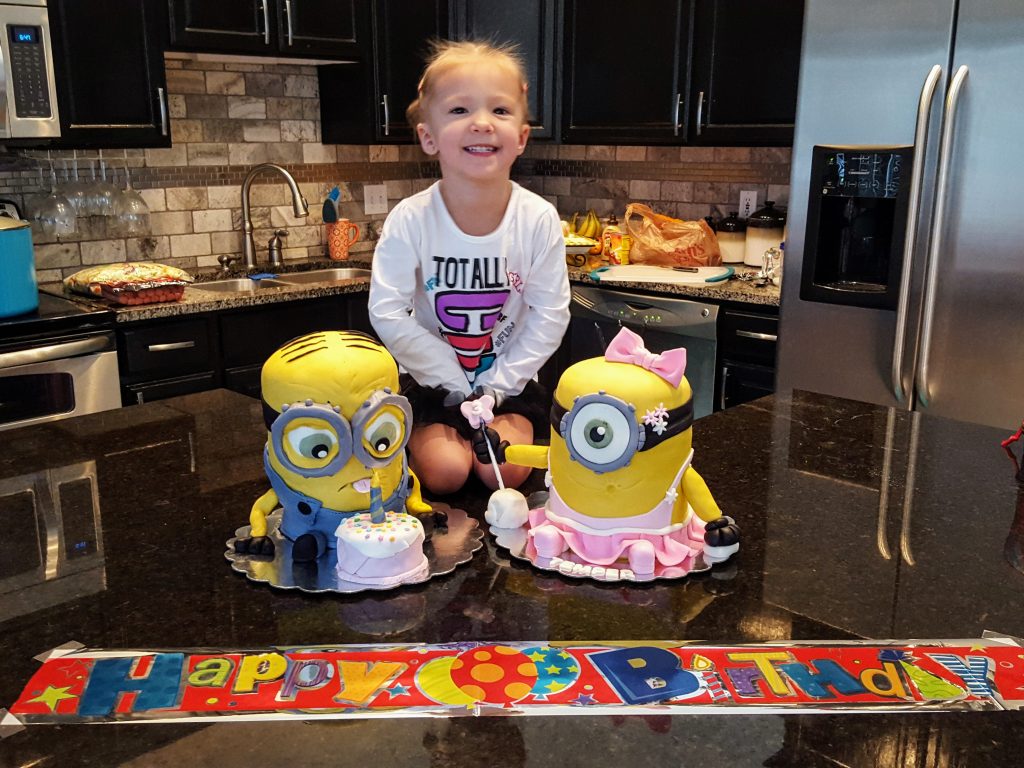
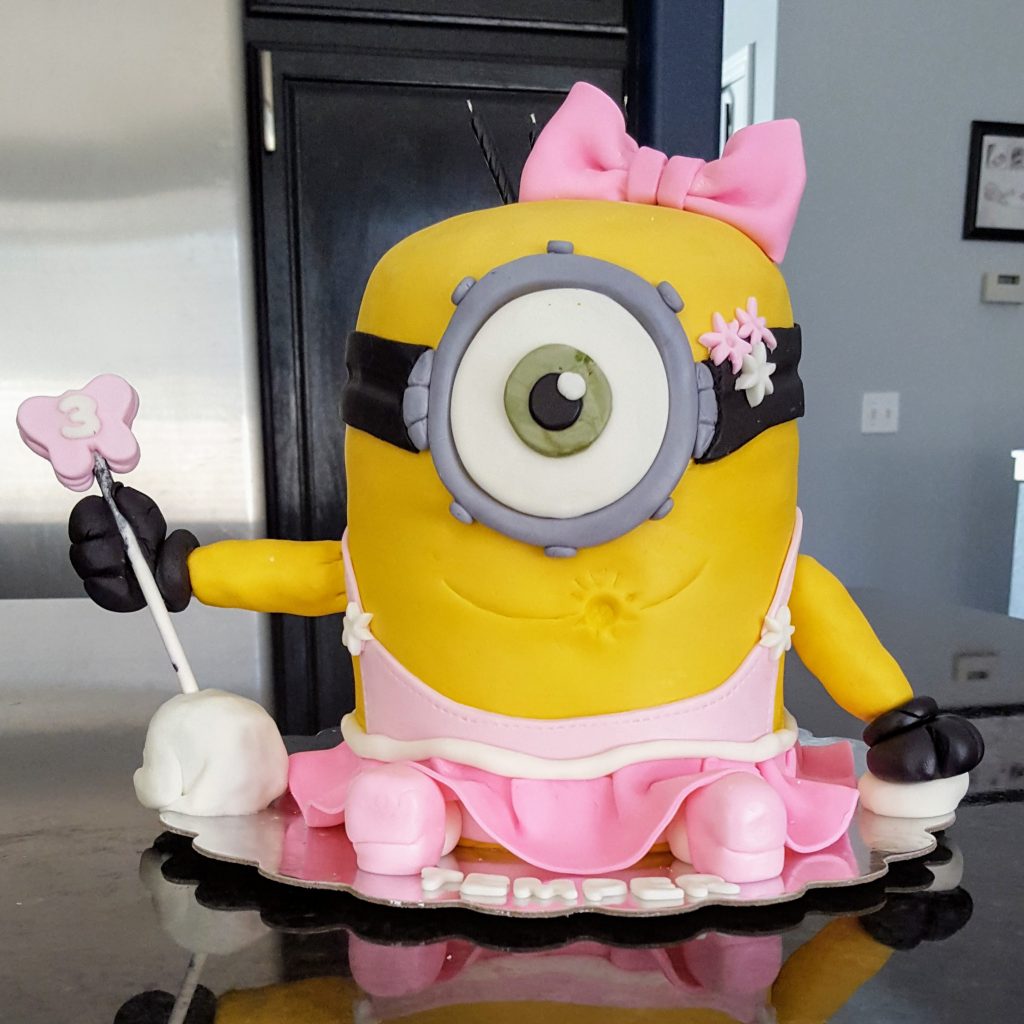
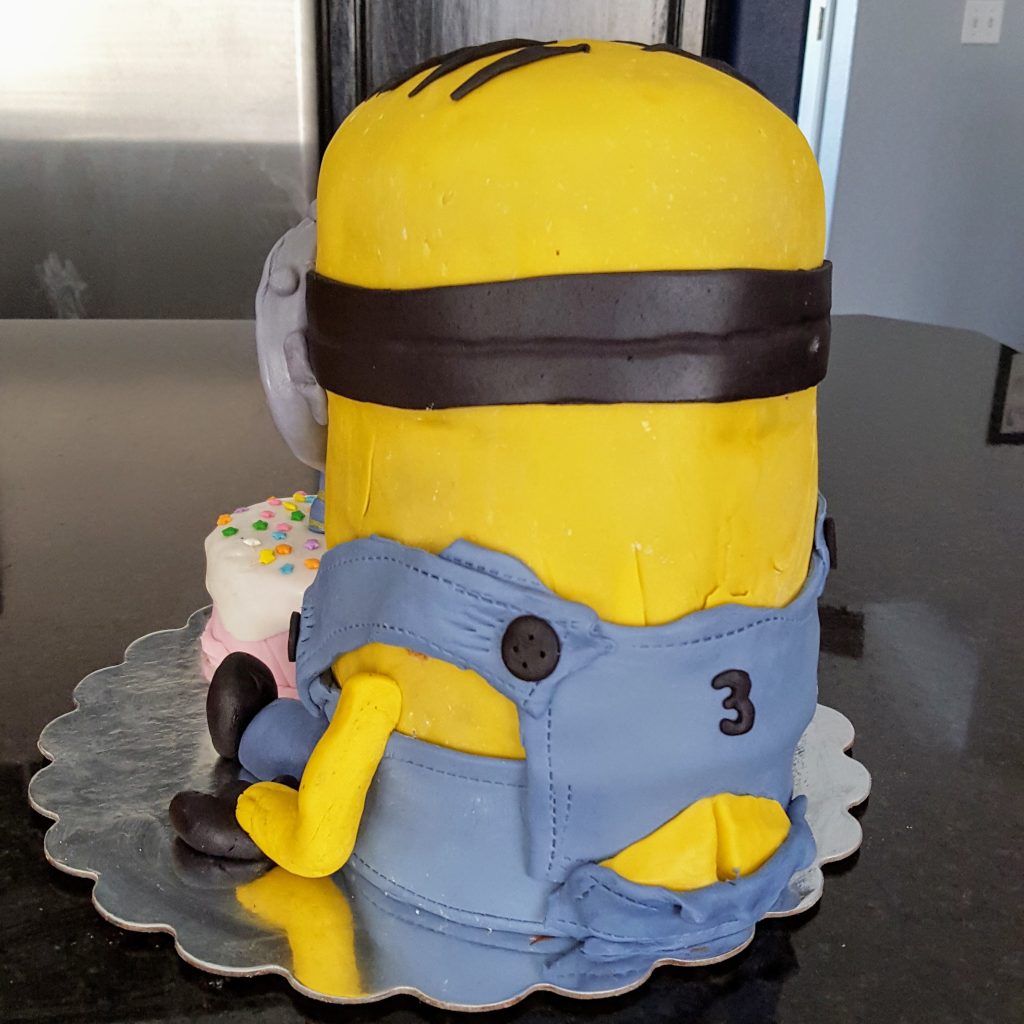
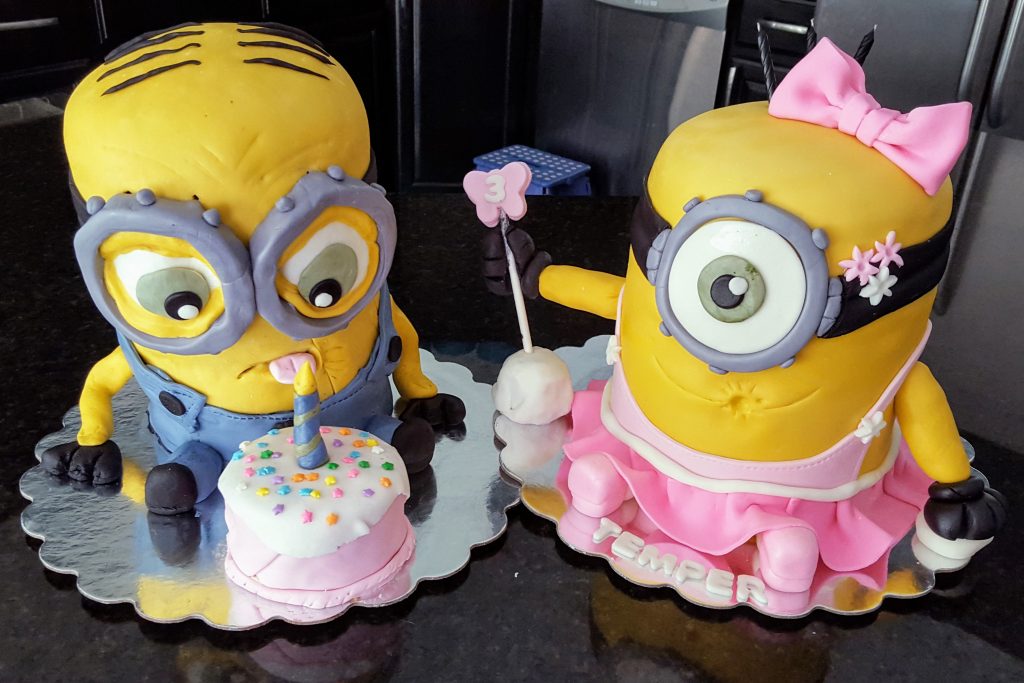
Whelp, lets talk Marshmallow Fondant. I started off making cakes covered and decorated with fondant. And because I’m cheap and buying a quality fondant can be pretty pricey, I made my own! The very first cake I made was made solely with boxed cake layers, my Fluffy Cream Cheese Frosting, and Homemade Marshmallow Fondant as per my daughter’s request for her 3rd birthday.
I used only Marshmallow Fondant for years. It was only after my custom baking hobby really took off that I started experimenting with purchased fondant. There is a learning curve with fondant, and video tutorials for how to cover a cake with fondant can be very helpful to you in the beginning. (When I made that minion cake for my daughter 5 years ago, I am pretty sure I watched 20+ hours of YouTube tutorials! hahaha)
Practice makes perfect! Don’t give up
At the end of the day though, fondant is really just a trial and error endeavor. Be prepared to throw some of it in the trash and re-roll more… it’ll happen. And that’s why Marshmallow Fondant is a great option. A small 2 lb tub of Satin Ice Fondant (my favorite pre-made fondant) can cost you $16. But you can make 3 lbs of Marshmallow Fondant for about $5 and it’ll only take you about 20 minutes.
How do I color my Homemade marshmallow fondant?
Coloring Marshmallow Fondant is very simple. You just need to invest in some Gel Food Color. A little goes a long way for most of your run of the mill colors. Make pink, blue, green, orange, yellow…. etc. by adding a drop or two of concentrated gel food coloring and then kneading it into your fondant on a shortening greased surface. (Wearing some disposable gloves for this process will save you some colorful hands later!) Red, Black, Royal Blue, or any other deep color can be a little more tricky. However…
One of the best things about Marshmallow Fondant is that you can make Black or Red Fondant without using a TON of food coloring! When you are trying to achieve a very deep color with your white fondant, it can be near impossible, especially without breaking the fondant (that would be when you add too much color and the fondant literally starts to break. If you have colored white fondant a deep color, chances are YOU’VE BEEN THERE!)
When you make the Marshmallow Fondant yourself, however, you can color the melted marshmallow mixture before you mix in the powdered sugar and use A LOT less food color! Simply melt your mallows, and then stir in your food color until the melted marshmallows are the desired color. Then pour your marshmallows into your powdered sugar and start mixing!
What Supplies Do You NEed?
- 16 oz Bag of Mini Marshmallows
- 2 lb Bag of Powdered Sugar
- Corn Syrup
- Vegetable Shortening
- Vanilla
- Water
Homemade Marshmallow Fondant from Start to Finish
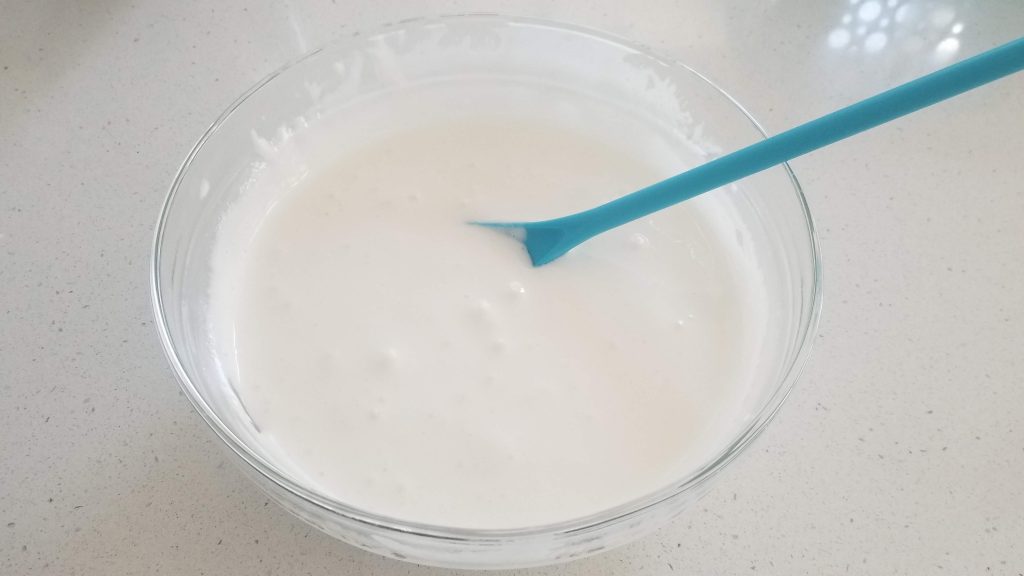
Melt Marshmallows, Corn Syrup and Water together. Add Vanilla. 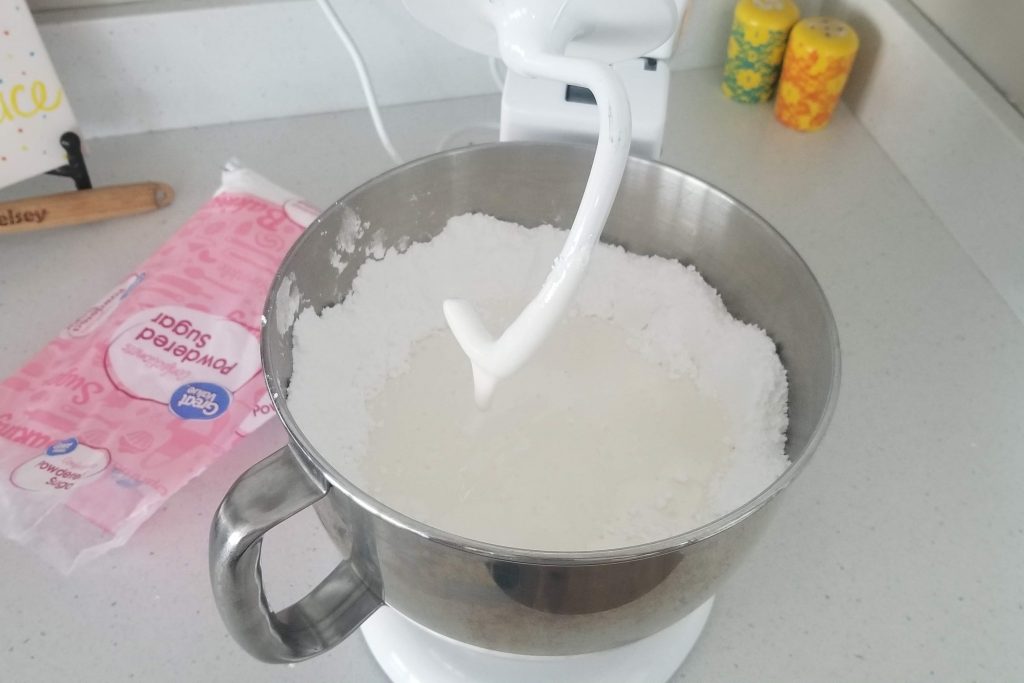
Add Powdered Sugar, make a well, and pour in the melted Marshmallow Mixture, Mix 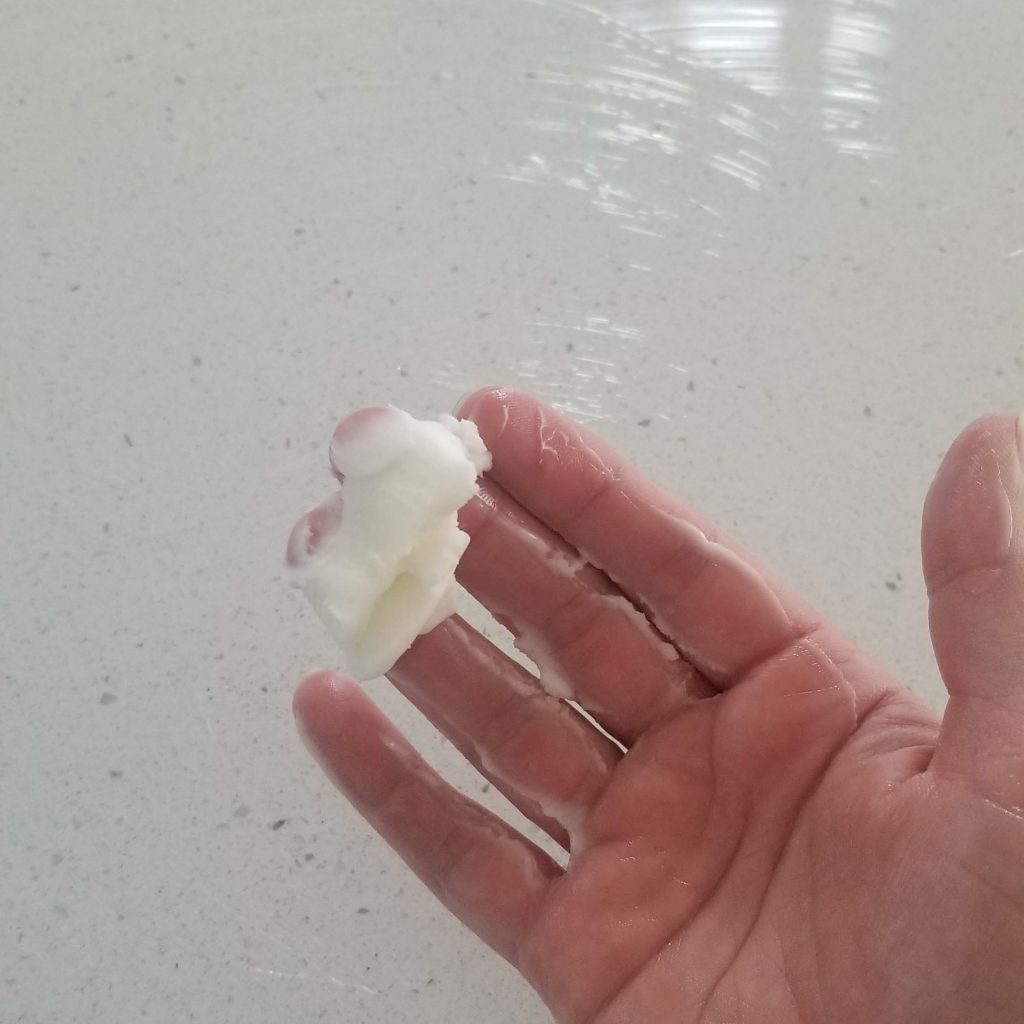
Cover your countertop and hands generously with Shortening 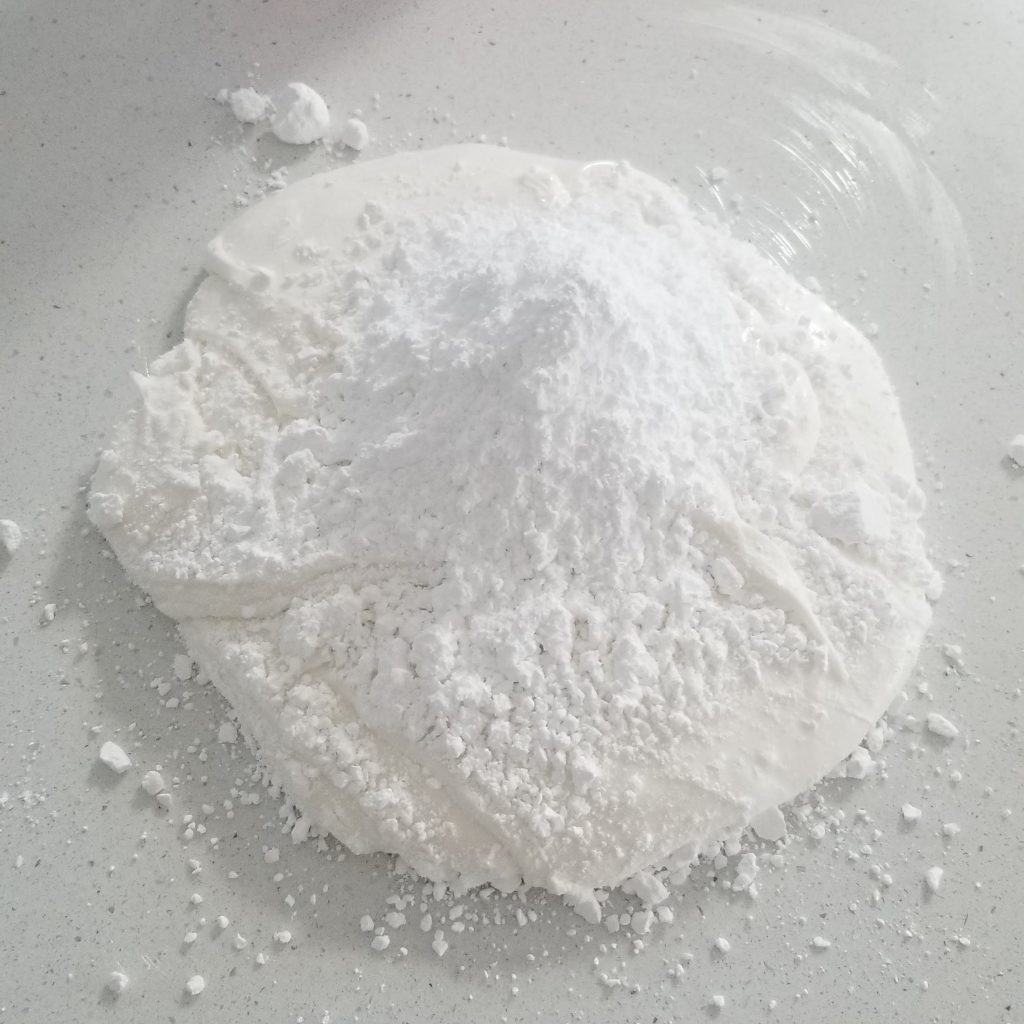
Pour the remaining Powdered Sugar and Mixture onto greased Countertop 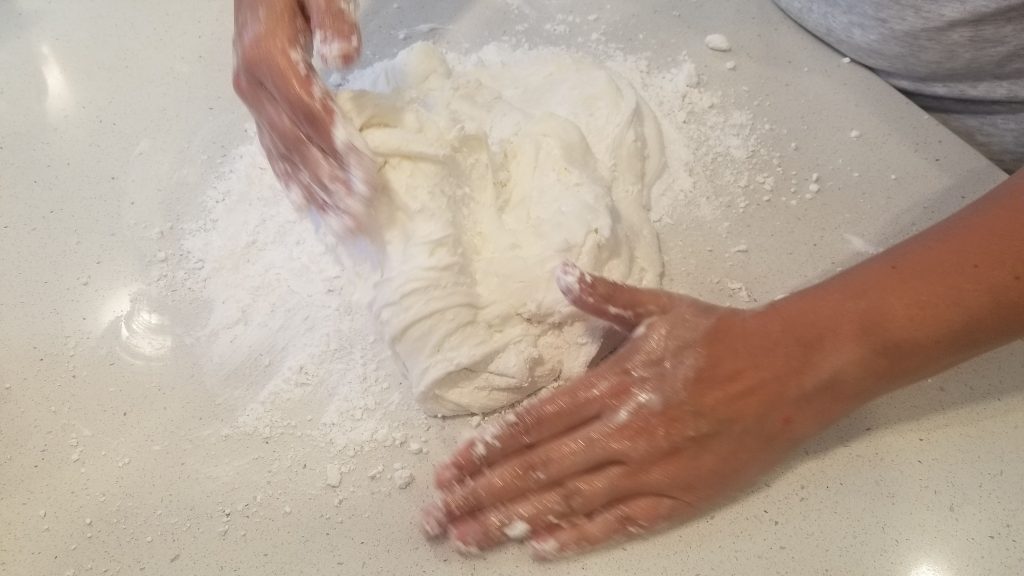
Start folding and kneading 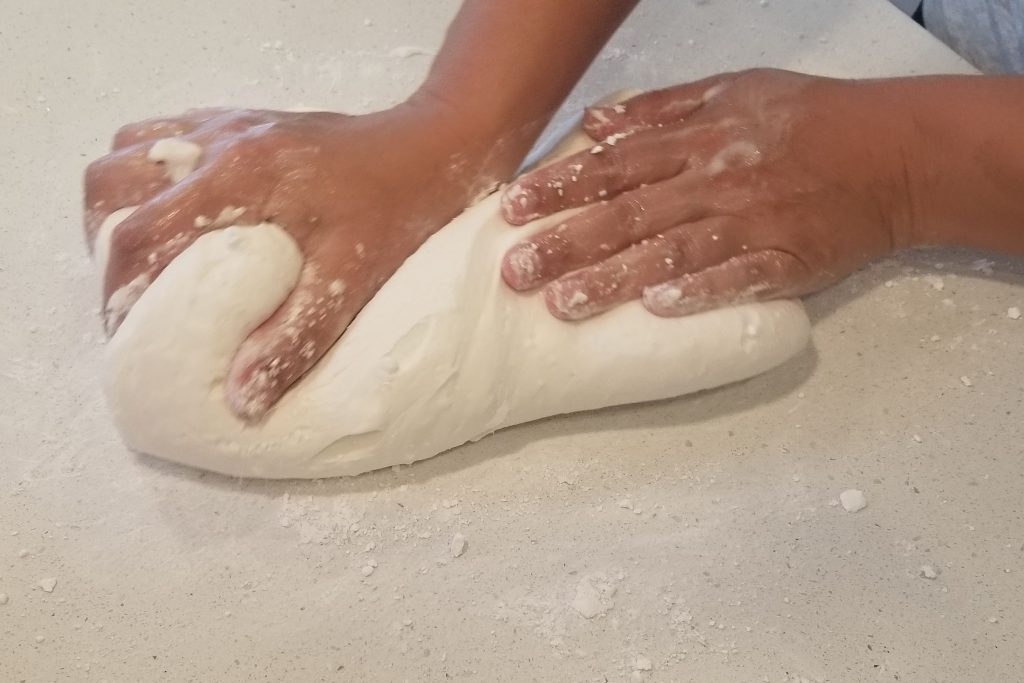
Stretch and fold 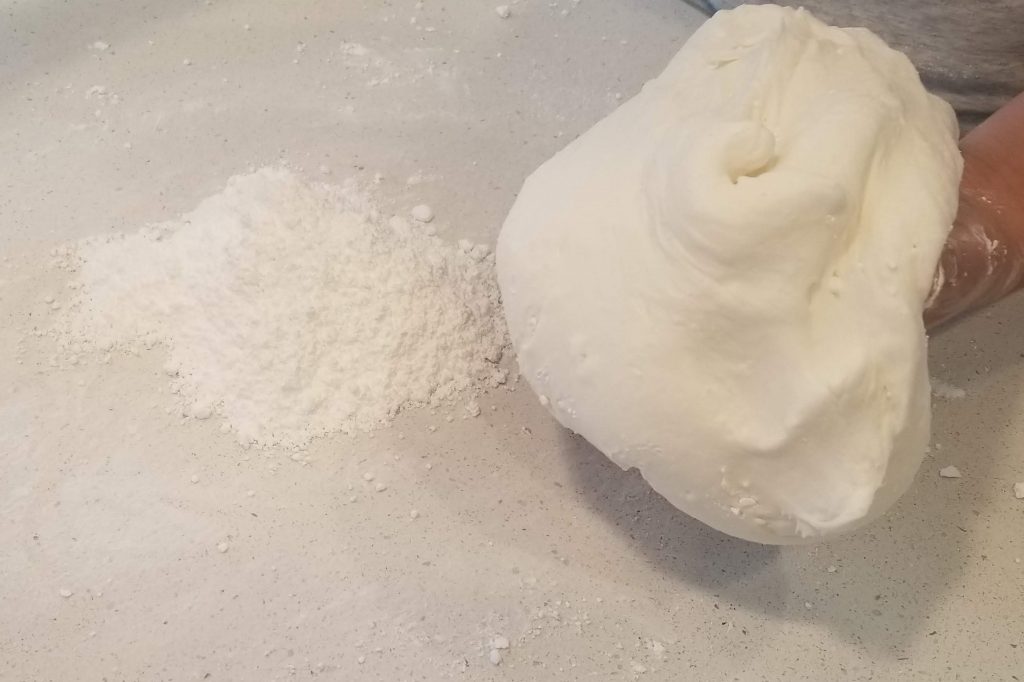
Add more Powdered Sugar when necessary 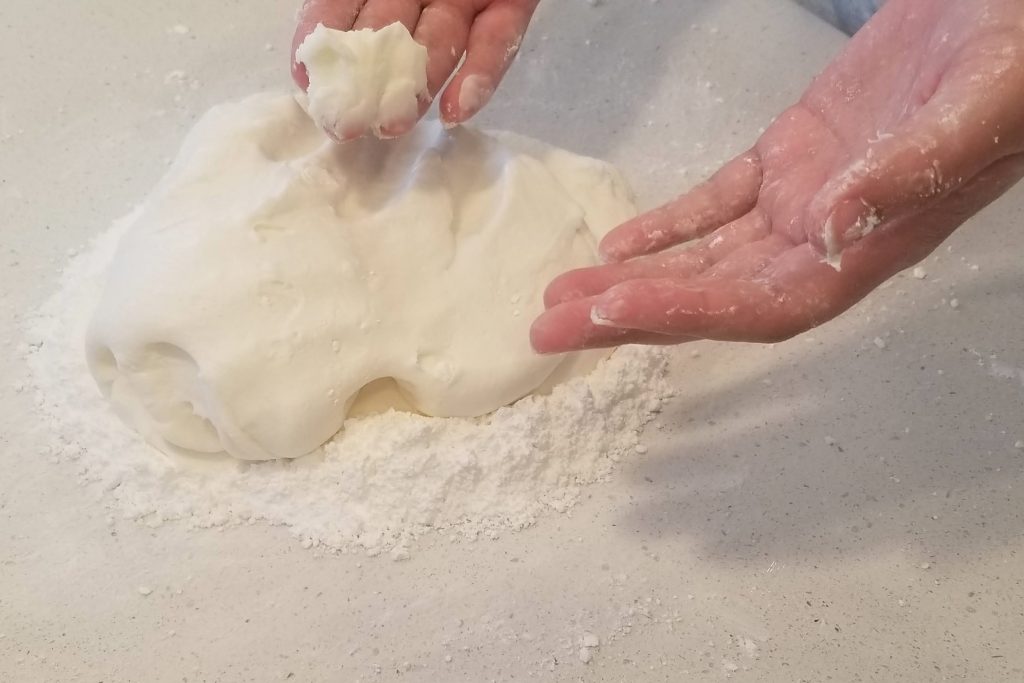
Frequently grease your hands with more Shortening 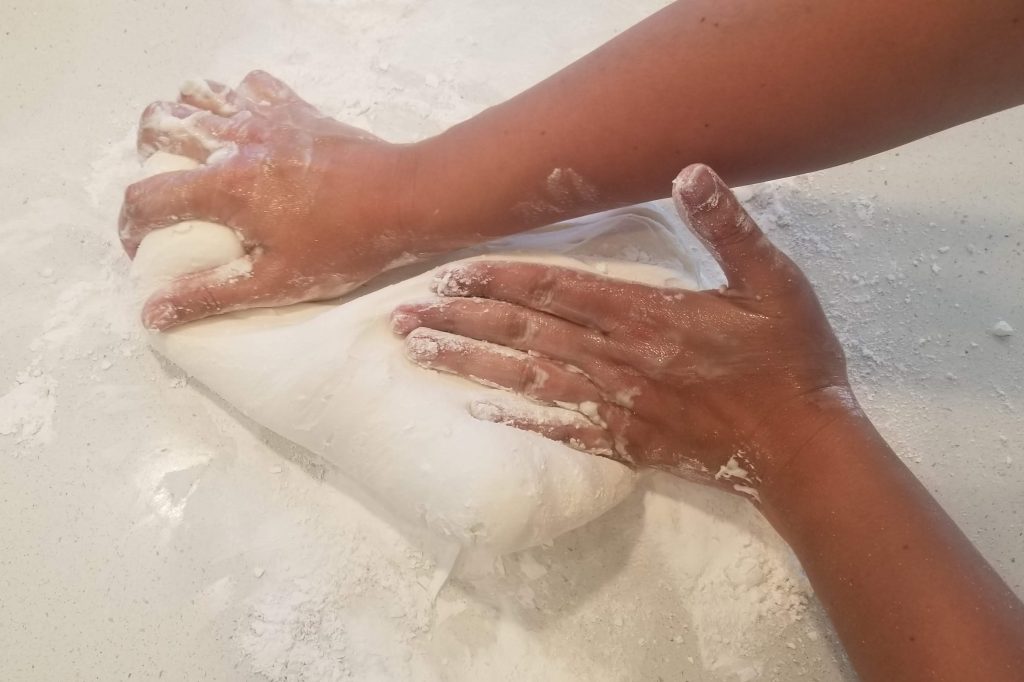
Keep mixing in more Powdered Sugar until the Fondant is no longer sticky 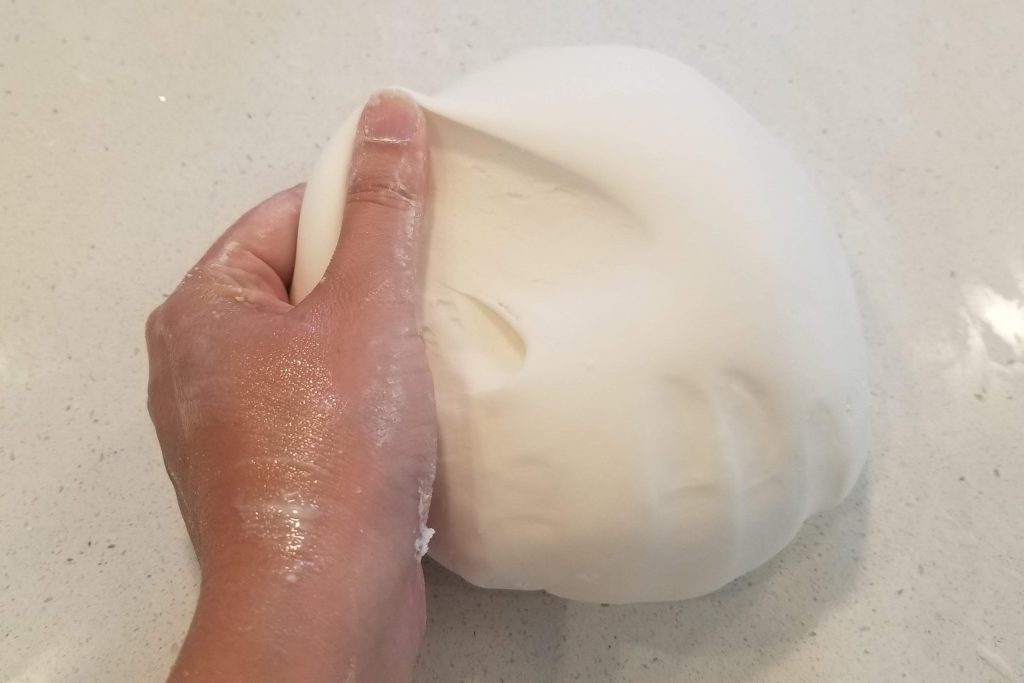
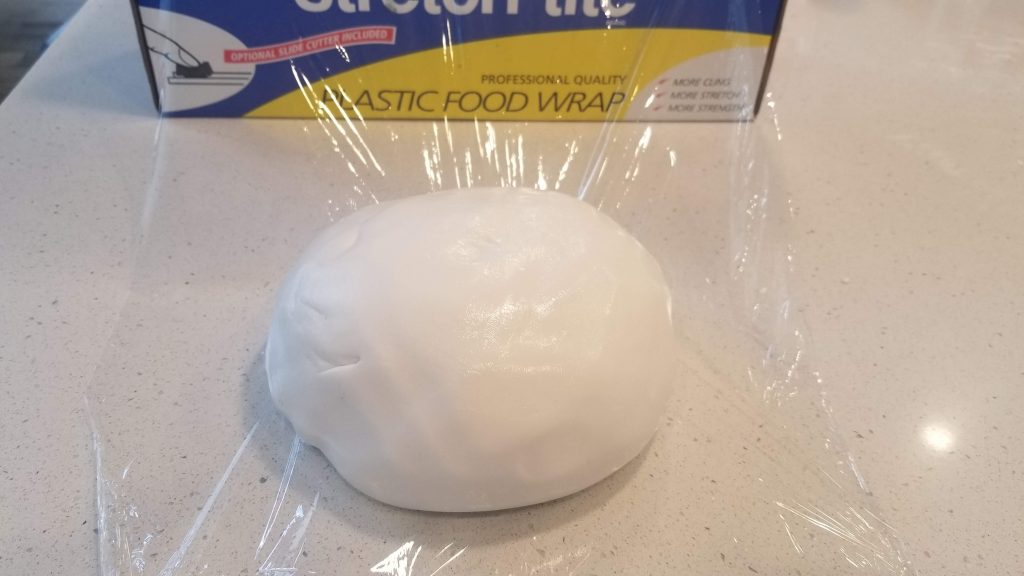
When Fondant no longer sticks to your hands and starts to hold its shape it’s ready!
Cover with a good layer of Shortening before you wrap it.
*Depending on many varying factors you may not need the entire 2lb bag of powdered sugar. You may need a touch more. You will definitely want to keep the container of shortening near by!
How do I store my fondant?
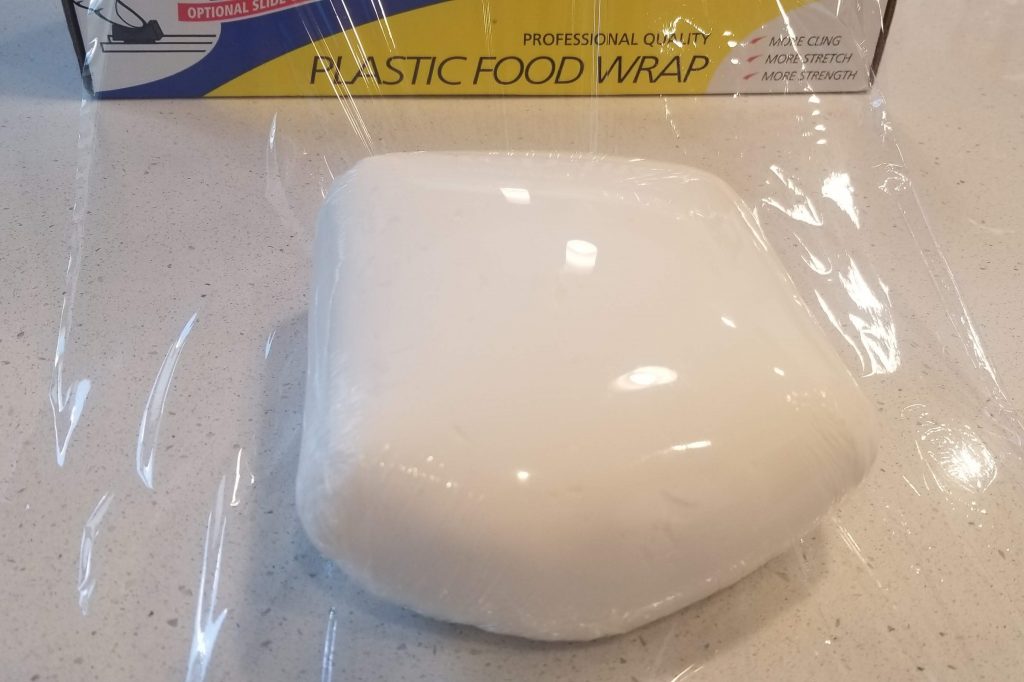
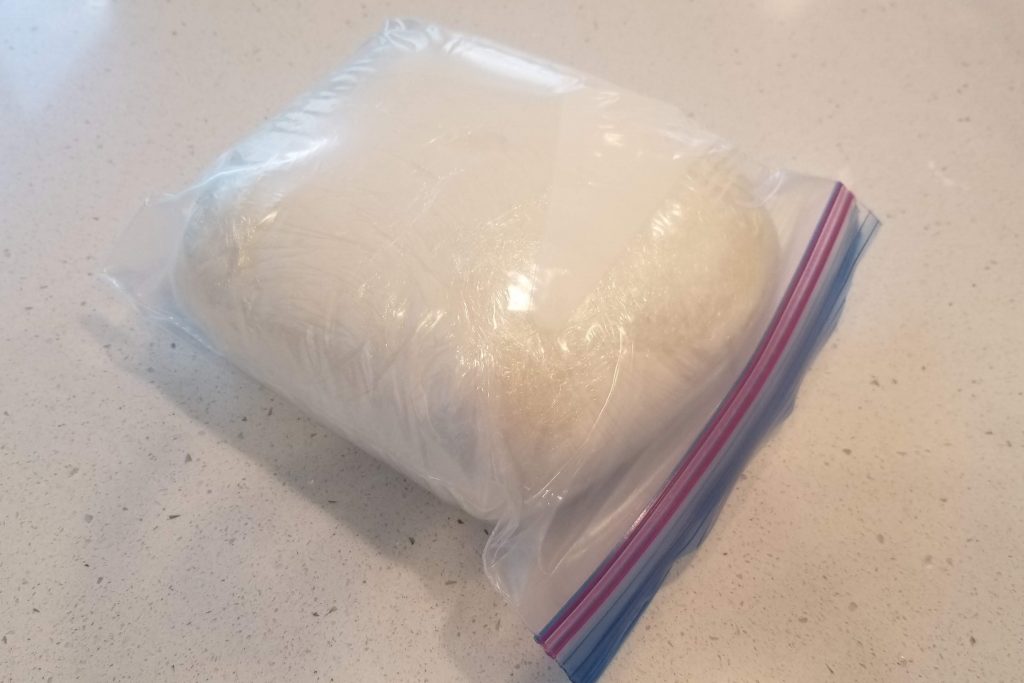
Tightly covered! Wrap your fondant in a couple tight layers of plastic wrap and place it into a Ziploc bag. It will stay just fine at room temperature for a few months at least. If you don’t plan to use it again anytime soon I’m told you can freeze it. I have not ever personally tried to.
Can I use any brand of Mini Marshmallows?
You sure can! My favorite marshmallows to use are Winco Brand Marshmallows. They seems to give a great amount of elasticity and yield a better taste in my opinion. But I have also used Jet Puffed, Campfire, Kroger, Great Value, AND Vegan Marshmallows. Yup! Vegan! All work just fine.
Do I have to use shortening?
I have only ever used shortening. Let me tell you why. Shortening has great shelf life. It doesn’t require refrigeration. And it’s white. I’m almost positive that you could use butter or coconut oil and it would be delicious, however… the butter is yellow, it needs to be refrigerated and it’ll decrease the longevity of your fondant. And coconut oil melts at a lower temperature than shortening, so I wonder if you would end up with a melty mess when you’re kneading your fondant. Usually, you’ll want to start with bright white fondant so coloring it is an easy task.
I want my fondant bright white… do I need vanilla?
Vanilla is completely optional. Your fondant will taste like super sweet marshmallows… so if you choose not to add vanilla it’s not the end of the world. However, if you would still like vanilla flavor without the added color, you can use a clear vanilla. Such as this Clear Mexican Vanilla.
Do I have to have a mixer to make fondant?
You absolutely do NOT have to own a mixer to make fondant. It makes it quicker a, easier and less messy, but it isn’t impossible to do it without. Just put some powdered sugar into a bowl, making a well just as you would if you were mixing it in a mixer, and pour your melted marshmallows into the well. Use a mixing spoon or your hands (being careful as the marshmallows are VERY hot), start mixing the marshmallows with the powdered sugar.
Do this until it’s pretty impossible to mix in the bowl any longer. Then dump the mixture out onto your greased counter and continue the process the same way you would after the mixture comes out of the mixer.
Making gumpaste with your fondant
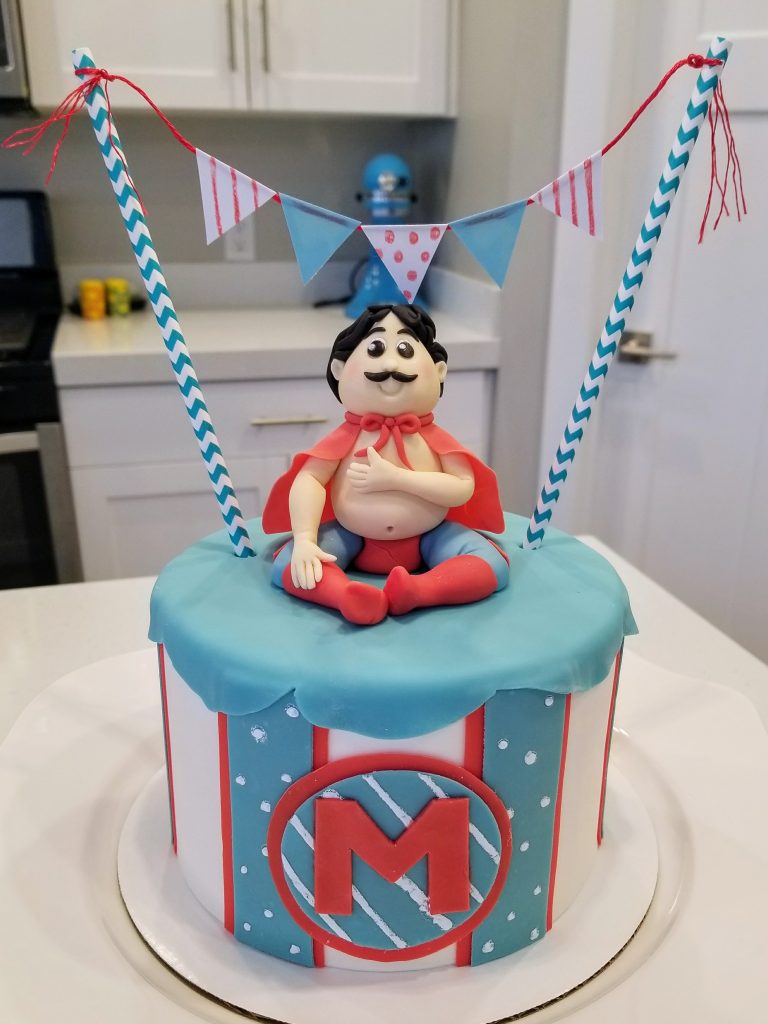
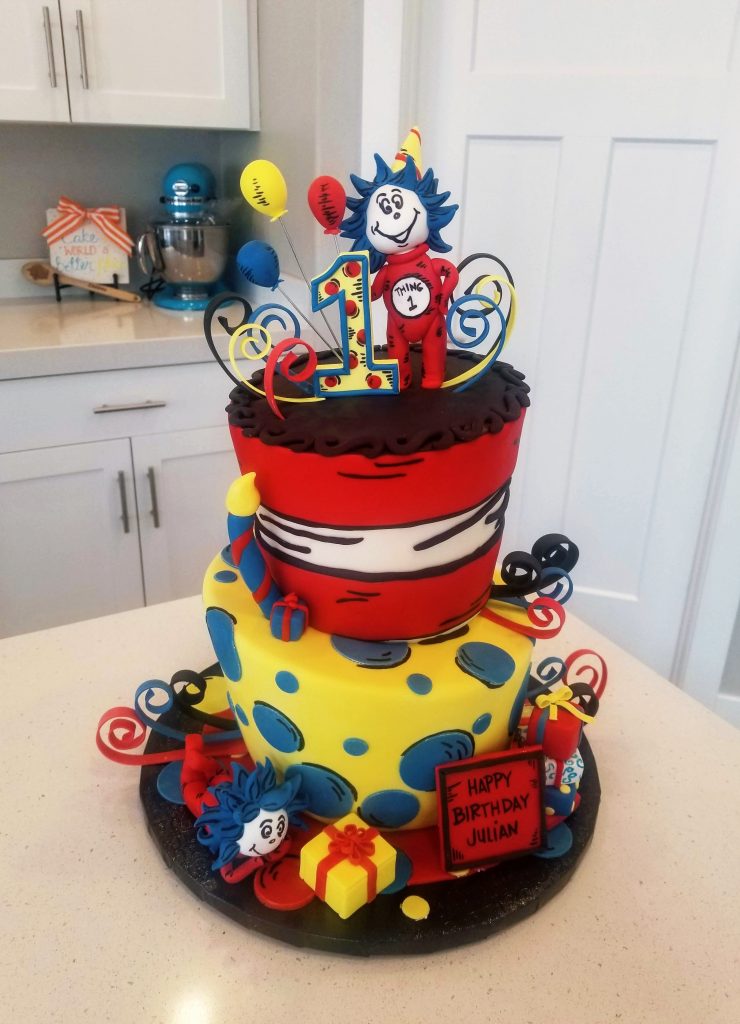
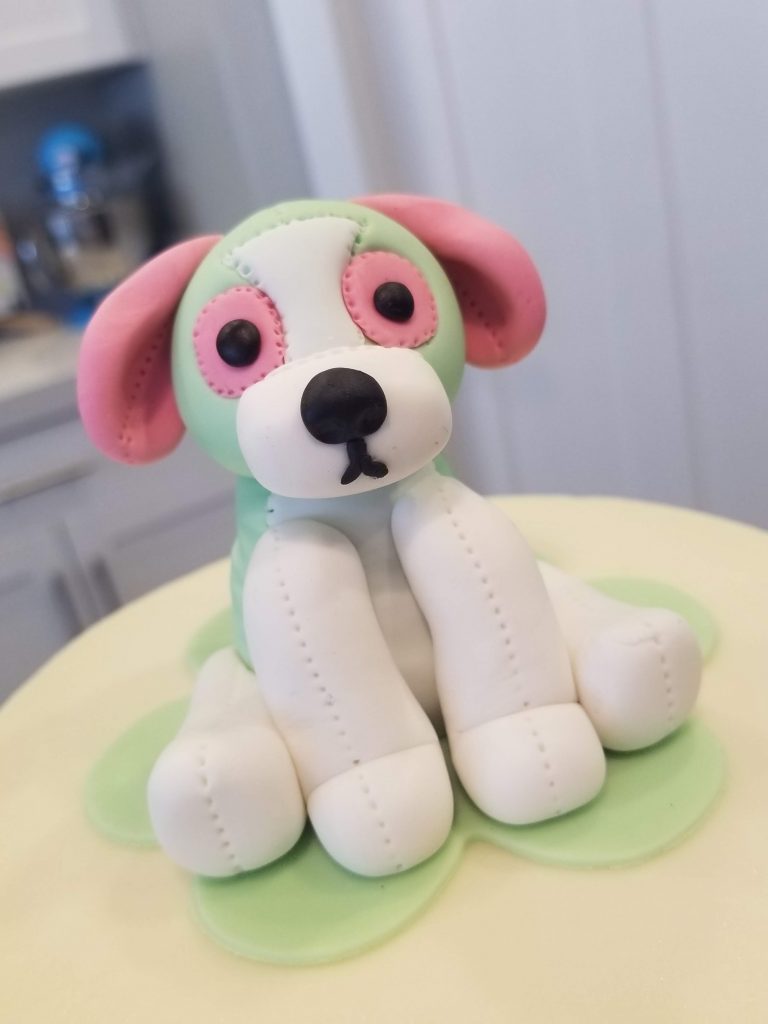
Depending on your skill level, and your patience ;), you can use Homemade Marshmallow Fondant for lots of things. I use it the most for fondant logos and detail on cakes. Like the horn, ears and eyes on my Unicorn Cake, or for making logos or 3D characters. Post on Making Fondant Logos COMING SOON, for all of the tips you’ll need to make intricate logos and designs for your cakes, cookies, or cupcakes.
When I do most of these things I add a bit of Tylose Powder to my fondant to stiffen it up. This gives it a Gum Paste quality. It stiffens up and holds its shape a bit better. Your fondant will also will dry harder. So for things like a unicorn horn, where you are trying to get it to dry tall and whimsical and not short and squatty, you’ll need Tylose.
You can add all kinds of little details to cakes, cupcakes, cookies… etc. If you purchase some little plunger cutters you can make cute little flowers, stars, polkadots… really your creativity is your limit.
how to cover a cake with Fondant
Check out this quick time-lapse of me covering a cake with fondant. I usually roll out my fondant in between two pro mats. These are food safe vinyl mats that are apparently no longer available for purchase. You can roll your fondant directly onto any smooth, sanitized surface. Or you can purchase a fondant mat such as this one. I have not used this mat, but it might be a good starting point as it is inexpensive, whereas these mats of mine were almost $50 after purchase and shipping costs.
One of my biggest suggestions for covering a cake with fondant, or even just rolling out fondant it general, is to use cornstarch NOT powdered sugar. Cornstarch rolls your fondant out smooth, it prevents sticking, and it bushes off easily. I have never had much luck rolling out with Powdered Sugar.
There are also many great blog posts and YouTube videos on how to cover a cake with fondant. I’m linking a couple tutorials below that go into detail:
To cover a cake the traditional way I’m linking this video from Sugar Geek. She uses her own recipe for fondant, so some tips won’t apply to this recipe. Such as, you don’t need to warm this fondant. Just knead it like she talks about to get it workable. She uses Fondant Smoothers, a corn starch poof, and rolling pin. I’ve linked the ones I use.
If you have tall cake tiers I would suggest paneling your cake. When you panel a cake you cover the top and then wrap fondant around the sides. You’ll notice in this video that she brushes water onto the cake to get the fondant to stick. If you’re using a crusting buttercream such as ABC or ganache you’ll need to do this. If you’re using my Perfectly Perfect Vanilla Buttercream the fondant should stick fairly well without wetting it down.
practice Practice Practice…
Making and using your own fondant takes practice, patience and perseverance. But doing it yourself will save you money, won’t add much time, and it will taste better than any store bought fondant out there. Give it a try and let me know how it goes!
Happy Baking. -Chels
Homemade Marshmallow Fondant
Equipment
- Mixer (Optional)
Ingredients
- 1 16 oz bag Mini Marshmallows
- 1 2 lb bag Powdered Sugar*
- 3 Tbs Corn Syrup
- 3 Tbs Water
- 1 Tbs Vanilla Extract*
- Shortening to Knead
Instructions
- Dump a 16 oz bag of mini marshmallows into a large microwave safe bowl. Add corn syrup and water. Microwave on high for one minute intervals, stirring in between, until the mixture is completely melted and smooth. (Usually only takes 2-3, 1 minute intervals)
- Stir in the vanilla*.
- Pour 3/4 of the 2lb bag of powdered sugar into the bowl of your mixer and make a well to pour the melted marshmallow mixture into. Attach the dough hook to your mixer and mix on low until most of the powdered sugar has been incorporated into the marshmallow mixture.
- Grease a clean and sanitized flat surface with vegetable shortening and dump the contents of your mixer onto the greased area. **Add a bit more powdered sugar onto the prepared surface and grease your hands completely with shortening.
- Knead the marshmallow mixture and powdered sugar together until it starts to come together and feel like fondant. It should get less sticky, to the point where you don't need to keep greasing your hands, but not dry, as that will mean you've added too much powdered sugar. The fondant should stop picking up the powdered sugar off your countertop when it has incorporated enough.
- Once your fondant is ready, cover it with a layer of shortening and wrap in 2 layers of plastic wrap. Then place it into a Ziploc bag to store at room temperature until ready to use. When you are ready to use it: knead it lightly until it stretches' easily and the temperature of the fondant is workable.
- Fondant can be stored tightly wrapped at room temperature for at least 3 months.
Notes

Leave a Reply