All of the flavor, without the crunch, these Soft Roll-Out Gingerbread Cookies are sure to become a Holiday favorite. Eat them plain, Sprinkle them with a little sanding sugar before baking, or decorate them with Royal Icing for an extra special treat.
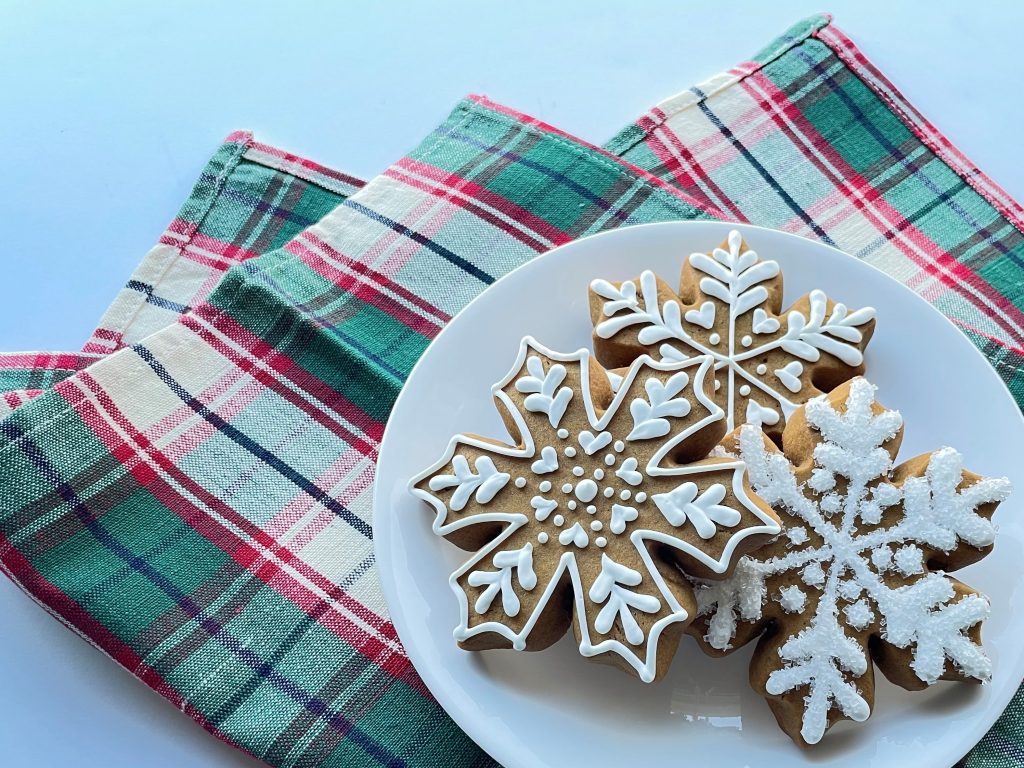
I never used to be a fan of Gingerbread Cookies. They were always hard and spicy. Not my favorite treat. The older I’ve gotten the more I’ve come to appreciate the cookie. Now I love them. But a big reason why I do is because a friend from high school sent me a recipe for soft gingerbread cookies by The Parsimonious Princess. I loved her recipe! The taste and texture was perfect!
The only problem was that I needed a recipe that didn’t spread, and her recipe spreads quite a bit. So I wrestled with the recipe for a while. It took some time to adjust it to my needs but I’m very happy with where it is now.
I prefer these cookies with just a touch of royal icing. I don’t like them completely flooded, but decorated delicately. Flooding the cookies takes away from the full flavor of the gingerbread. However, these do bake up great and are an easy cookie to flood and decorate. So if you’re dying for another recipe to put my Soft Royal Icing on, give these ones a go. And maybe add just a touch of Cinnamon Oil to the Icing to kick the flavor up a notch.
HOW TO ROLL THESE COOKIES OUT MESS FREE
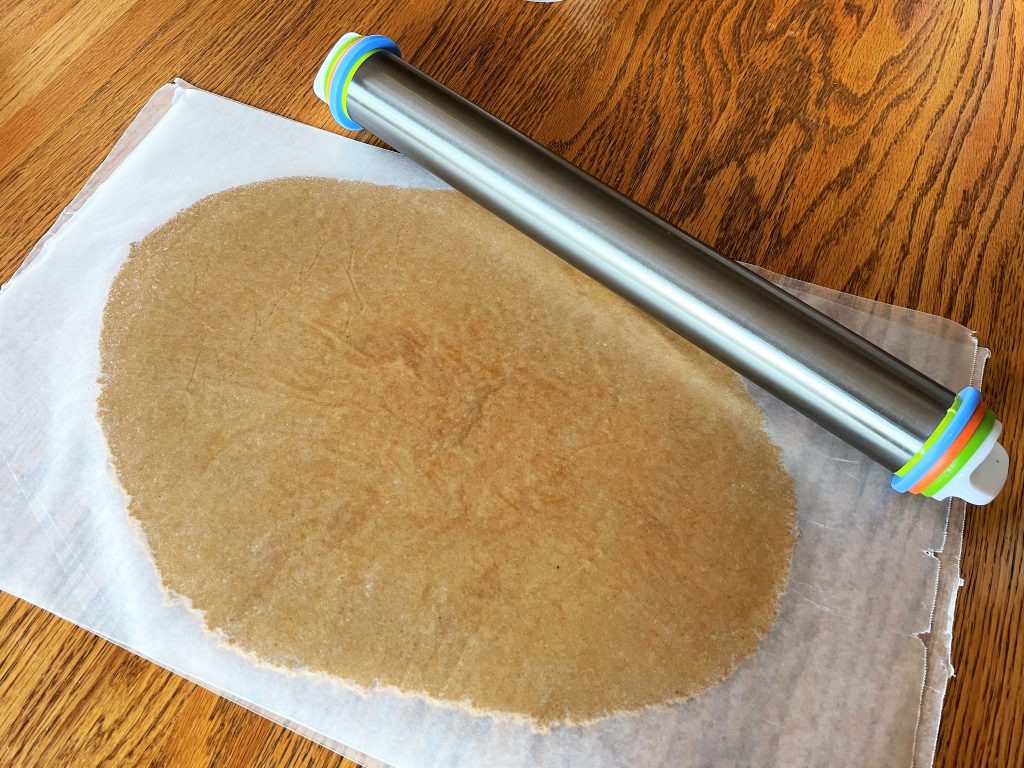
Roll-out cookies are a lot of work. They just are. And most of the time that means mess. It’s why we avoid making them often. One of the ways in which I changed the original recipe from the Parsimonious Princess is how I roll out the dough.
I don’t typically use flour to roll out these gingerbread cookies. But yes, the dough is a stickier roll-out dough thanks to the molasses in the cookie recipe itself.
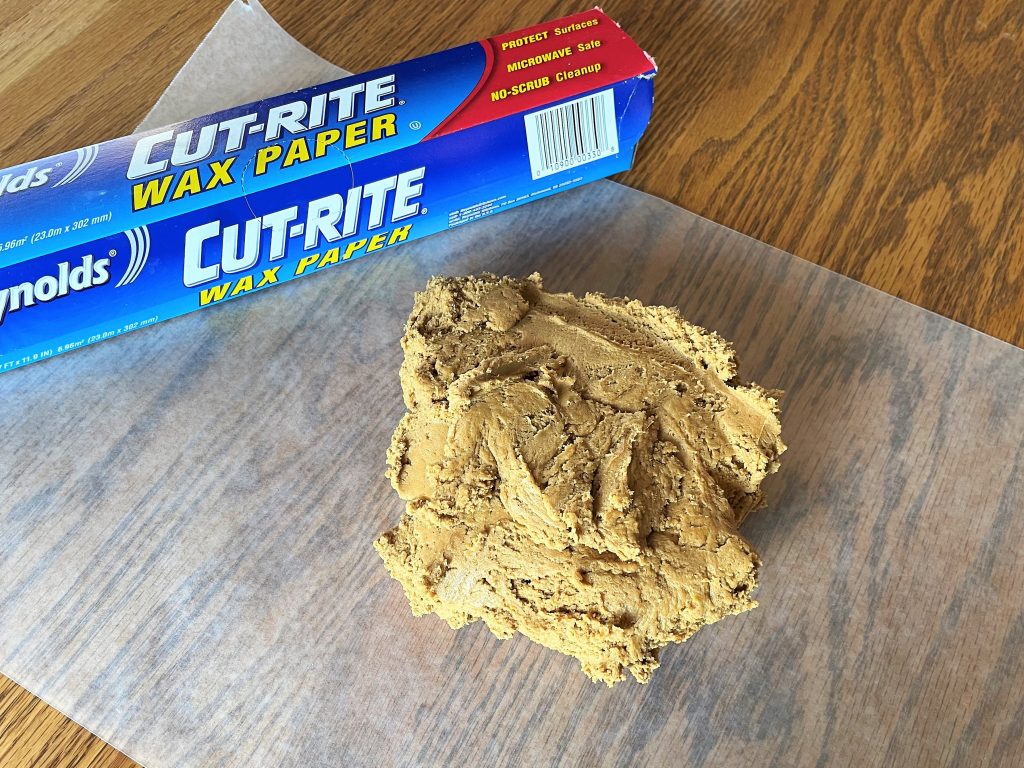
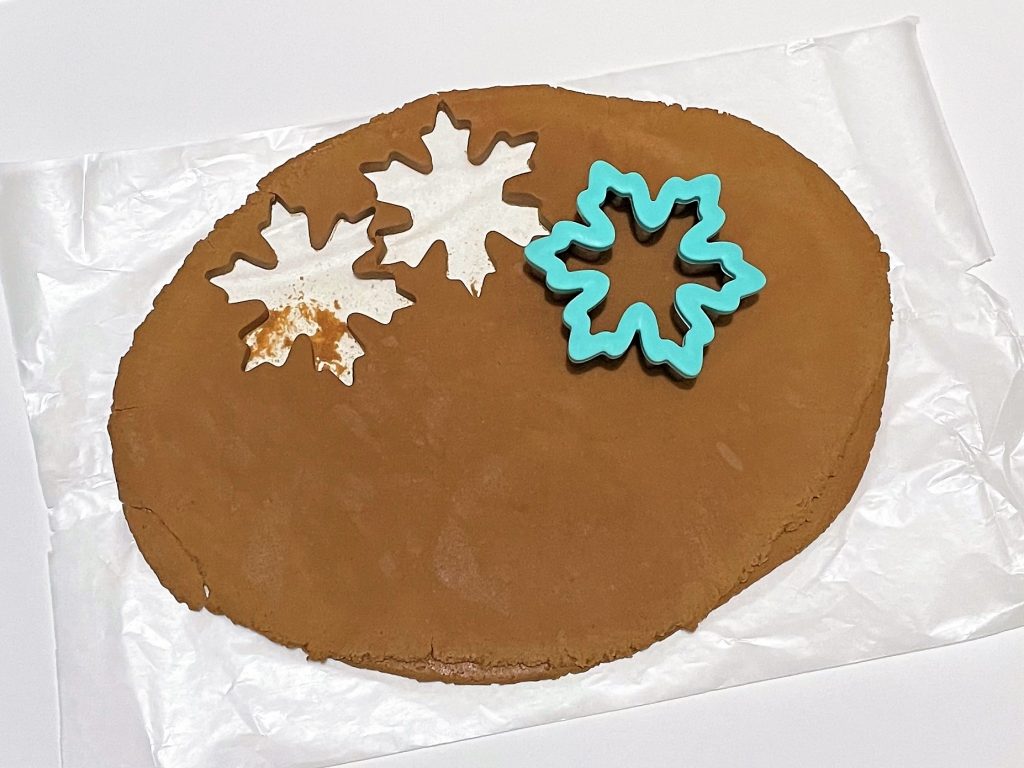
I originally rolled these cookies out in between two pieces of waxed paper (as pictured above). The same way I roll out my Soft No-Spread Sugar Cookies. The dough did stick to the waxed paper though, so the second time I rolled them out I used plastic wrap. That worked much better! The only reason I usually prefer the waxed paper is because you can transfer your dough sheet to the pan and over to your fridge without indenting your dough. But they were definitely easier to remove from the plastic wrap, so with this recipe I suggest doing it that way!
However, if you find it easier, just dust the dough with a touch of flour before you roll it out. Keep in mind that the more flour you add while rolling out your dough dries out the cookies and dulls the flavor after so many roll outs. So try to keep it to 3 roll outs or less.
I do recommend buying a rolling pin with built in guides for thickness. (It helps create evenly baked cookies and easy to decorate cookies.)
The easiest way to prevent rolling your dough out too many times is to set your scraps aside, while you cut out of a new sheet of dough. Then when you’ve made it through your first few sections of dough you’ll combine the scraps to roll out a second time. You will repeat the process with the third roll out as well.
Each time you re-roll your dough, the gluten in the dough develops even more, and eventually you’ll end up with some pretty funky looking and tough cookies. This is another reason I suggest trying not to roll them out too many times.
Keeping the dough very cold until you bake it will also help to yield success in baking your cookies without the shapes morphing in the hot oven.
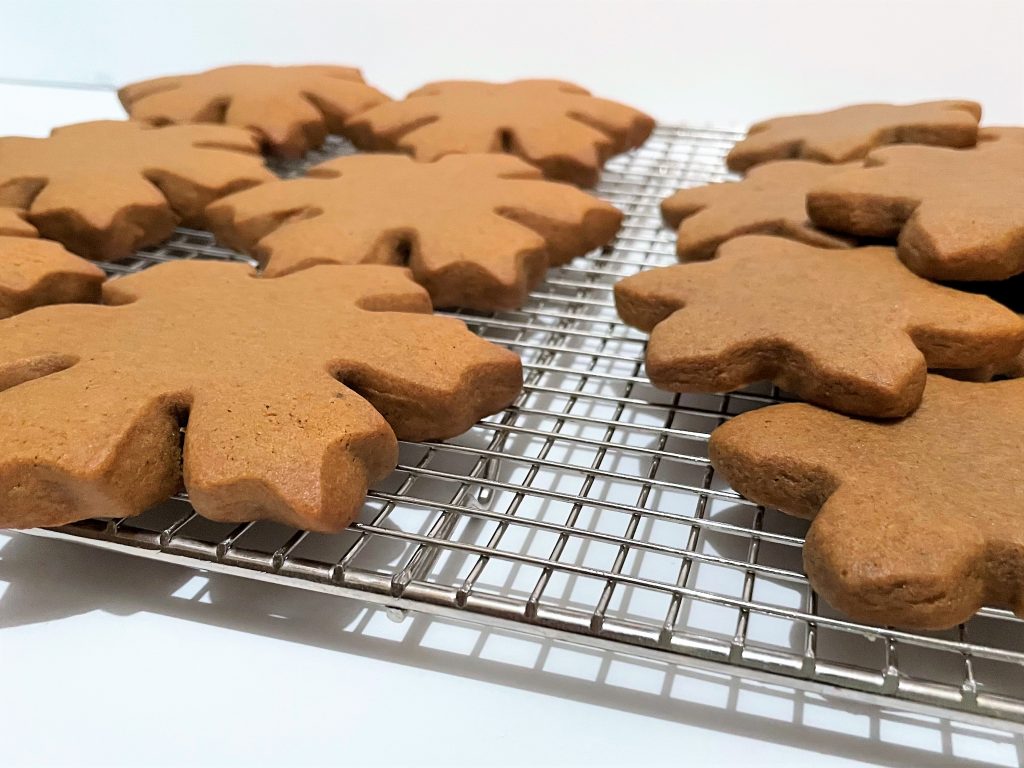
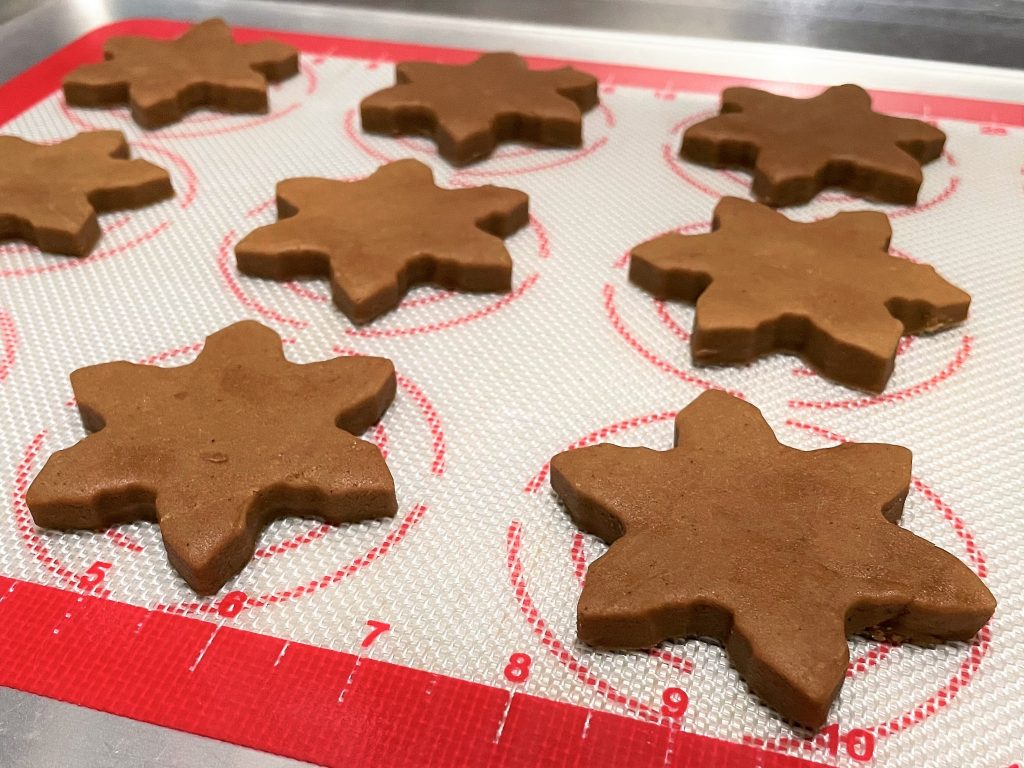
The thickness at which you roll out these cookies will make a difference in spread and puff as well. The cookies on the left above were rolled out 3/8″ thick. They puffed and spread much more than the cookies on the right that were rolled out 1/4″ thick.
baking your soft roll-out gingerbread cookies
For best results bake your Soft Roll-Out Gingerbread Cookies on a lined baking sheet. I prefer using Silicone Baking Sheets, but Parchment Paper will work as well. If you don’t have either, lightly grease your cookie sheet with some cooking spray.
Watch your cookies as they bake. You’ll notice that the cookies have a wet sheen as they are baking. That sheen will start to disappear from the edges to the center as the cookie bakes through. Once the center of the cookie no longer looks wet the cookie is baked through. Be careful not to overbake these cookies. They are best when they have just a bit of a chew to them.
If you’re looking for stellar baking sheets, these are my absolute favorite and so worth the investment! They’re also larger than your half sheet pan, but not too large for a typical home oven. And this means you can bake more cookies at one time!!!
HOW TO DECORATE GINGERBREAD SNOWFLAKES
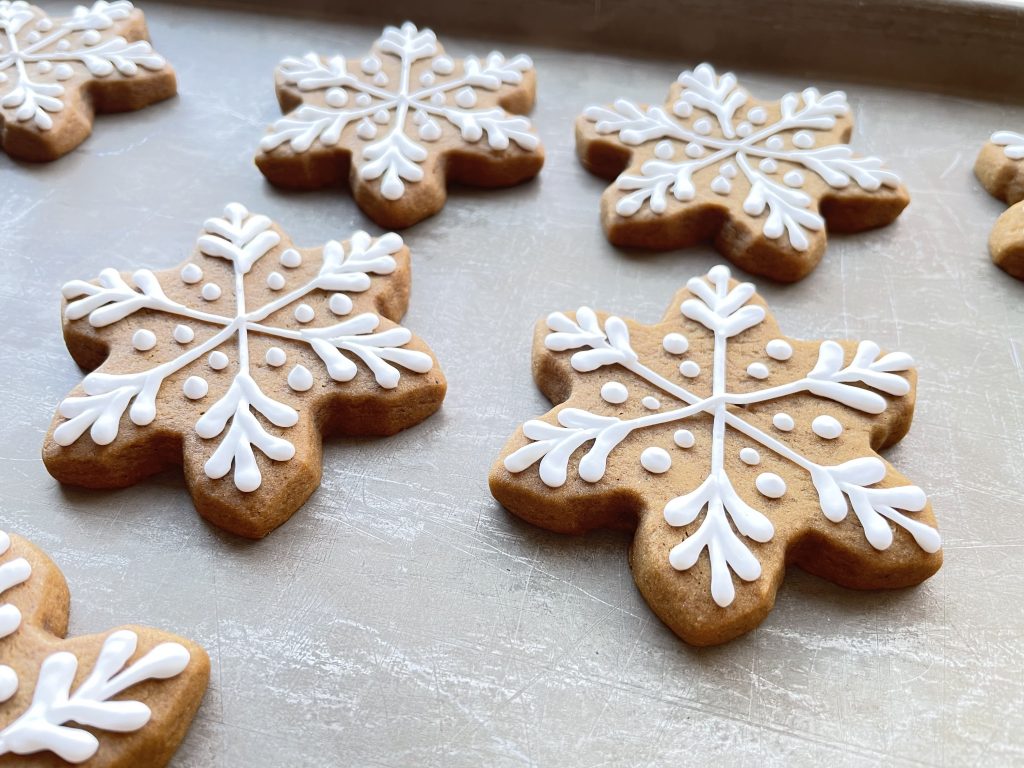
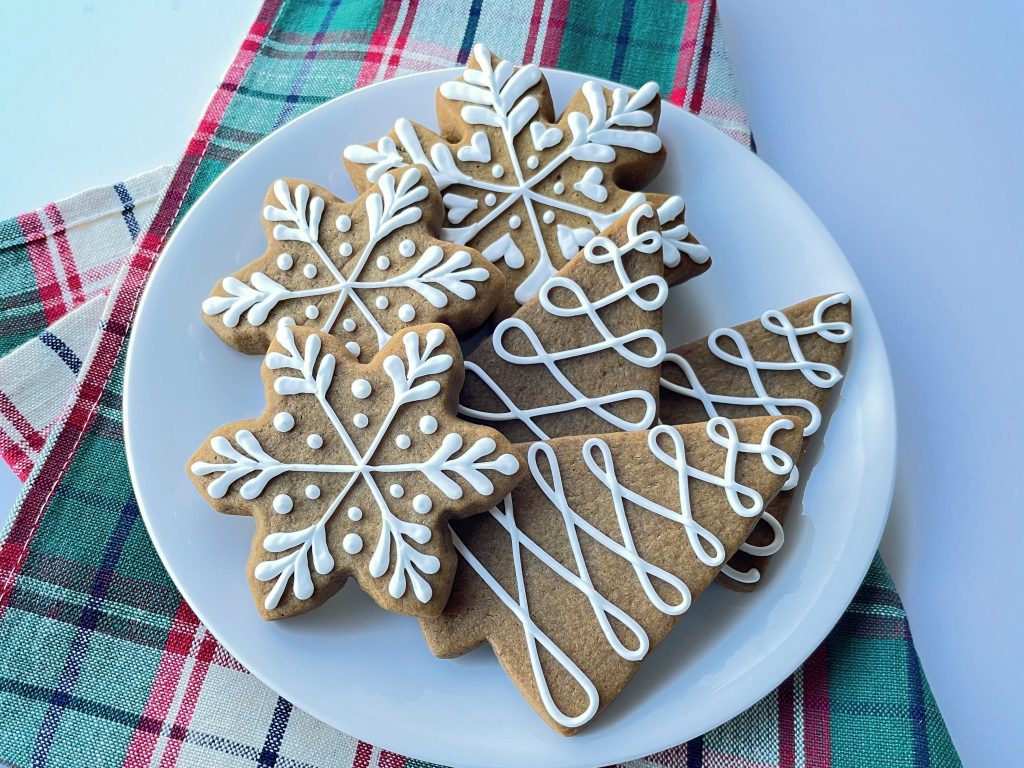
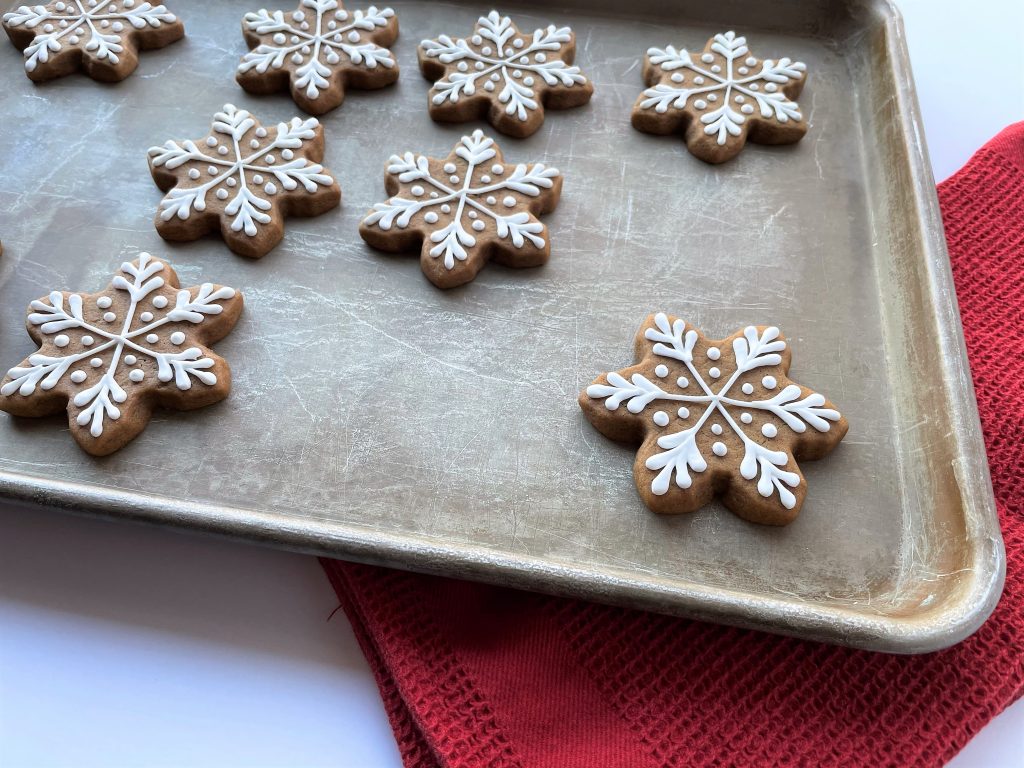
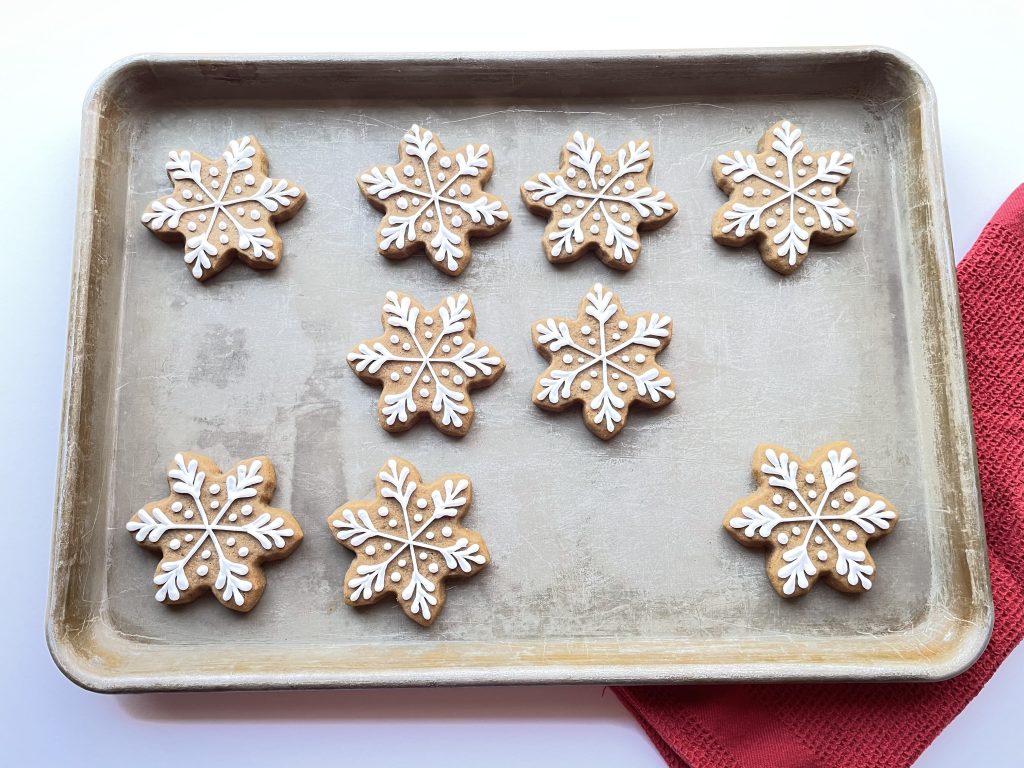
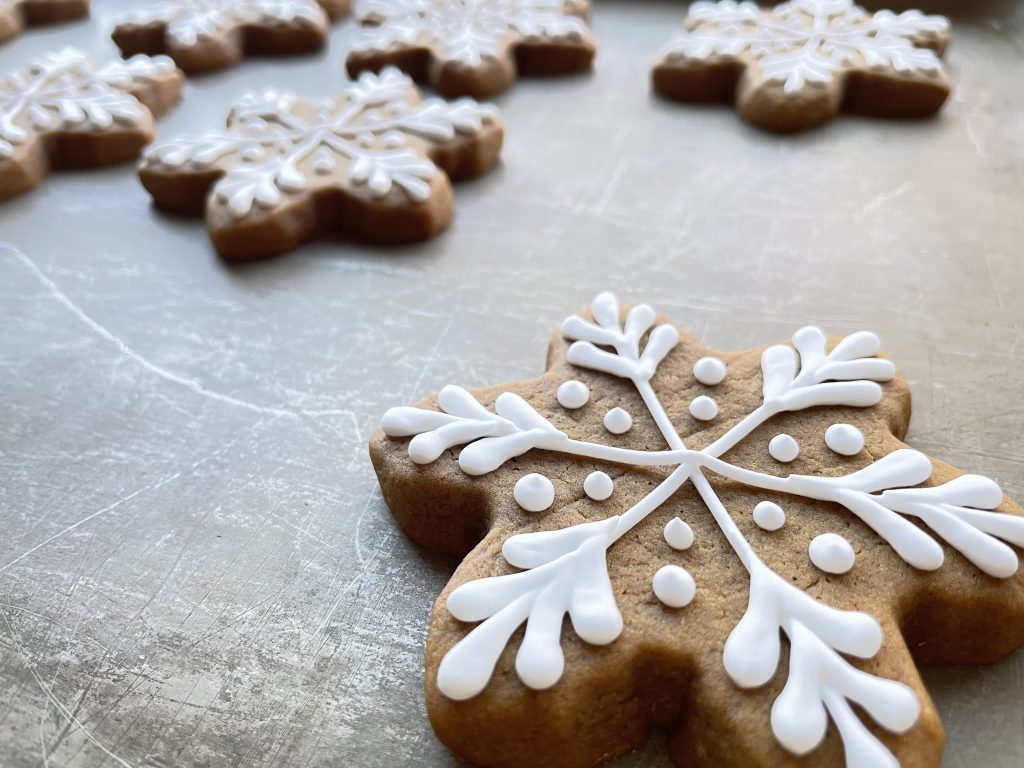
If you’d like to make your gingerbread cookies look like the ones in the pictures you’ll need a good snowflake cookie cutter and tipless piping bags. Once your shapes are cut and baked, just use about a quarter of my Soft Royal Icing recipe straight out of the mixer or thinned out to Outline Consistency. (If you don’t know how to thin your icing please check my post on Royal Icing Consistencies).
Squeeze and build up the icing at the tips of the snowflake then lift and drop the icing for the straight lines. Use your scribe, booboo stick, or toothpick to touch up any icing that has a sharp edge.
I hope you love these cookies as much as I do and find the time to make some for your friends and neighbors before the holiday season comes to a close.
Happy Baking! -Chels
Soft Roll-Out Gingerbread Cookies
Ingredients
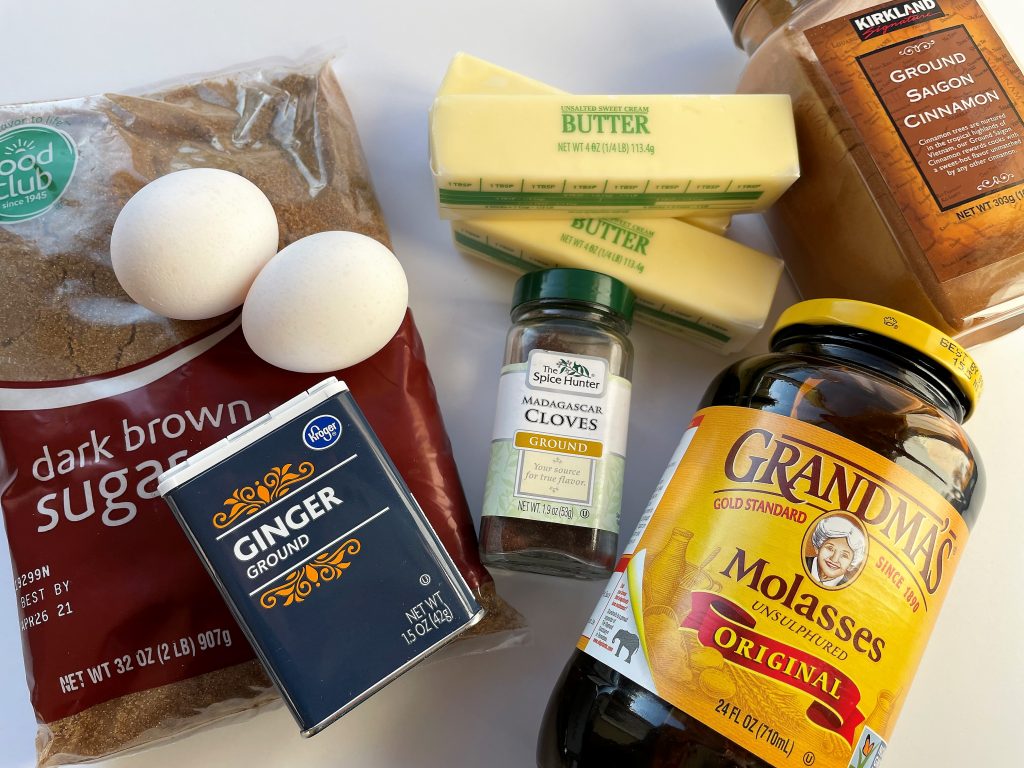
- 5 1/2 Cup Flour
- 2 1/4 tsp Ground Ginger
- 1/2 tsp Ground Cloves
- 1 1/4 tsp Cinnamon
- 3/4 tsp Salt
- 1/2 tsp Baking Powder
- 1 1/2 Cup Unsalted Butter, softened
- 1 Cup Dark Brown Sugar*
- 2 Large Eggs
- 1 Cup Molasses
Instructions
- Sift or whisk together flour, ginger, cloves, cinnamon, salt and baking powder in a separate bowl and set aside.
- In the bowl of a stand mixer fitted with the paddle attachment, add softened butter and brown sugar. Mix on medium speed until light and fluffy. About 2 minutes.
- Add eggs and mix until combined. About 1 minute.
- Scrape down the sides and bottom of your bowl. Add molasses and mix until combined. About 30 seconds.
- Scrape down the sides and bottom of your bowl once more. With mixer on low, add your dry ingredients and mix until fully incorporated. Do not overmix. Dough should be just slightly sticky. If it is too sticky add just a touch more flour.
- Roll your dough out in between two pieces of waxed paper or plastic wrap and chill in the fridge for at least one hour or up to 3 days.
- Preheat your oven to 350°. Cut your shapes and transfer to a baking sheet lined with a silicone baking mat or parchment paper. Bake for 7-12 minutes depending on size and thickness. Once the wet sheen on the cookie completely disappears, your cookies are baked through. Let them cool on the sheet for 5 minutes and then transfer to a cooling rack to cool completely.
- Store in an airtight container for up to a week.
Notes

Made these today with my family. So easy and delicious we loved them. Will become a new tradition. They turned out so good!
Thank You Shannon! I’m so glad they were a hit and that you deem them worthy enough to become a new family tradition. I am honored! -Chels
Is the dark brown sugar packed or not packed? Can’t wait to try it!
Brown sugar, always packed! Sorry for the late reply, Abby.
This is the first recipe I’ve made where it calls for chilling the dough after rolling it out and before cutting the shapes. What do you do with the excess once you’ve cut them? Do I have to wait for it to become soft and malleable again so I can roll it back out to cut more shapes?
I typically cut all at once, by the time I’m done cutting, it’s malleable enough to toss all the scraps together and roll them out again. I talk about this in the post. 🙂