Tips and tricks that lead to the best results in baking the Perfect Cake Layers. And Getting those Perfect Cakes out of the pan
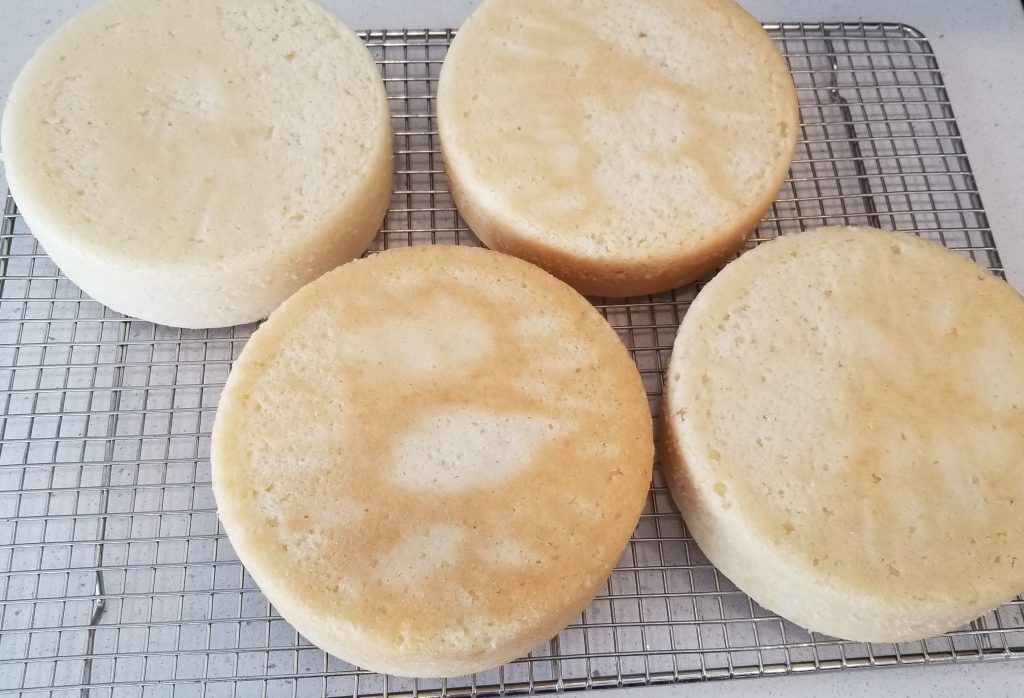
So many things can go wrong when trying to bake your cake layers. Take some of the guess work out of baking by following some of my tried and true tips for Baking the Perfect Cake Layers. We’ll start with prep, talk about must have tools, pay attention to the magic rest time, and discuss how to store those cake layers! Lets Get Started!
Find a good recipe
If you’re just starting out my Easy One Bowl Vanilla Cake recipe is a quick, crowd pleasing bake. Otherwise, just make sure to choose a cake with Great Reviews.
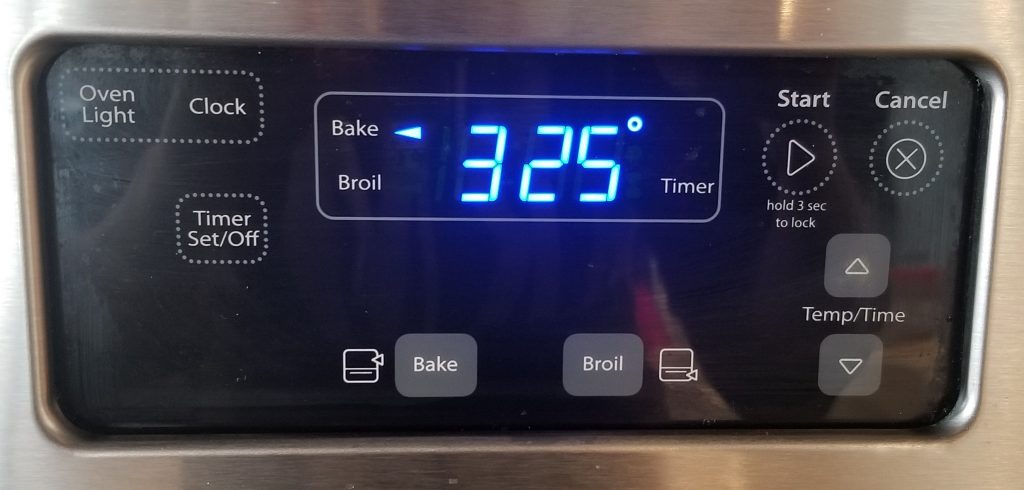
Preheat your oven
Cakes bake better when your oven has been preheated for a bit. There’s a reason why that’s the first step of any cake recipe.
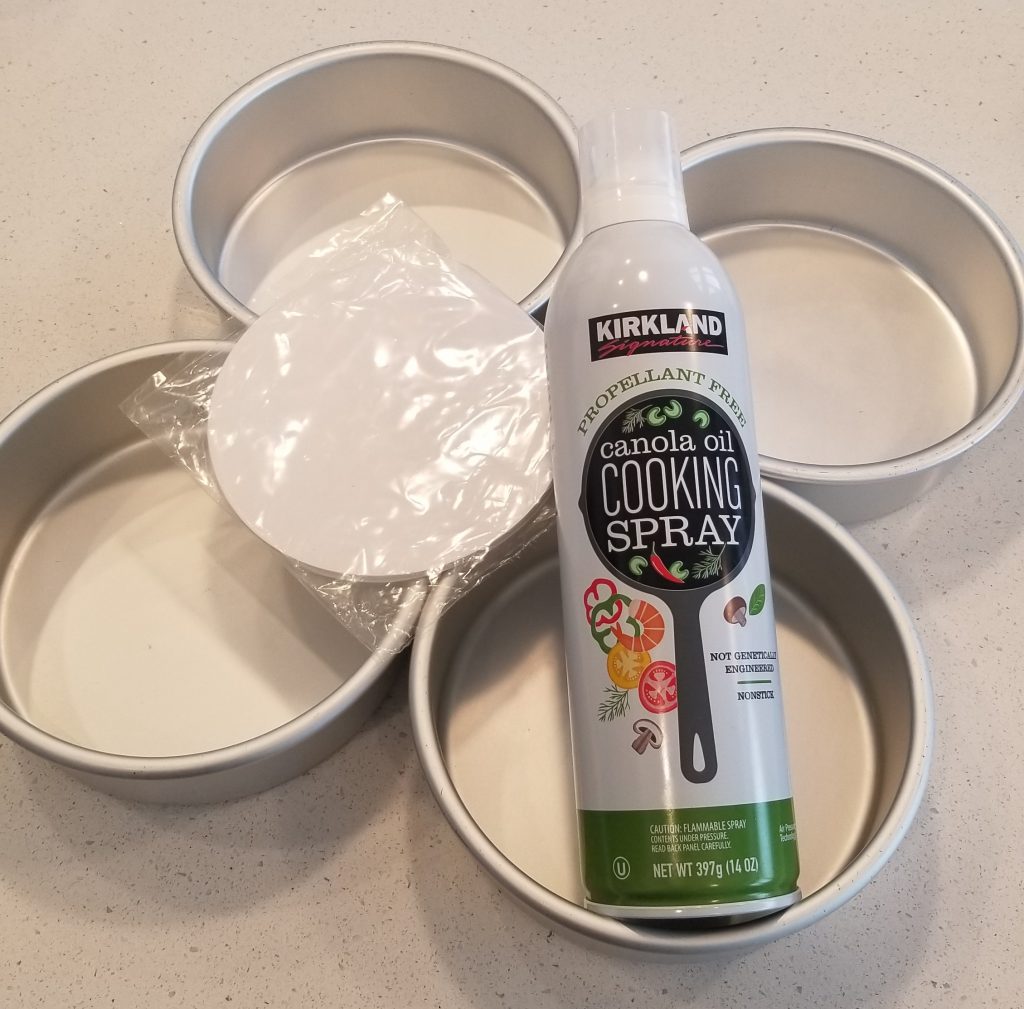
Prepare Your Pans
Sure fire way to make sure that your cake releases from the pan:
- Cake pans are not all created equally. Purchase yourself a couple sets of Good pans. I recommend purchasing 2 or 3- 6″ Pans and 2 or 3- 8″ Pans. You’ll spend a few more dollars, but you’ll be so happy with the results that it won’t matter.
- Grease you pans well. I like Cooking Spray from Costco. But if you don’t have access to Costco, I recommend Baker’s Joy.
- Place a parchment round on the bottom of each pan. (You can buy these pre-cut, or you can trace your pan onto a parchment sheet and cut them out yourself).
- Grease the parchments sheets.
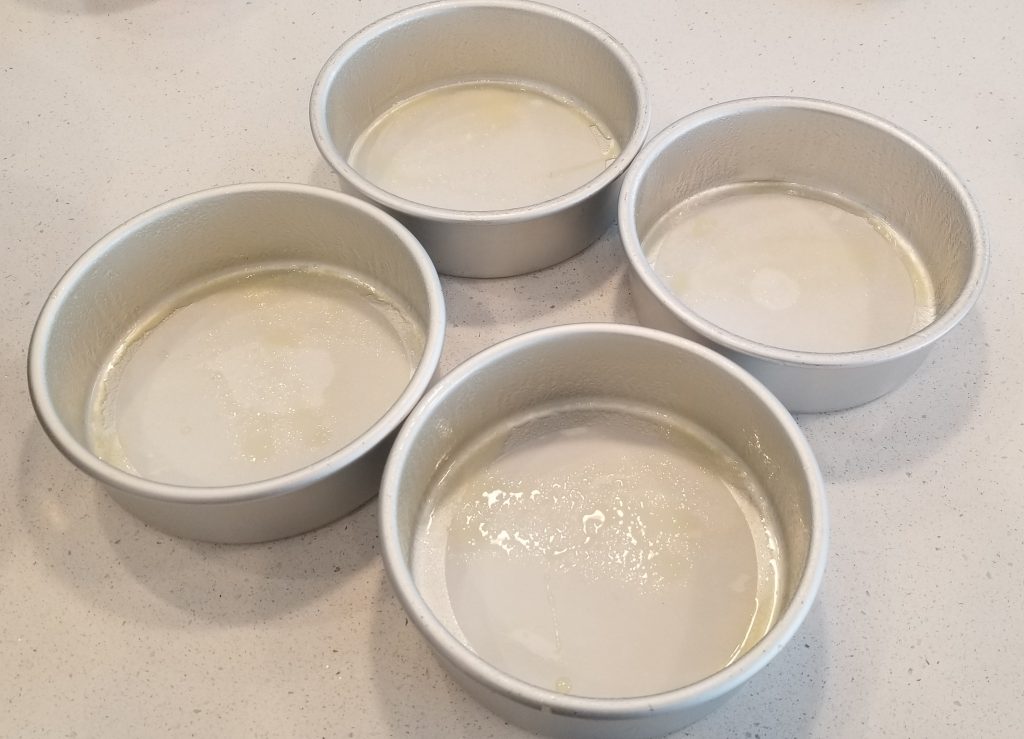
Use a Kitchen Scale To FIll Your PAns Evenly
Filling your pans with the same amount of batter helps your cakes bake evenly. It also creates even layers for that beautiful shot of the inside of your decorated cake! For the best results, Use a kitchen Scale.
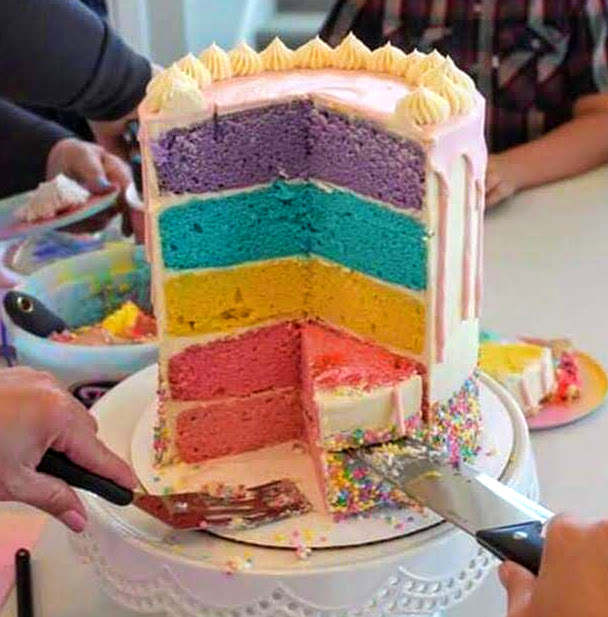
If you don’t have a kitchen scale, you can use an ice cream scoop to fill your pans. Just keep track of each scoop! I like to fill my 2″ high pans about halfway for nice thick cake layers. If you like yours thinner, I suggest you torte your layers instead of baking thinner layers.
Use Bake Even Strips for Flat (No Leveling) Layers
Depending on the recipe, and the quality of your pans, some cakes dome, some sink, very rarely do cakes bake completely flat! I hate to level my cakes. Number one, because I don’t want to have extra cake lying around because I LOVE it! And two, because I would rather have a little more cake in each layer!
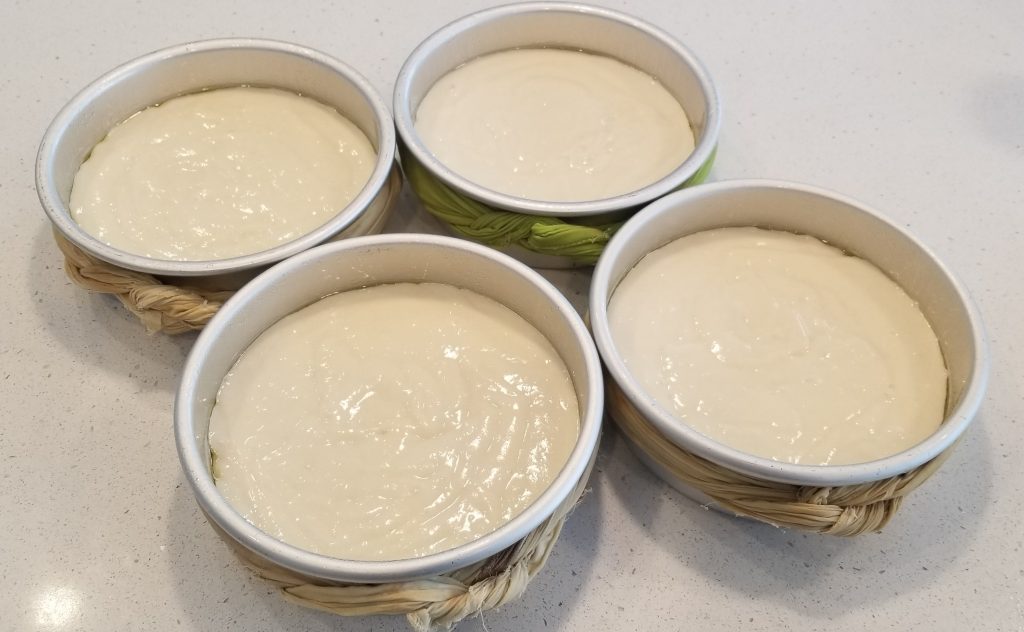
So I use Bake Strips. You can buy these from Wilton, or you can make your own. All you need are strips of fabric that are long enough to tie around your pan! (I cut up some extra pillowcases to make mine) Wet them, Squeeze out the extra water, and wrap around the outside of each pan. (Make sure they are completely secure, so they don’t fall into your oven and burn during the baking process!)
These wet strips keep the outside of the cake from baking faster than the inside. You end up with soft edges, instead of caramelized cake, and flat tops! So flat you don’t need to level the layers to stack and decorate! And you don’t need to trim off crispy cake edges! Win Win!
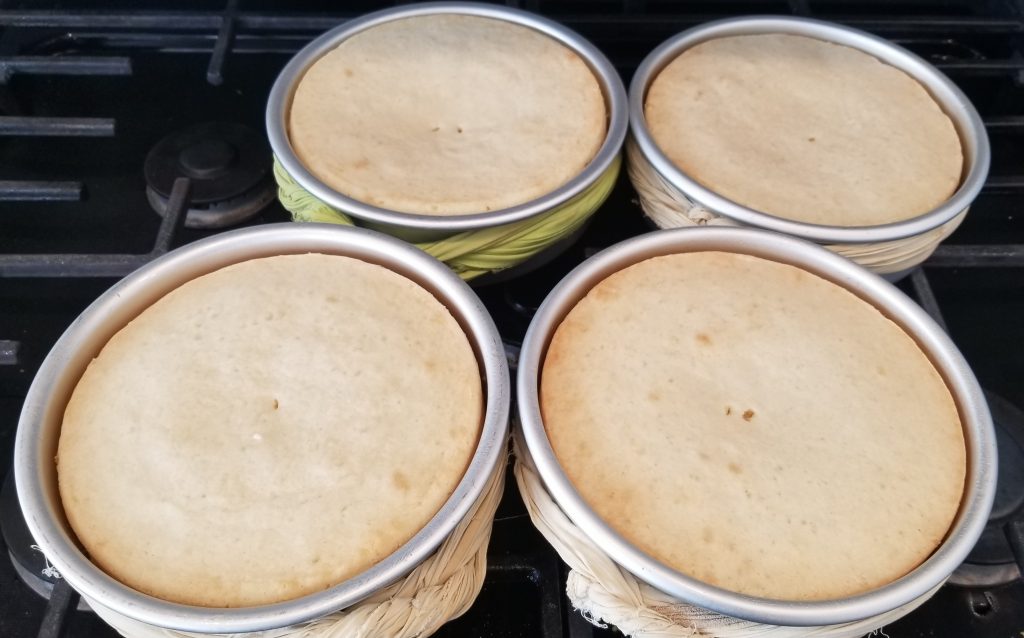
Bake until Toothpick inserted into the center of each layer comes out clean, or with only a few moist crumbs
Then remove your cakes from the oven and let them rest in the pan for the Magic Rest Time… 10 MINUTES!!! 10 MINUTES will give your cakes the right amount of time to set up and pull together, but not so much time that the cake itself adheres to the pan. 10 MINUTES and invert those layers onto a wire rack to cool!
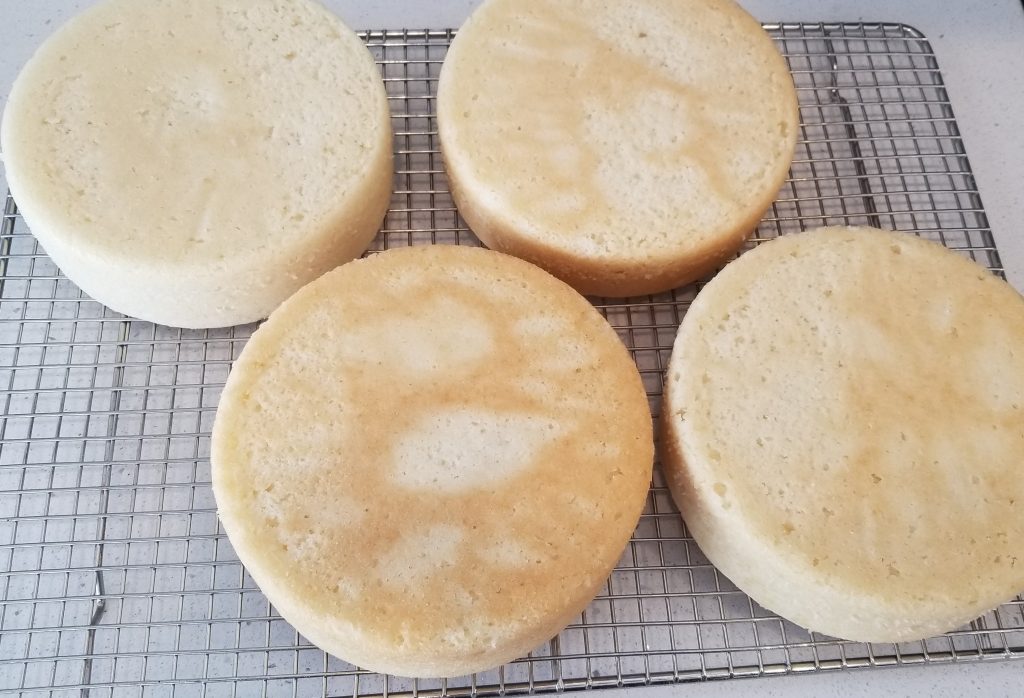
Cool layers, then wrap and Freeze
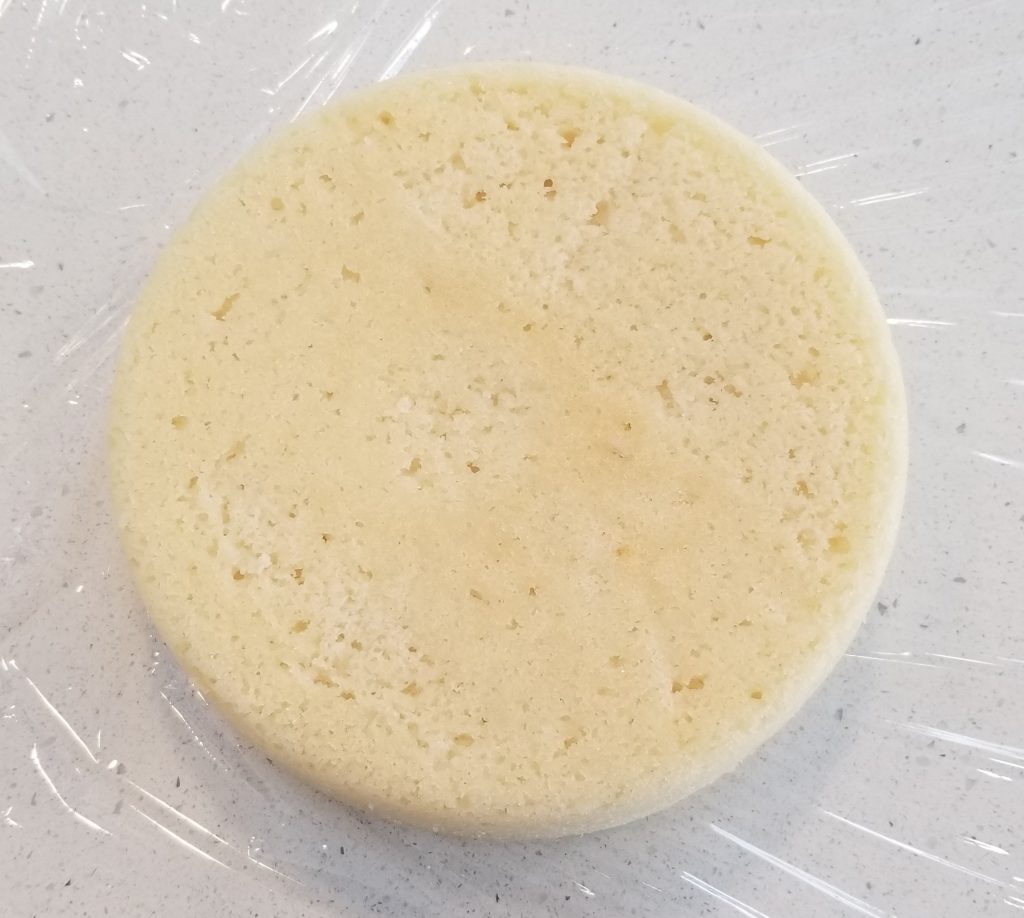
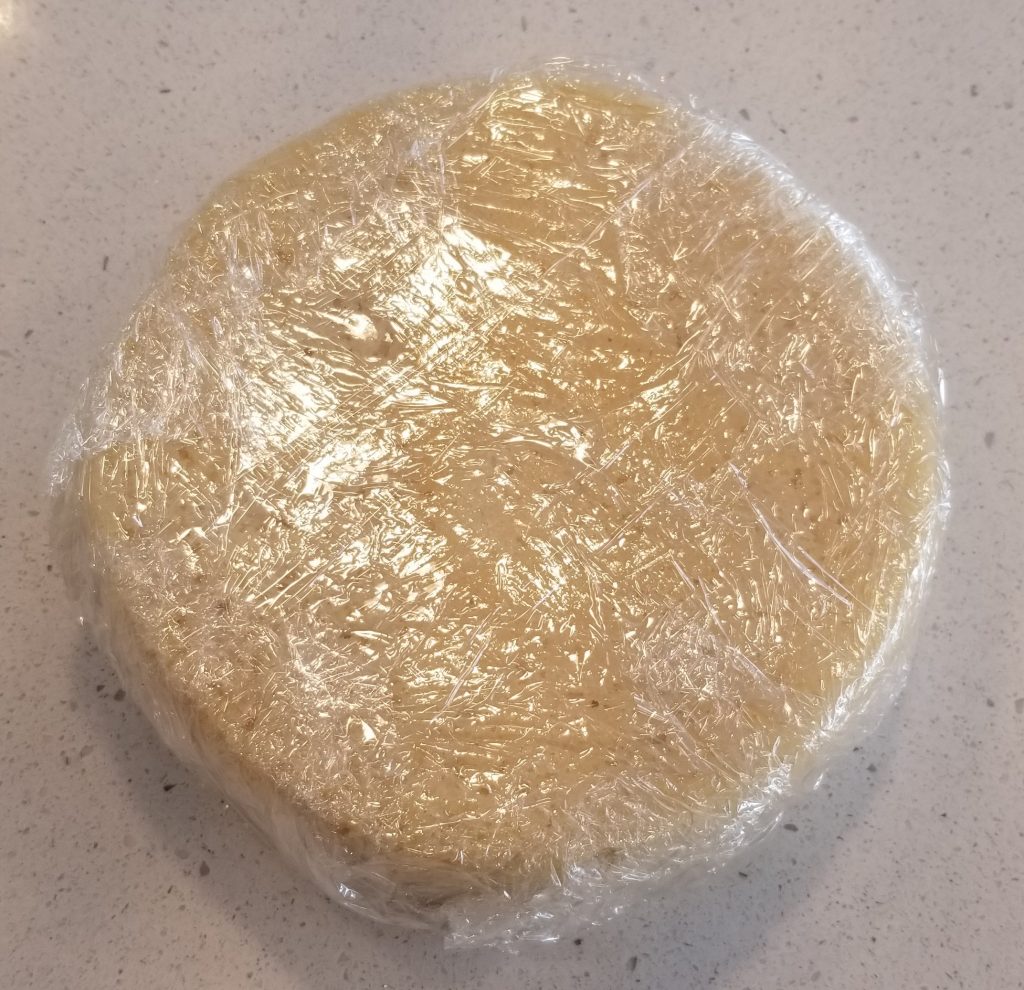
When your layers are cool to the touch, wrap them individually in Plastic Wrap (I like the Kirkland Brand from Costco). Use two layers of plastic, and then place them individually into the FREEZER!
Do not stack the layers until they are completely frozen, so as to not compromise their shape. Cake layers need to go into the freezer, not the fridge. The fridge will pull moisture from your cake layers. The freezer will lock the moisture into your layers! Use within a week for optimum freshness!
That’s It! Tips for Successfully Baking the Perfect Cake Layers! Follow these steps and you will be surprised how they add to your victories in the kitchen!
Happy Baking! -Chels

[…] You are preparing to bake this cake, don’t forget to head over to my post all about Baking the Perfect Cake Layers! Here you can learn how to prep your pans, what pans lead to better baking success, and most […]