Learn to make stunning, show stopper Gourmet Caramel Apples at home! Because who doesn’t love a sweet and tangy Caramel Apple that looks just as good as it tastes?!
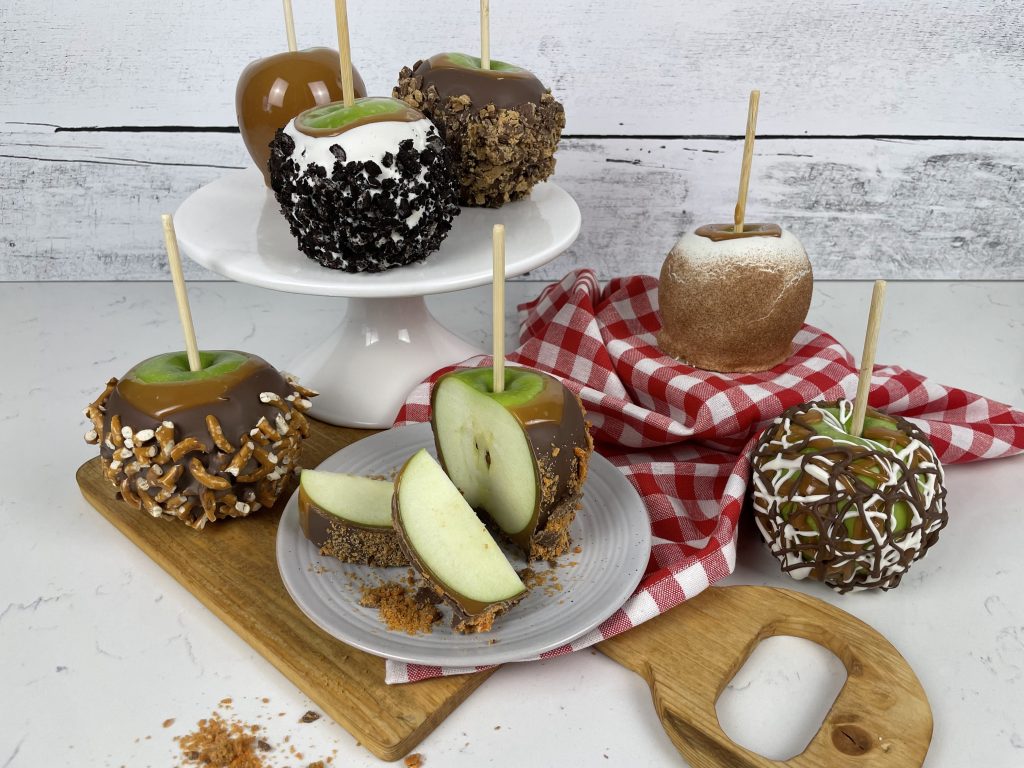
These Gourmet Caramel Apples look just as great as what you would buy at a shop, but you can make them yourself at a fraction of the cost and then wow your friends! Sweet and tangy, they make great gifts, party favors, or even a family night treat as well as an activity to do together!
Growing up my parents owned a time share in Park City, UT. Every summer we spent a week just up the street from the Rocky Mountain Chocolate Factory. I LOVED going there! (I Know, shocker!) And more often than not, I walked out with a caramel apple. And not just any caramel apple… A Gourmet Caramel Apple… one covered in Chocolate and then rolled in extra sugar… I believe my favorite growing up was Butterfinger.
Before I started making custom cakes and cookies, I made Chocolate Covered Strawberries and Gourmet Caramel Apples at home. It was one of the first things I taught myself. And they’ve been a tradition ever since. Each fall these stunning apples make an appearance. Usually during Halloween, but sometimes we’re too busy for that…. this year it was a pre-Thanksgiving treat!
Watch me make Gourmet Caramel Apples at home
apple selection
Since we’re making Gourmet Caramel Apples…. lets talk apples! I don’t typically use anything but Granny Smith. And let me tell you why…. Caramel is SUPER sweet. Chocolate is sweet. And most of the toppings you’ll be interested in using are sweet as well. Using a nice tart apple like a Granny Smith is a great contrast!
However, if you do not like Granny Smith (which I was just informed that my 2nd oldest does NOT!) You can dip any apple you’d like. I would suggest picking from the firm variety though, for texture. A Honeycrisp would be good, or a Pink Lady or even a Fuji. But I’d stay away from Red Delicious and Golden, they’re too soft for Caramel Apples.
choose your caramel
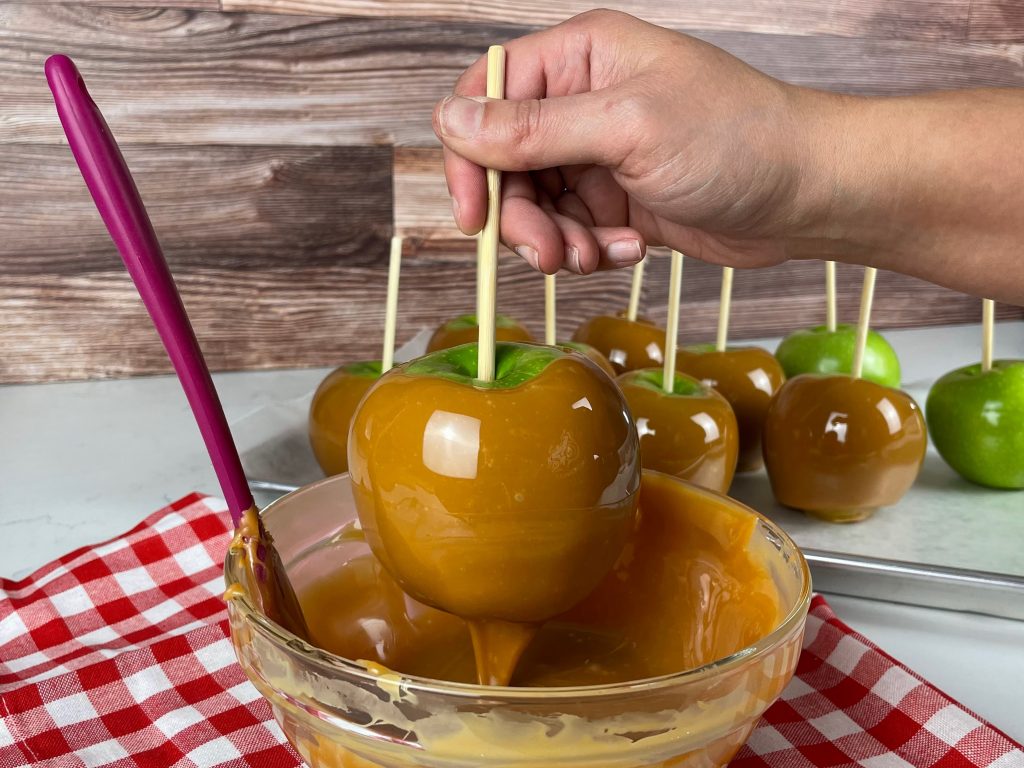
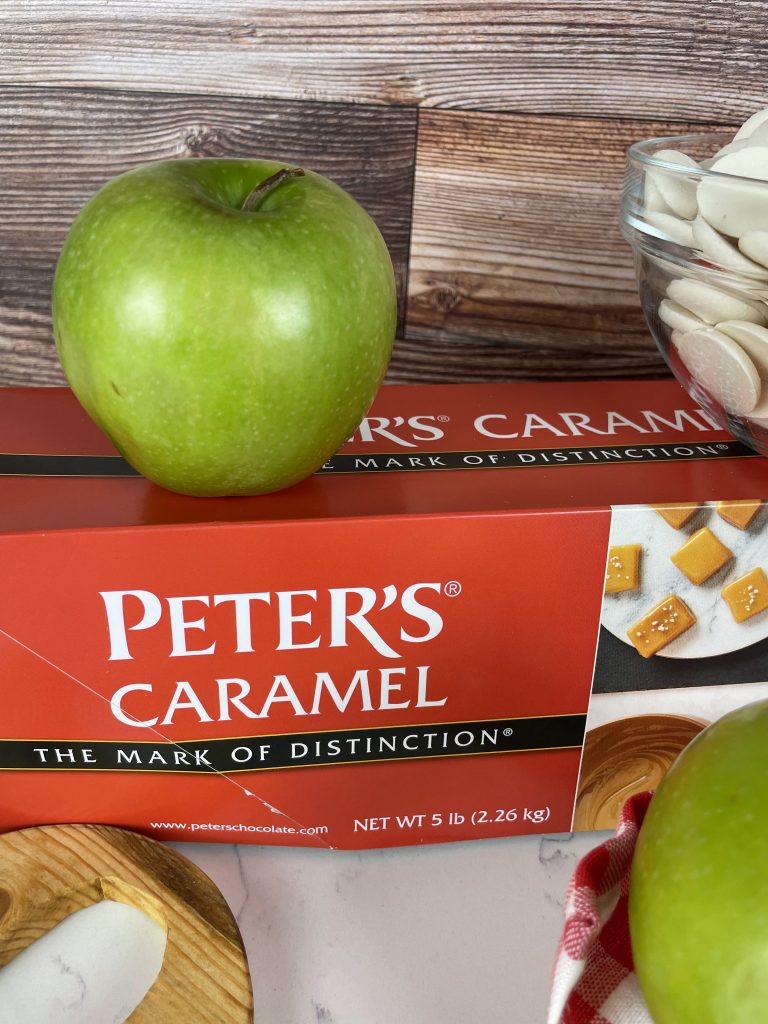
Next lets talk about the importance of using quality Caramel. I have made these apples many ways… I’ve used the Kraft melting caramel bites, Kraft caramel squares, and homemade caramel. But my favorite is Peter’s Caramel.
I’m sorry, the Kraft caramel ANYTHING becomes brittle and hard and the flavor just isn’t what a good caramel should be. Not to mention, I’m pretty sure dentists get many many visitors because this caramel pulled out a filling!
Homemade caramel is DIVINE… and I’ll be sharing my family recipe for that before Christmas. But it is A LOT of work, it’s super time consuming to make and it usually doesn’t like to stay on the apple…. it’ll work its way down if you leave it sitting out. Not to mention, the way we cook it, it’s just a little too soft for a caramel apple!
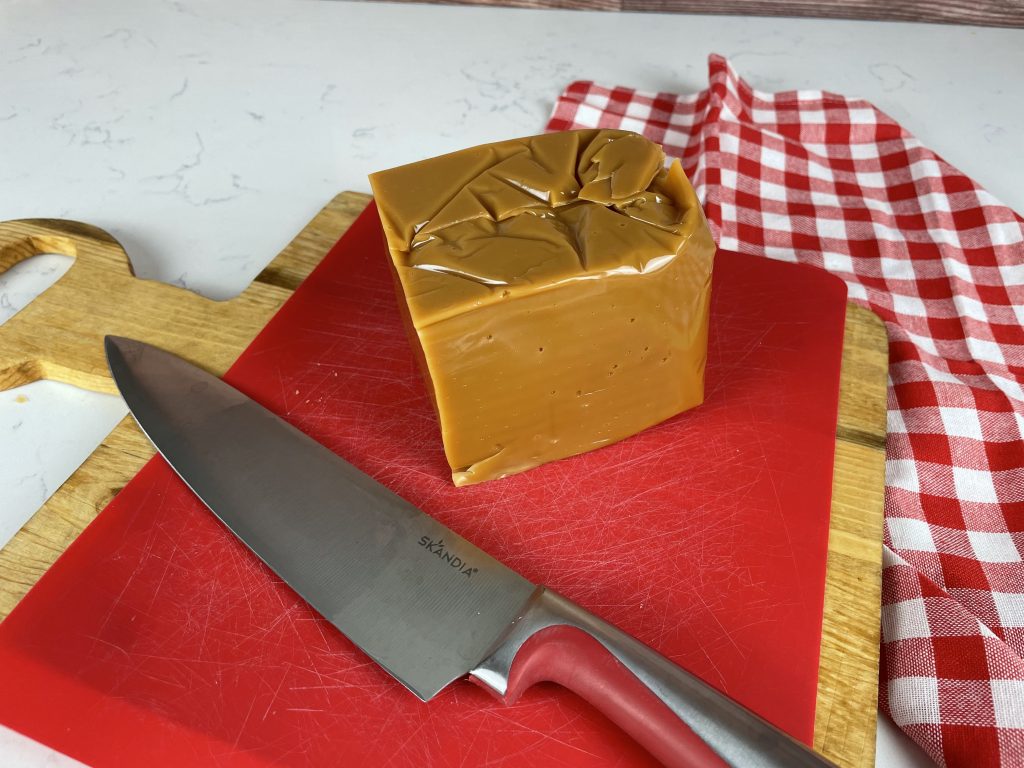
Peter’s is perfect for this project. The flavor is fabulous. It grabs the apple, doesn’t slide as it sets. And if you heat it properly you aren’t left with any waste… because you can save the excess and use it again. Also, a little goes a long way. I bought a new brick for these apples. I used just over a quarter of the loaf and made 10 Gourmet Caramel Apples! That means that potentially that loaf could make up to 40! All for about $20. I’ve linked the product on Amazon, but you’ll be able to find it at your local bakery supply for much less $$$.
Chocolate
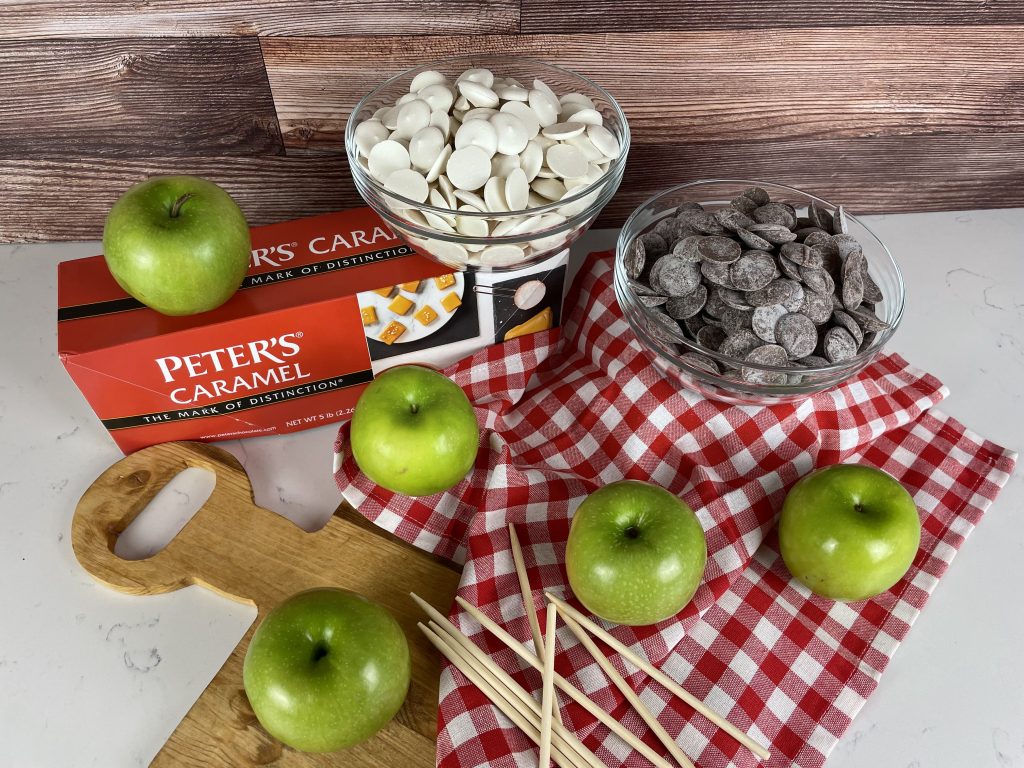
Alright, here it is… I do not temper chocolate, yep I said it! It’s on my list of things to tackle and learn to do, but as of right now… When I cover things in chocolate I use a compound.
So for these Gourmet Caramel Apples I used Guittard Vanilla A’Peels and Guittard Milk Chocolate A’Peels. In my opinion, it tastes phenomenal. (Had to look the spelling of that word up! lol) However, I have also used almond bark candy coating from the grocery store… If you want to save the money… you can go that route.
I talk about the difference in chocolate candy coating in my post for Rich Chocolate Cake Bites. If you’re gonna go the almond bark route… please read that post so you don’t end up with really crappy chocolate flavor!
Flavor Ideas
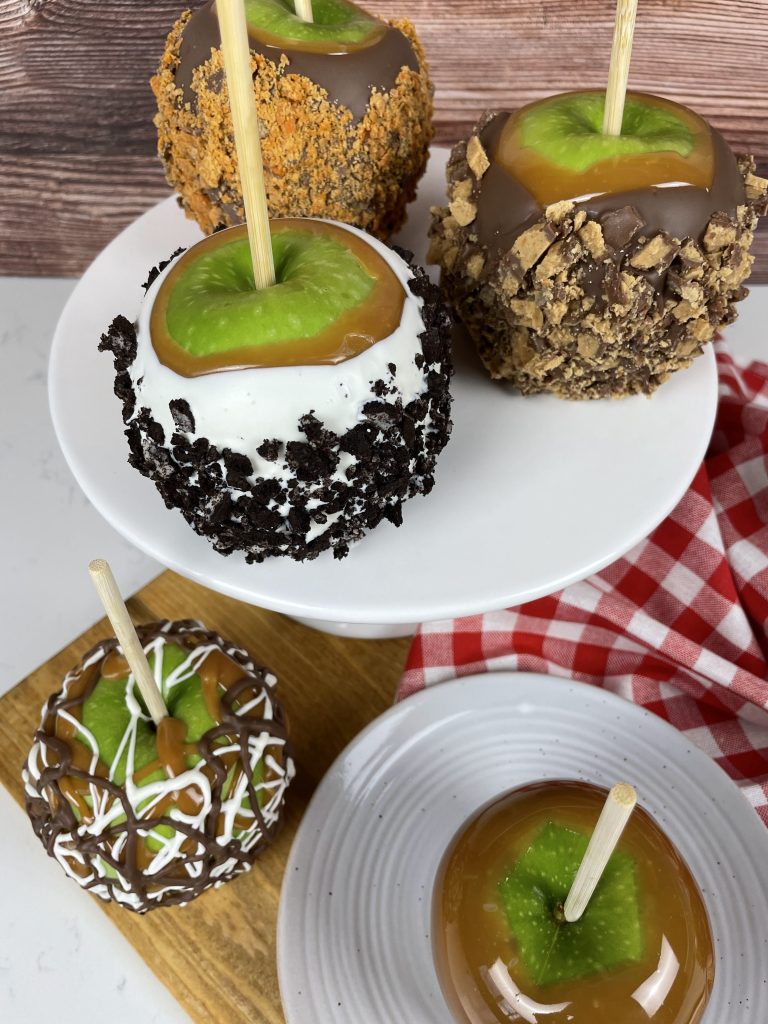
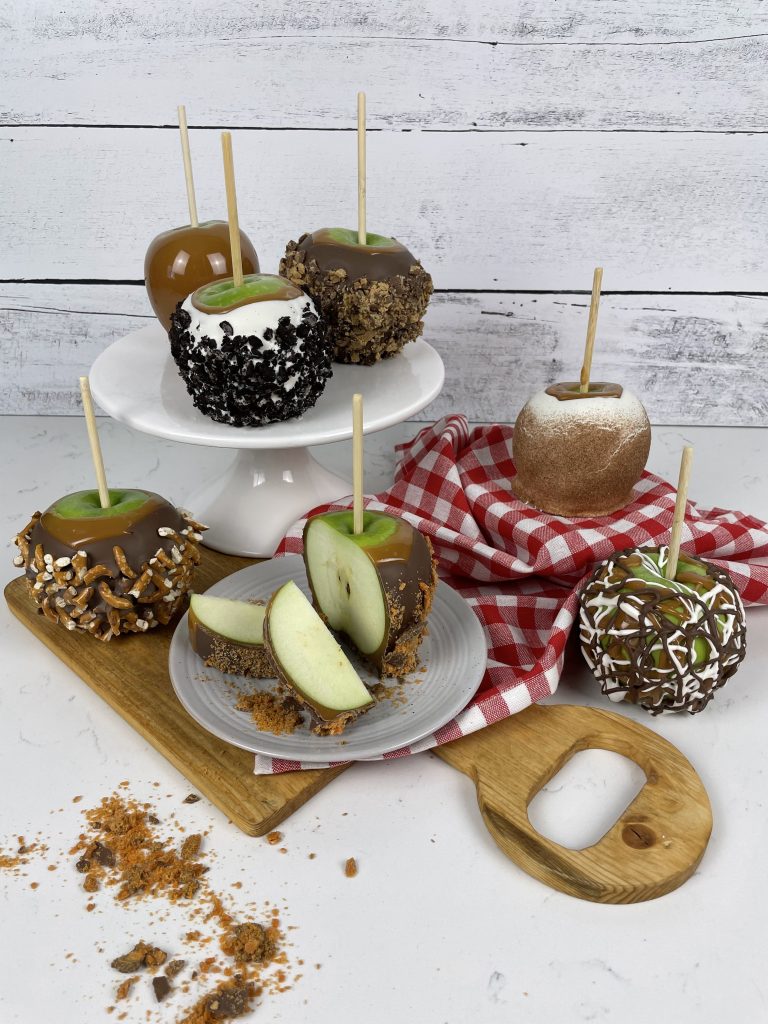
The flavors I made this time were as follows:
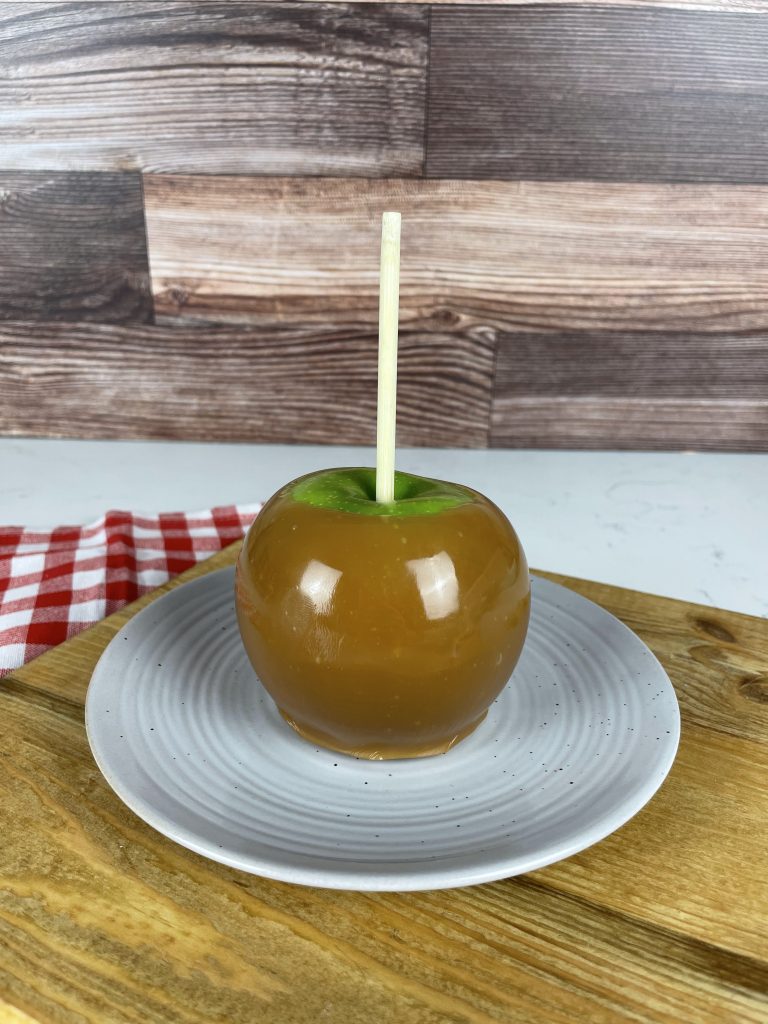
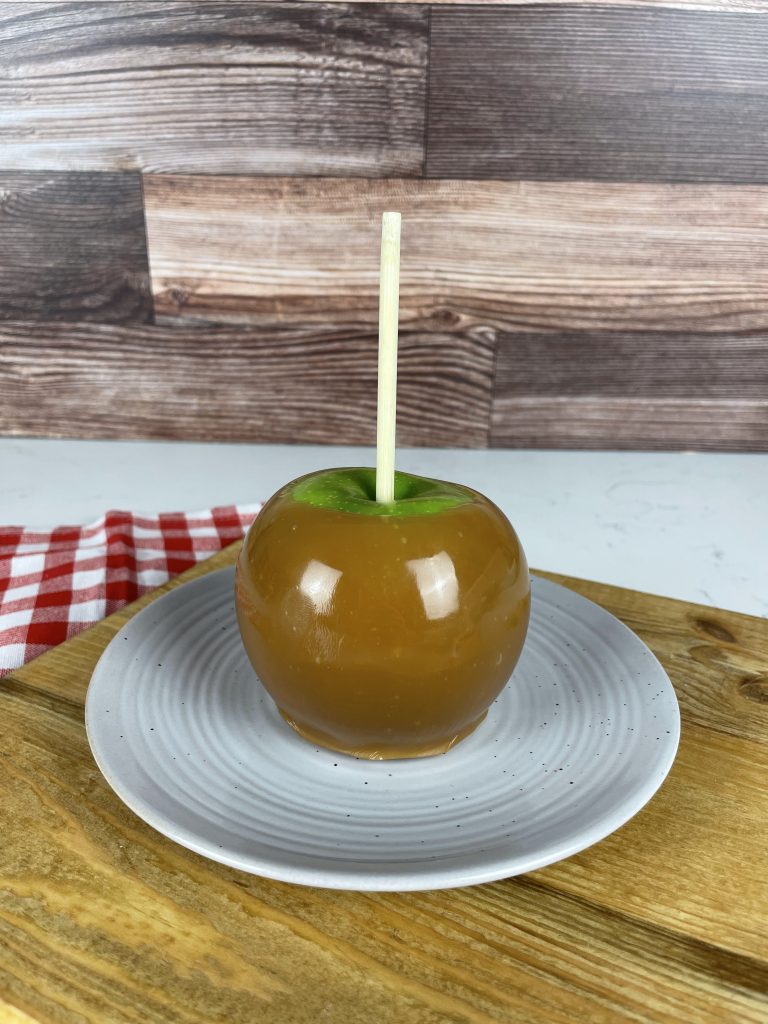
- Caramel- plain Jane!
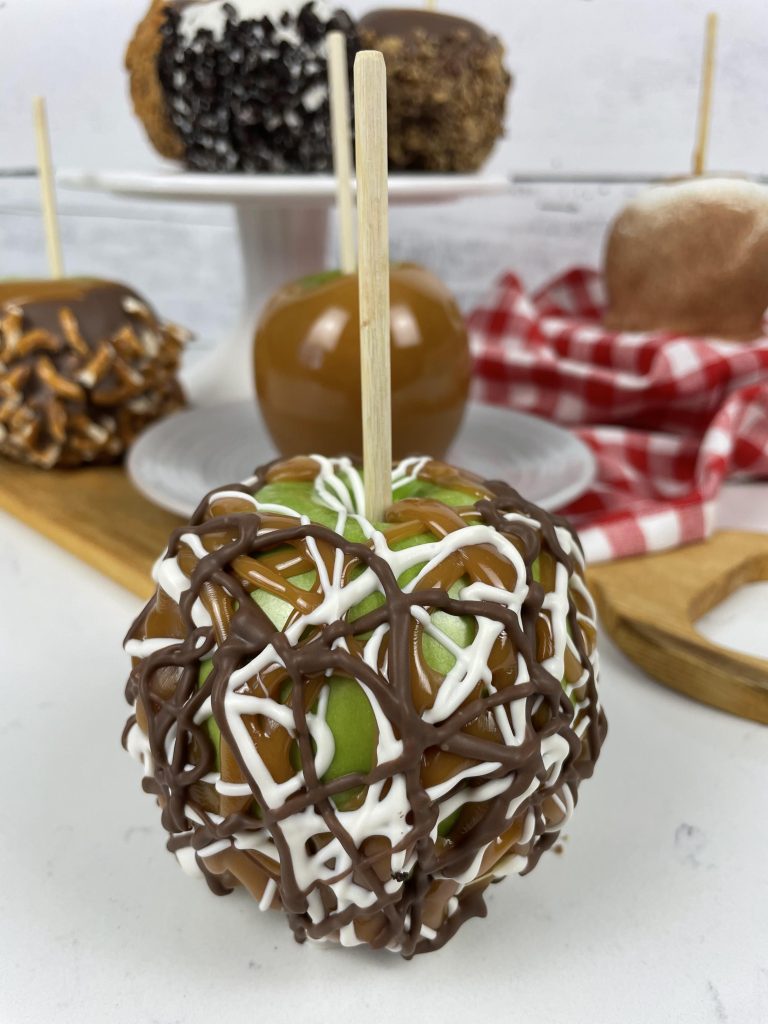
- Drizzle- the best way to use the small amount you have left
- Apple Pie- HAND DOWN our favorite! Caramel, White Chocolate & Cinnamon Sugar
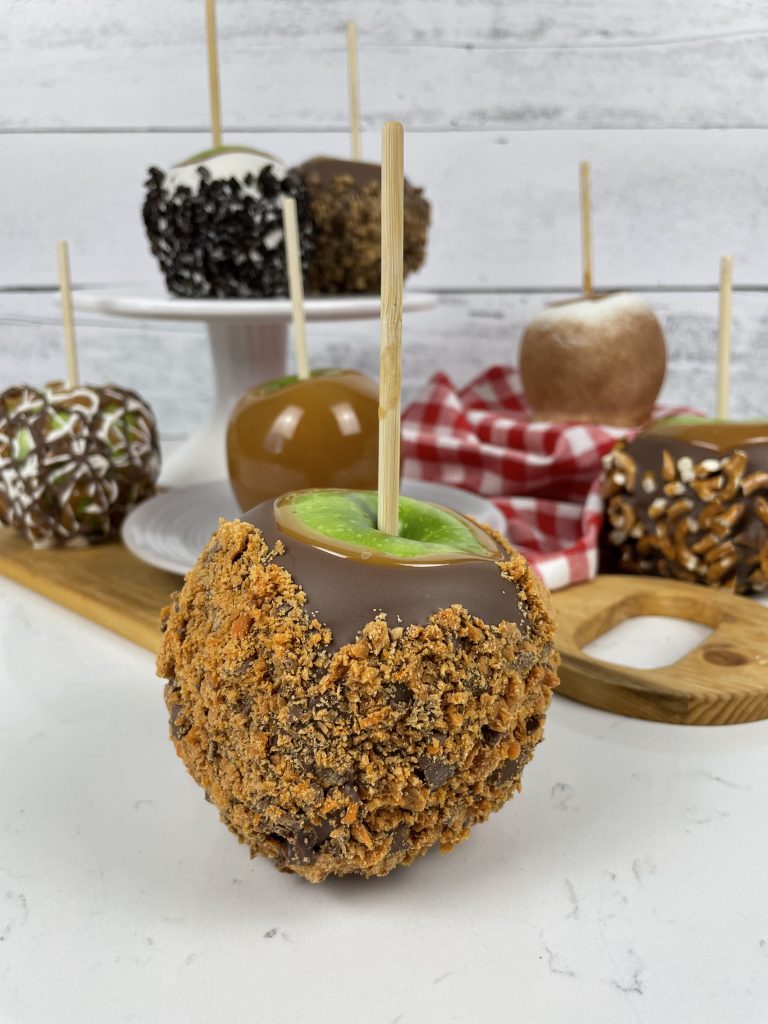
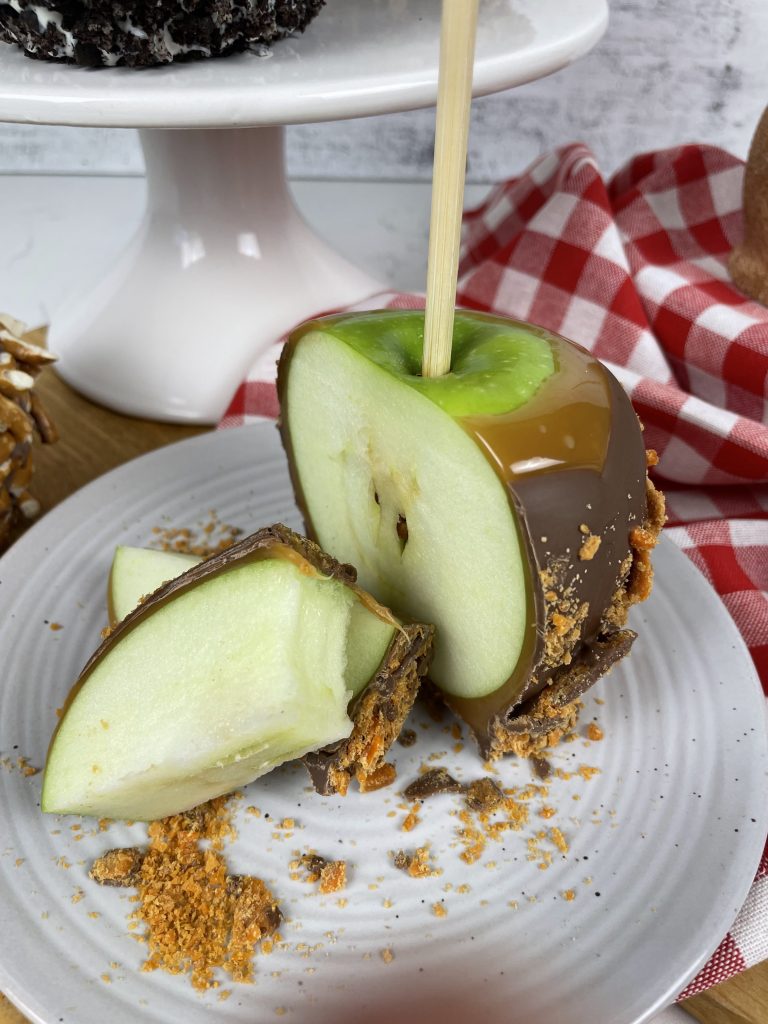
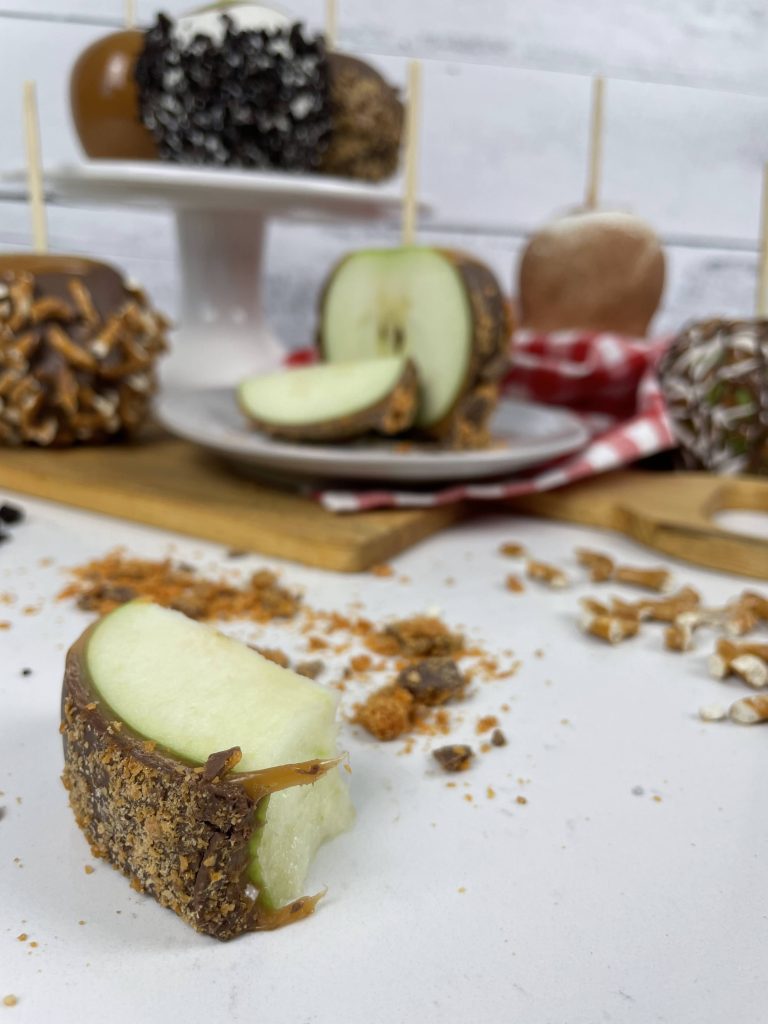
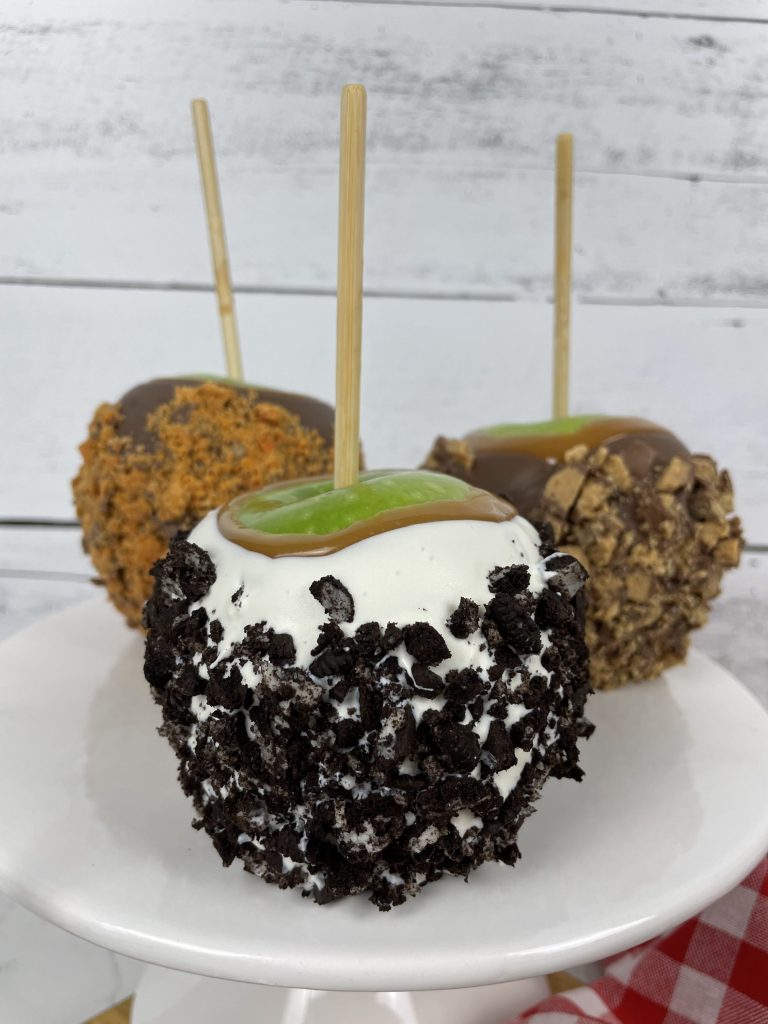
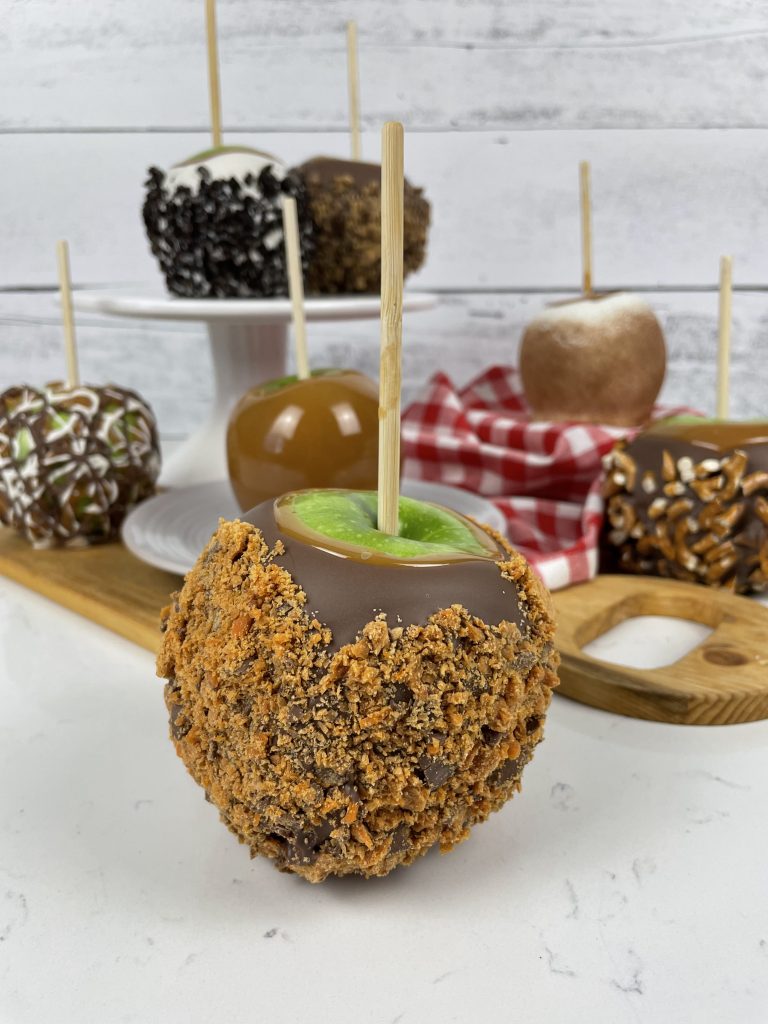
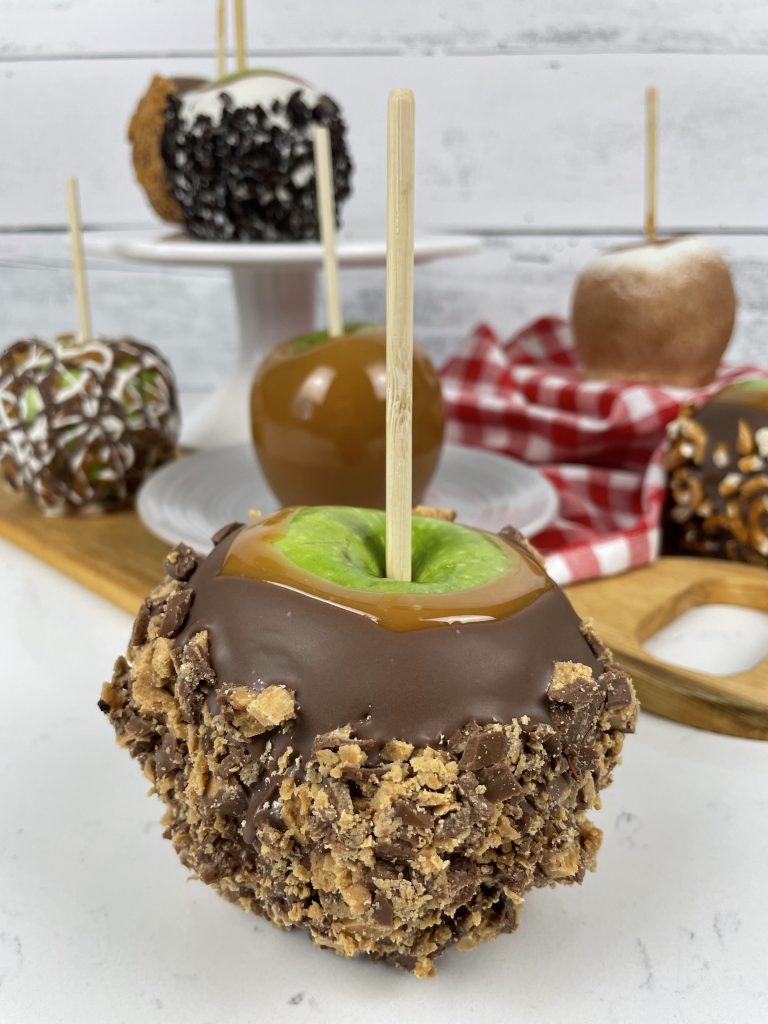
- Butterfinger- Second Favorite…always will be
- Cookies n’ Cream
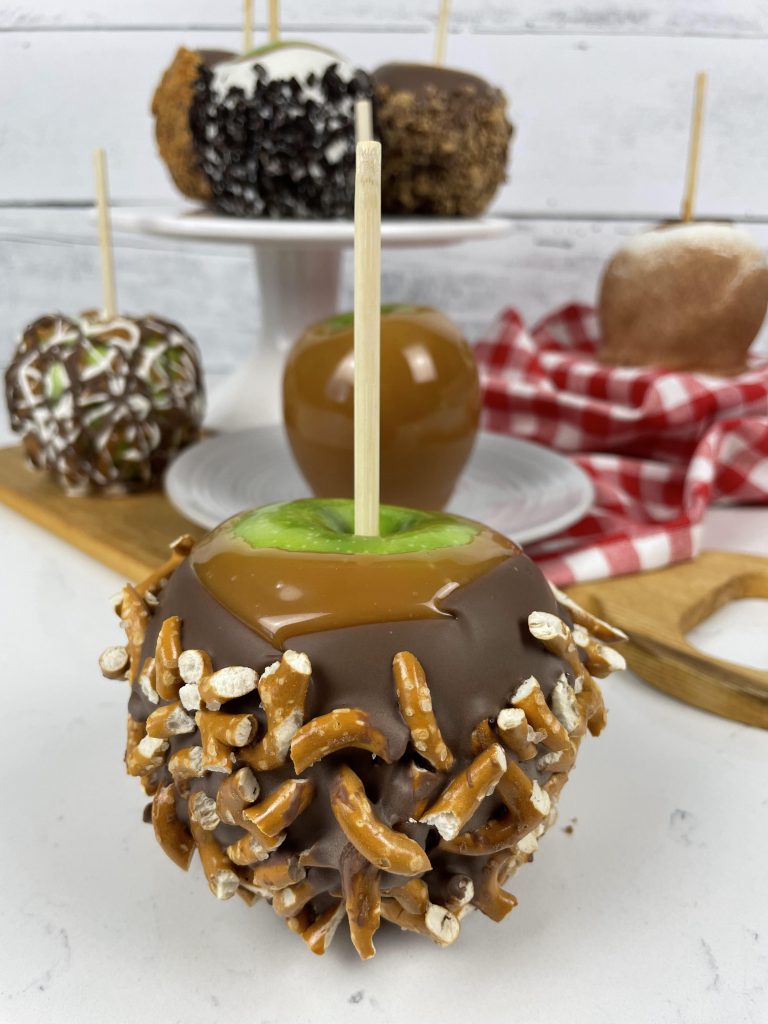
- Salted Pretzel
- Peanut Butter Cup- chop and roll very cold or frozen, trust me!
But the flavor combos are only as small as your imagination!! You might also try:
- M&M- Roll straight onto the caramel, or dip in milk chocolate and roll in minis
- Coconut (Think girl scout cookies)- Roll in Milk Chocolate & Toasted Coconut
- Snickers
- Heath Bar
- Reece’s Pieces- Straight onto the caramel, or dip in milk chocolate and roll
- Nuts- Straight onto caramel, or dip and roll
- Rocky Road- nuts and marshmallows on a chocolate base… yum!
- etc..etc..etc….
Making Gourmet Caramel Apples At Home: Step By Step
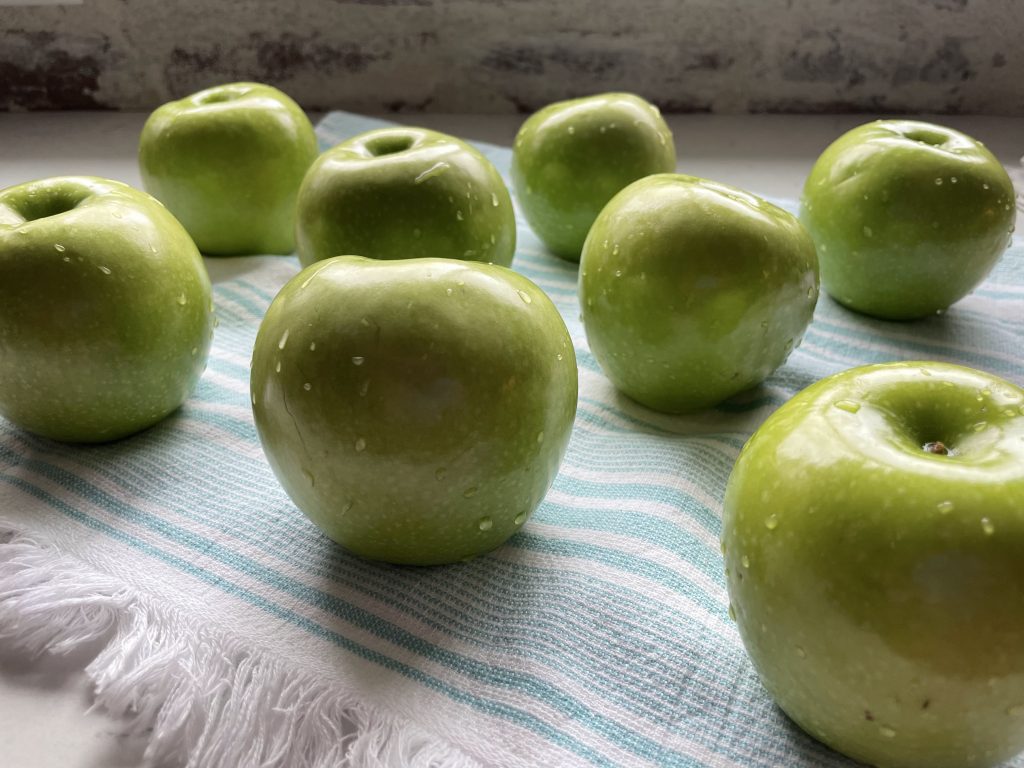
Wash and Dry apples
Apples are coated with wax. Make sure to wash and dry your apples thoroughly to remove all of the buildup. This coating can prevent the caramel from sticking to your apples.
Insert Sticks, Prepare Pan
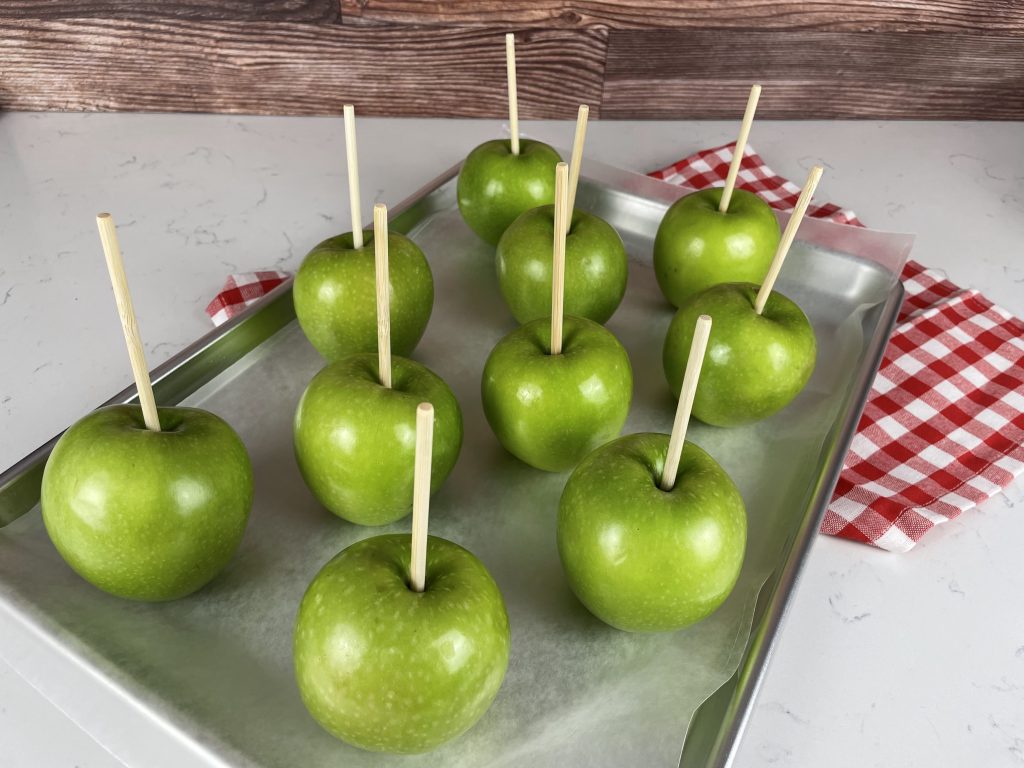
Insert sticks and set apples aside. I recommend a very sturdy skewer… not the thin ones you use when you barbeque. These apples are HEAVY when covered in all this goodness!
Cover a pan with parchment or waxed paper. For easier removal, you can lightly spray your paper with some non stick spray. This is optional, as long as you don’t have an excess of caramel dripping off the bottom of your apple they should remove fairly easily.
Melt Caramel
The perfect range for dipping your apples is 150-170 degrees Fahrenheit. If you warm it further the caramel will cook. All you want to do is warm it, if you cook it further it will crack.
I don’t own a French Oven (a great way to melt your caramel) so I heat it in the microwave. To prevent further cooking use of a silicone bowl (which I also don’t own!) is recommended. If you DO have a silicone bowl, you can heat it on high for 1 minute. Stir and then continue to heat in 30 second intervals until it’s melted completely.
If you only have a glass or ceramic microwavable bowl heat your caramel at 50% power to prevent cooking your caramel. 1 Minute, then 30 second intervals as well.
Dip Apples & Chill
Your caramel will set up a little quicker if your apples are slightly cold. This is optional, just know you’ll see less pooling at the bottom of your apple this way.
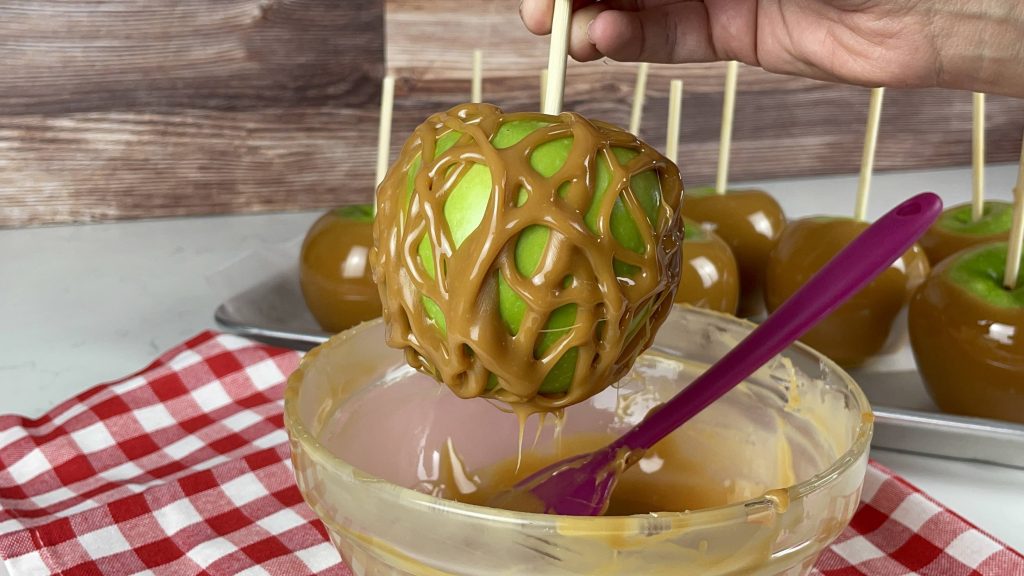
Dip your apple, hold over the bowl so excess drips off, then use a spoon or silicone spatula to scrape the excess off the bottom of the apple before placing it on your prepared pan.
If you would like to add toppings to your apple without adding a chocolate layer, this is the time you’d want to add them. Roll your freshly dipped apple in your desired toppings!
Continue to dip all of your apples and place on the pan, far enough away from one another that they don’t stick together. Place pan in the fridge for about 20 minutes.
Prepare Toppings, Melt Chocolate & Decorate
Have any and all toppings ready to go. Chopped, Melted, put in bowls or on plates etc…
Melt your chocolate. If using a compound chocolate like suggested, melt in the microwave on high for 1 minute, then stir and continue to melt for 30 second intervals. It is important that you don’t overheat your chocolate. You want it about as thick as it can be with no lumps of un-melted chocolate. If it is too hot or too thin you will struggle to pick up the toppings when you roll your apples.
Dip your caramel apples into the chocolate and slightly twirl over the bowl to allow excess to drip off. Then remove excess chocolate by scraping it from the bottom of the apple.
If you are leaving your apple plain with the chocolate, you are done… place it on the pan to cool and set up.
If you want to add toppings such as chopped candy bars, roll your freshly dipped apple in the toppings. Then place on prepared sheet to set up.
For delicate toppings, such as cinnamon sugar on white chocolate (to create the Apple Pie apple) sprinkle lightly on your freshly dipped apple before setting on the sheet to set up.
How to store gourmet caramel apples
Most apples will keep for at least a week if stored properly in the fridge. I would recommend bagging them individually in some cellophane bags.
Troubleshooting issues with your decorated apples
Making custom, beautiful, gourmet caramel apples is all about practice and trial and error. You will have times when problems occur, but most can be remedied.
One of the biggest issues I encounter often is air bubbles. The less you stir your caramel, the less likely they will be. However, it is unlikely you will avoid them all. And that’s okay. Leave the apple to cool, then come back and pop the air bubbles. You can then manipulate the caramel just enough to camouflage those imperfections and then cover them with the melted chocolate and toppings. Some air bubbles pop on their own and leave holes in the caramel, use those ones for your chunkiest toppings. Such as Cookies and Cream.
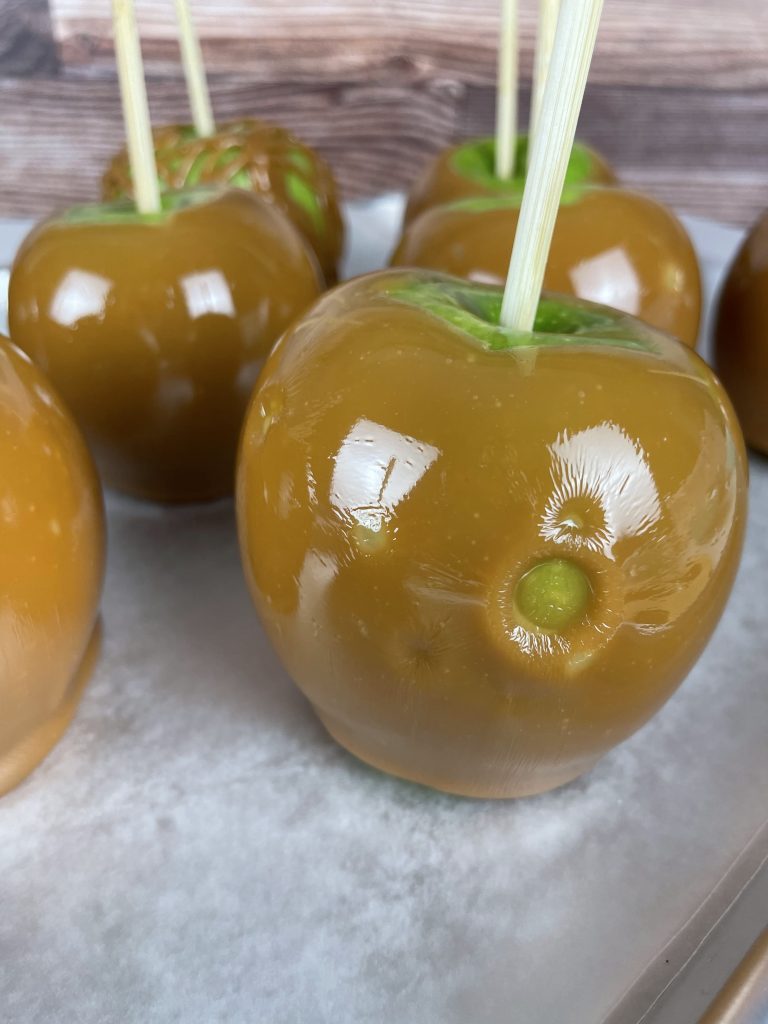
Air Bubble, popped during cooling 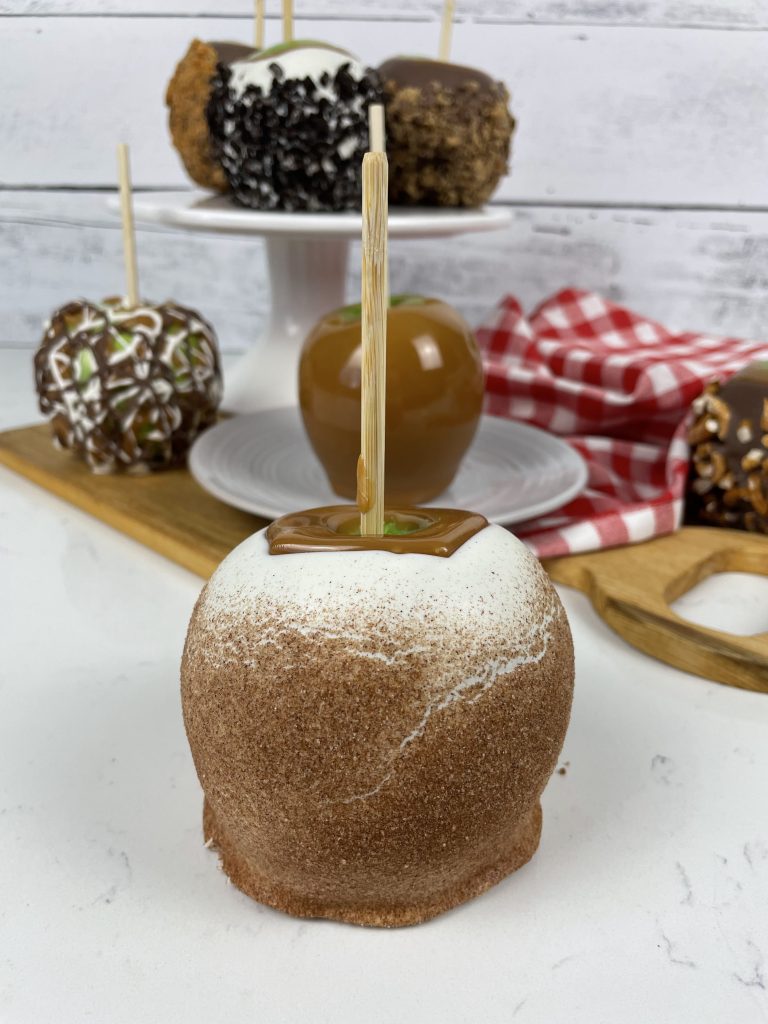
Chocolate was too warm
Another issue I have frequently is chocolate crinkling and sliding down the caramel. Like on the Apple Pie Apple pictured above. This is due to the chocolate being too hot, or adding too much cinnamon sugar. Make sure to melt your chocolate slowly and do not over heat.
And lastly, my biggest issue is chocolate cracking. This is usually due to leaving the caramel apples in the fridge for too long and the caramel being too cold when dipped into the chocolate. Only leave those apples in the fridge for 20 minutes. Then pull them out and let them sit for a few minutes before dipping them in the warmed chocolate.
If you have other issues, please comment below and I will try to help!!
Other Resources for Gourmet Caramel Apples
For more tips, and great products… please visit Orson Gygi’s Post dedicated to Caramel Apples! They are a Utah based company that I’ve taken classes through and follow fairly religiously for baking tips!
Thank You!!
And in the spirit of Thanksgiving… I’d just like to thank each an every one of you that has been a faithful follower on my journey this past year, almost two!! This has been an adventure, learning how to explain what I do, and how I get results. But it would be pointless without my audience. And small as it is, I count myself blessed to be able to share what I have learned through numerous years of trial and error, dedication and determination.
I have gone through many life changes since I started this journey, and I’m constantly learning to view the world differently each day. I wouldn’t change a thing, but if you’re going through a muddy part of life right now, I encourage you to bake away the hate! Find something that fulfills you, that gives you confidence and encourages you to serve others… I see you, I empathize, and I’m so glad you’re here!
Happy Holidays
-Chels

Leave a Reply